
Many people struggle with how to frame a print—whether it’s choosing the right frame or even just knowing where to begin. This often leads to frustration and a mountain stack of unframed prints. It’s especially disappointing when your favorite memories are hidden away in drawers or boxes in the attic rather than proudly displayed on your living room mantle for all to see. Worse yet, without the right frame, prints can get damaged over time or simply fail to look as stunning as they should. The wrong frame can diminish your print’s impact, making it feel out of place in your home. We’ve all experienced the frustration of hanging something that just doesn’t look quite right.
But here’s the good news—framing doesn’t have to be challenging. With these few essential tips, you can easily frame your prints like a pro.
Tools & Materials You Need to Frame a Print
Before diving into the process, it’s important to gather the right tools and materials. Having everything on hand will save you time and help avoid frustration as you work on framing your print.
Essential tools
Here are the basic tools you’ll need:
- Measuring tape: To make sure your print and frame match in size.
- Level: For leveling the frame once it’s hung.
- Screwdriver: To assemble or adjust the frame.
- Cleaning cloth: To keep the glass or print surface free from dust and fingerprints.
- Tape or adhesive strips: For securing the print in place.
Having these tools will make the framing process smoother and assure a professional finish.
Choosing the right frame material
When it comes to frames, the material you choose plays a crucial role in the overall look and feel of the print. Here’s a quick breakdown of common frame materials:
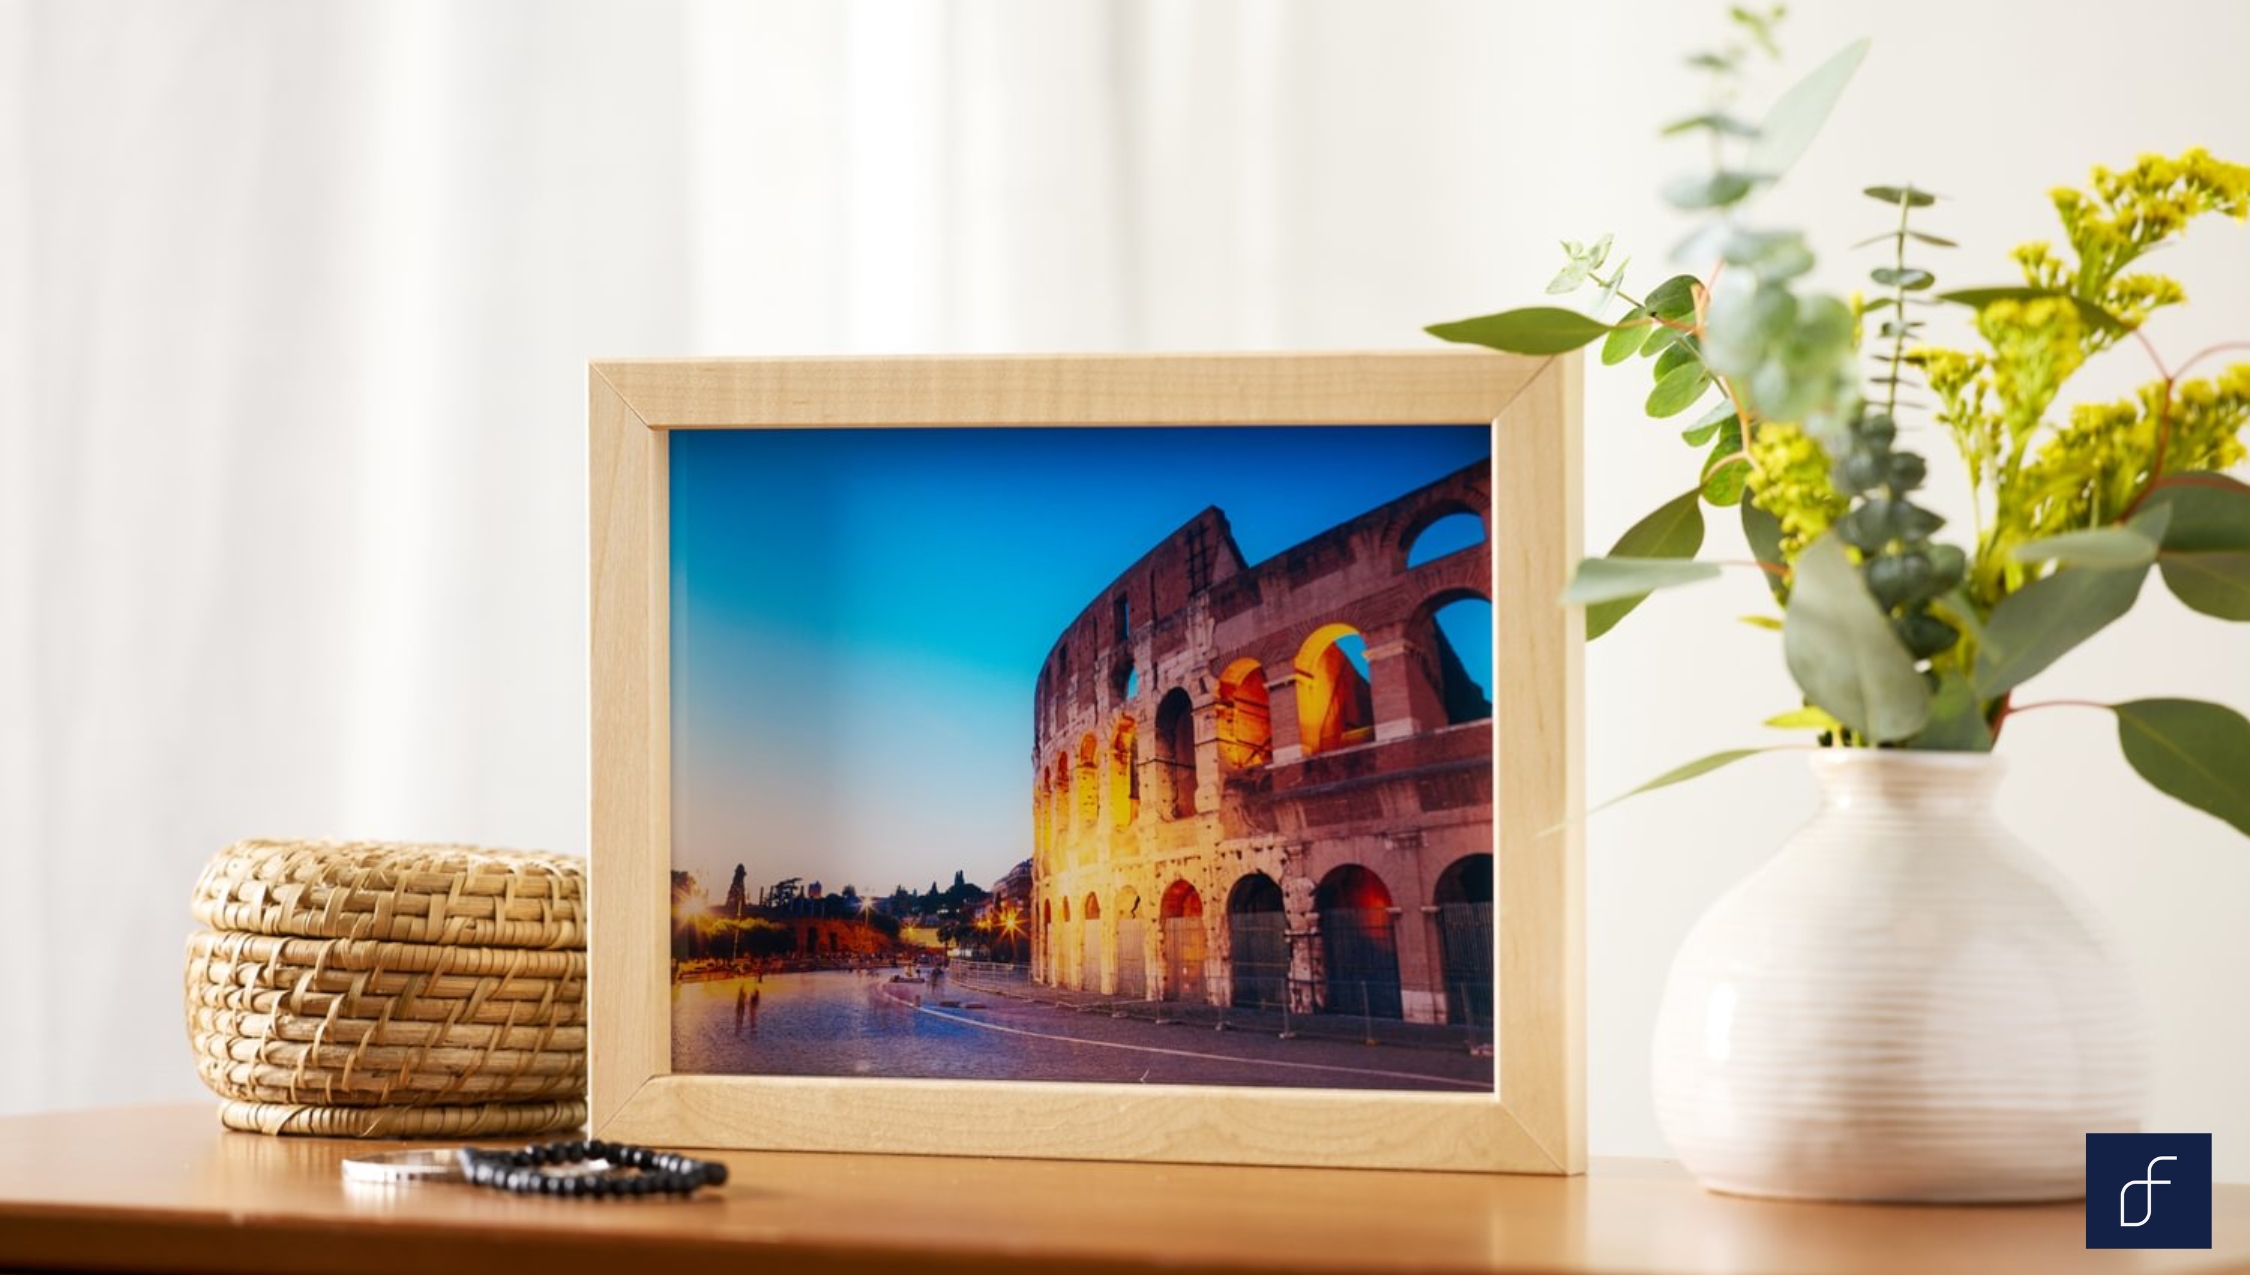
- Wood: A classic choice that works well in both traditional and modern settings. Wooden frames come in a wide variety of finishes, from natural wood tones to painted options, allowing you to customize the look to match your decor.
- Metal: Sleek and durable, metal frames are often used in contemporary or industrial-style spaces. They tend to be thinner than wooden frames and offer a minimalist aesthetic.
- Acrylic/Plastic: Lightweight and affordable, these frames are a great option if you’re looking for something easy to handle and cost-effective.
However, choosing the right material depends on the style of your home, the size of your print and personal preferences.
Glass or no glass?
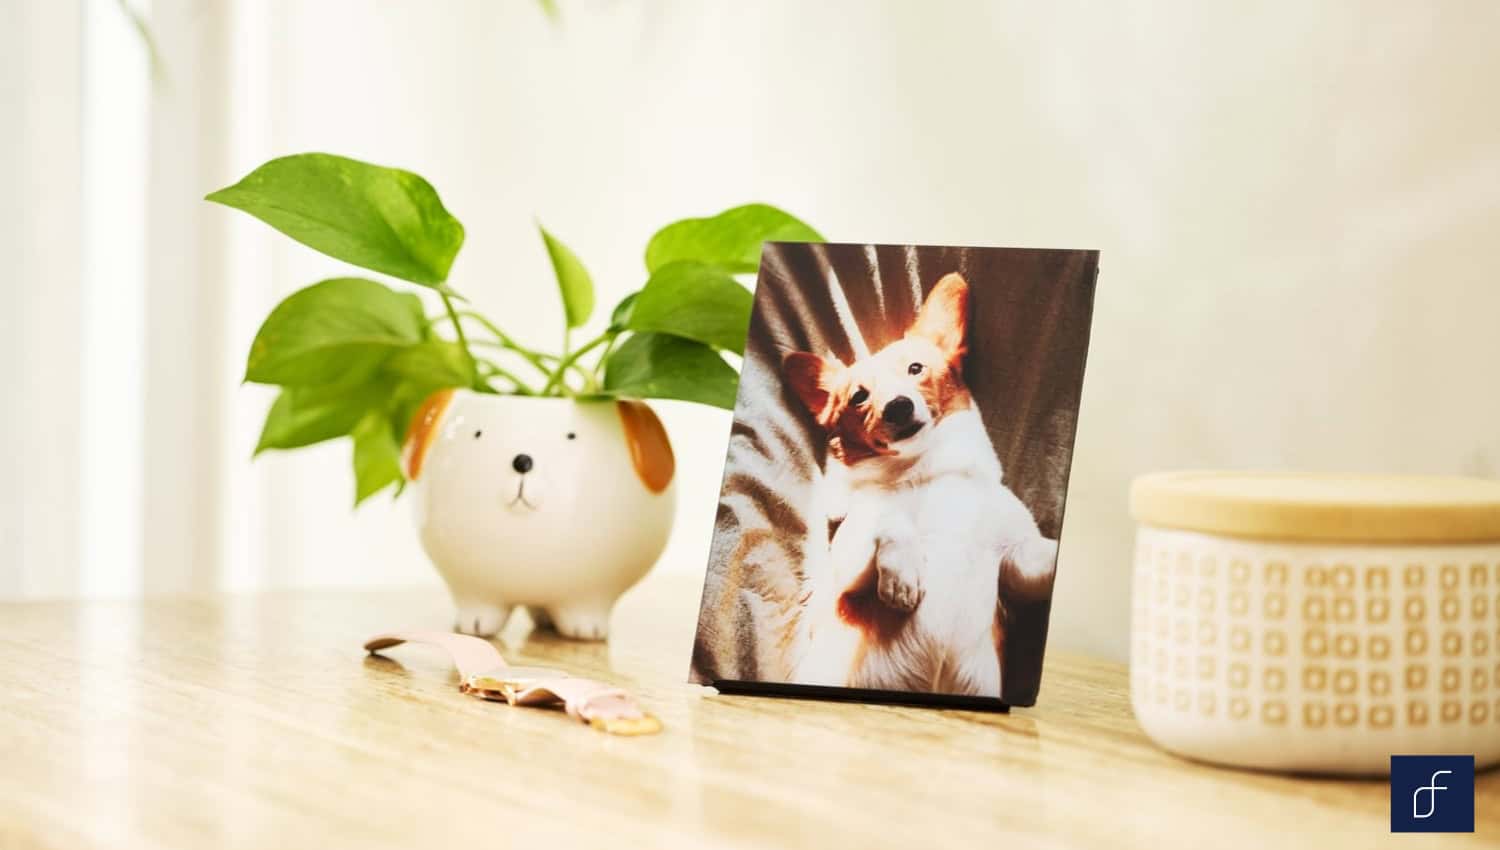
When framing a print, one of the most common decisions is whether or not to use glass. Glass protects the print from dust, dirt and damage, but it can also add glare. Since some prints, like Fracture’s glass prints, already come with glass protection, additional glass may not be necessary.
If you’re working with a traditional paper print, adding glass can help protect it from environmental wear and tear. However, if you’re concerned about reflections or want a more direct connection to the artwork, you might prefer to forgo glass entirely. Consider the location of the print and how much protection it needs when making this decision.
3 Tips to Frame Your Print
Once you’ve selected your materials, it’s time to start framing. Below are three framing techniques that can elevate your print and give it a polished, professional appearance.
Once you’ve selected your materials, it’s time to start framing. Below are three framing techniques that can elevate your print and give it a polished, professional appearance.
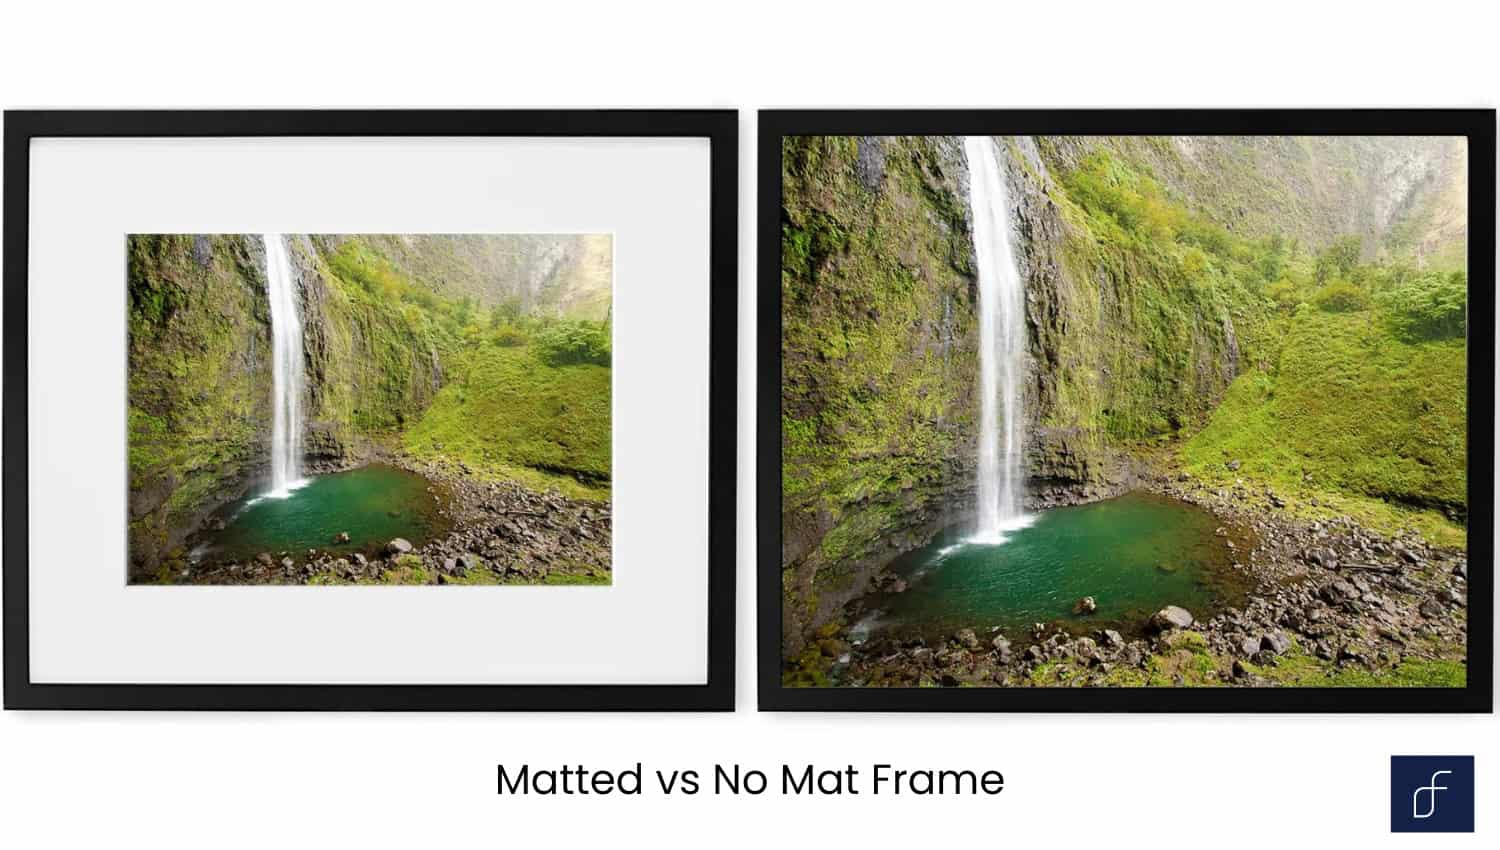
1. Matted
Using a mat when framing your print can add depth and enhance its presentation. Mats are typically made from paperboard or other sturdy materials and are placed between the print and the frame. The mat creates a visual buffer around the image, drawing the eye inward and giving the print more breathing room. Mats work particularly well for photographs and art prints where you want to emphasize the central image.
2. No mat
If you prefer a more minimalist look, consider framing your print without a mat. This approach can give your print a sleek, modern feel. It’s especially effective for larger prints that command attention on their own or when you want the entire image to be the focal point. Framing without a mat works well for contemporary spaces or when you’re going for a bold, streamlined aesthetic.
3. Float mounted
For a truly unique and striking presentation, consider float mounting your print. In this technique, the print is positioned so it appears to “float” within the frame, with a small gap between the edges of the print and the frame itself. This creates a three-dimensional effect and adds visual curiosity, making the print appear as if it’s suspended in mid-air. Float mounting is a great choice for those looking to make a strong artistic statement.
5-Step Guide to Framing Your Prints
Now that you’ve chosen your materials and framing technique, it’s time to assemble the frame. Follow these five steps for a smooth and successful framing process.
1. Find a frame that fits your print
The first step in framing is finding the right size frame for your print. Measure your print carefully, taking note of both the width and height. Make sure to account for any additional space needed for mats if you plan to use one. Choose a frame that complements the size of your print without overwhelming it.
Tip: If you’re unsure of the right size, opt for a slightly larger frame and use a mat to center your print within it.
2. Disassemble and clean the frame
Once you’ve selected your frame, disassemble it carefully. Remove the backing, glass and any other components. Before inserting your print, clean the glass (if you’re using one) with a soft, lint-free cloth to remove any dust or smudges. This prevents debris from getting trapped inside and affecting the appearance of your print.
3. Position the print and mat
Lay the frame’s backing on a flat surface and place the print in the desired position. If you’re using a mat, make sure it’s aligned properly with the print and that there’s even spacing around the edges. Adjust as necessary until you’re satisfied with the positioning.
4. Secure the print in the frame
After positioning the print and mat, secure them in place using adhesive strips or mounting corners. Be sure to handle the print carefully to avoid bending or creasing it. Once the print is secure, replace the backing and confirm that everything is tightly held in place.
5. Reassemble the frame and seal It properly
Reassemble the frame by carefully placing the glass (if used) and backing back into place. Check that the print is aligned correctly and free of any dust or smudges. Use the frame’s fasteners to close it securely and tightly seal the edges. This will help protect the print from environmental factors like moisture and dust.
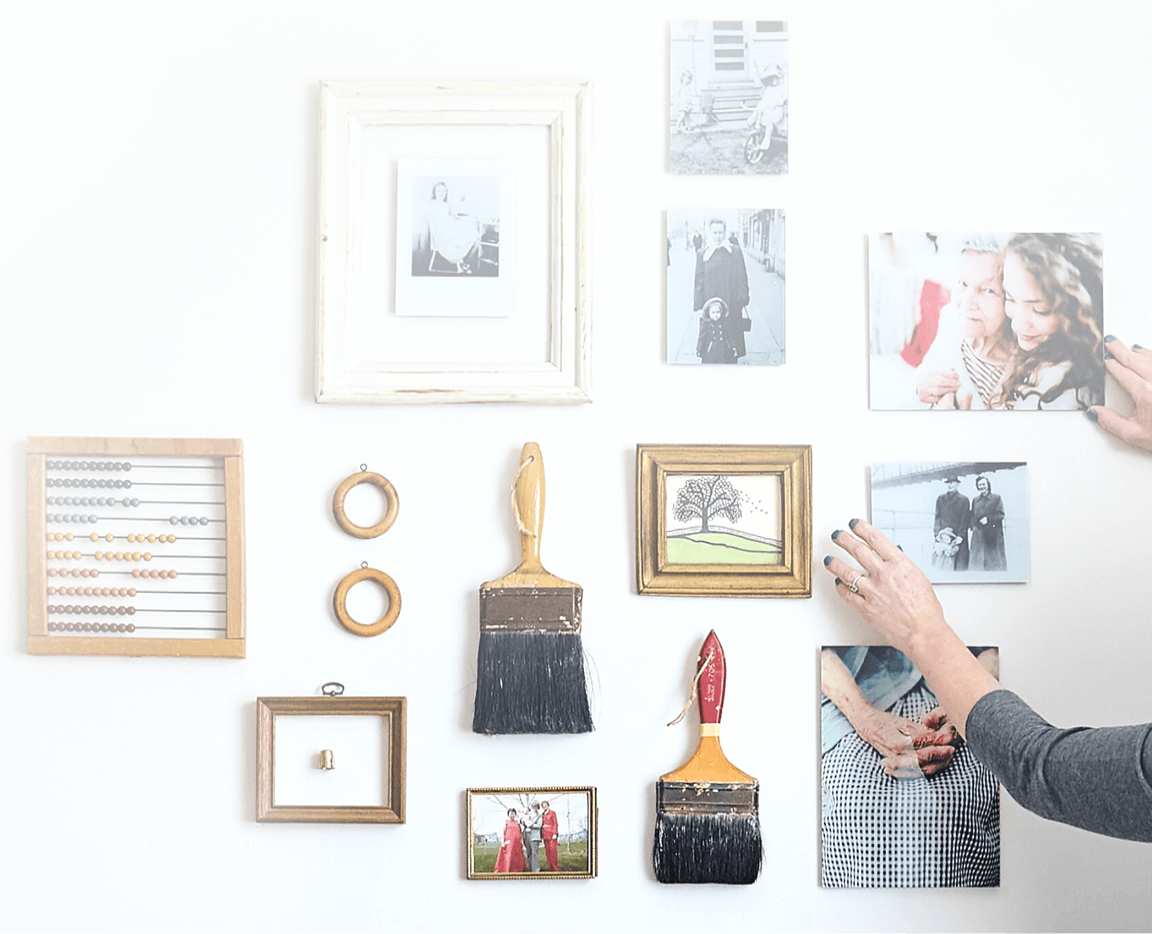
Hanging Your Framed Print
Hanging your framed print is more than just putting it up on the wall—it’s about placing it in a way that complements the space and enhances its impact. Whether it’s a bold statement piece or part of a curated gallery, taking the time to hang it thoughtfully will help you showcase your artwork at its best.
Below, we provide tips and techniques to make sure your framed print looks flawless once it’s on the wall.
Choosing the right spot
Consider the room and location where your framed print will have the greatest impact. Look for spaces with good lighting that highlight the print’s colors and details. Keep in mind the scale of the print relative to the wall and surrounding decor.
Tip: A larger print can be a striking centerpiece in a living room or above a bed, while smaller prints work well in galleries or hallway arrangements.
Tools and techniques for hanging
To hang your print securely, you’ll need a few basic tools: a level, hammer, nails or hooks and a pencil for marking the wall. Make sure the hooks you choose are appropriate for the weight of the frame. Start by marking the spot where you want to hang the print, then install the hooks or nails accordingly.
Leveling and adjusting
Once the print is on the wall, use a level to check if it’s straight. Adjust as necessary until the frame is perfectly aligned. This final step makes all the difference in giving your print a polished, professional look.
Sustainable Framing Options
When choosing the right frame material, sustainability can play a key role in your decision-making. Many eco-friendly framing options, such as reclaimed wood, bamboo or recycled metals, offer style and sustainability. These materials not only look great but also reduce environmental impact, making them a perfect choice for eco-conscious homeowners. If you’re interested in DIY projects, consider repurposing old frames or creating your own from sustainable materials to give your artwork a personal and environmentally friendly touch.
By choosing these options, you can ensure that your prints are beautifully displayed while supporting responsible resource use.
Eco-friendly frames
Opt for frames made from sustainable materials. These frames offer a stylish and modern aesthetic and also help reduce waste and promote responsible resource use. Choosing eco-friendly frames allows you to incorporate sustainable practices into your home decor without compromising on design or quality.
Reducing waste with DIY framing
A sustainable way to frame your prints is by repurposing old frames or crafting your own from materials you already have. DIY framing allows you to personalize your artwork while reducing waste. By upcycling or reusing materials, you not only minimize environmental impact but also add a unique, creative touch to your decor. Transforming discarded items into fresh, original frames breathes new life into your prints and the materials themselves.
Conclusion
When it comes down to brass tacks, framing a print isn’t as complicated as you think. With the right tools, materials and techniques, you can create a captivating display that enhances your print’s beauty and protects it for years to come. Whether you choose a matted, float-mounted or minimalist style, the key is to select a framing approach that complements the print and reflects your personal style.
If you have art prints, photos or cherished memories that deserve a special display, we’ve got you covered. Fracture offers a unique way to elevate your prints, with photos printed directly onto glass for a sleek, frameless presentation. Our prints are designed to last, adding vibrant, true-to-life color to your space while maintaining an eco-friendly production process. Whether you’re choosing a traditional frame or opting for Fracture’s glass prints, your artwork will be protected and displayed handsomely. Our commitment to sustainability guarantees that each piece is crafted with care for both your home and the environment, providing a stylish and socially responsible way to showcase your favorite memories.
Do you have a favorite photo or artwork that deserves the perfect display? Get started with us today!

FAQs on Framing a Print
How do you cut a print to fit a frame?
If your print is slightly too large for your chosen frame, you can use a sharp utility knife and a ruler to trim the edges carefully. Make sure to cut on a flat surface and measure twice before making any cuts.
What is the best way to protect a print from fading when framing?
To protect a print from fading, use UV-resistant glass or acrylic in your frame. This will block harmful light rays that can cause the colors in your print to degrade over time.
How can I prevent my framed print from warping over time?
Secure your print tightly within the frame and avoid placing it in areas with high humidity. To preserve its condition, use acid-free backing materials that help prevent warping over time.
What is a cheap alternative to glass?
Acrylic or plexiglass is a more affordable and lightweight alternative to traditional glass. It offers similar protection but is less likely to shatter, making it a safer option for homes with children or pets.
Should I hire a professional to frame my prints?
If you have a valuable or irreplaceable print or if you’re unfamiliar with framing techniques, hiring a professional may be worth the investment. They can guarantee your print is framed with the highest level of care and expertise.
Comments