
You know what’s funny? The best camera is the one right in your pocket.
And if you’re like the majority of Americans, the camera that you have is an iPhone. Which means that taking better photos means getting better at iPhone photography.
And as cameras go, iPhones these days have some of the best on the market Just check out the #ShotOniPhone campaign.
Of course, having a good camera in your pocket means nothing if you don’t have the know-how to use it well. This is even truer when you have to whip it out quickly to capture a great moment happening right in front of you.
Here’s some iPhone photography tips and tricks from pro photographers to help you start taking photos that aren’t just good enough for Instagram, but worthy of hanging on the wall.
6 iPhone Photography Tips And Tricks
Avoid the Zoom Function
When you’re taking pictures with your iPhone, most photographers will tell you to avoid zooming in. As professional photographer Amber Faust of Faust Island puts it, “don’t zoom with your phone, zoom with your feet. The zoom kills your quality.”
Apple has done a lot over the years to improve their cameras’ zooming capabilities, but depending on the model you own, there may still be a noticeable loss in quality the further you zoom in. (The iPhone 11 Pro breaks the mold with three different zoom levels and three different lenses, virtually eliminating the grain issue, but it will take a while for everyone to be upgraded to this level.)

As Faust suggests, do what you can to physically move closer to your subject. The closer you can safely get, the clearer your picture will be.
As a brief note here, there’s a reason why photography students are often told to stick with a single, non-zoom (or prime) lens. By limiting your gear, you’re forced to think about how you’re framing your subject a lot more.
Lighting is Everything
One of the secrets to good photos is lighting — and this is true regardless of what camera you’re using. Whether you’re using a pro-style DSLR or an iPhone 6, you need adequate light. It’s what allows you to capture crisp images worthy of your gallery wall. If you don’t have enough light, you’ll get grain.
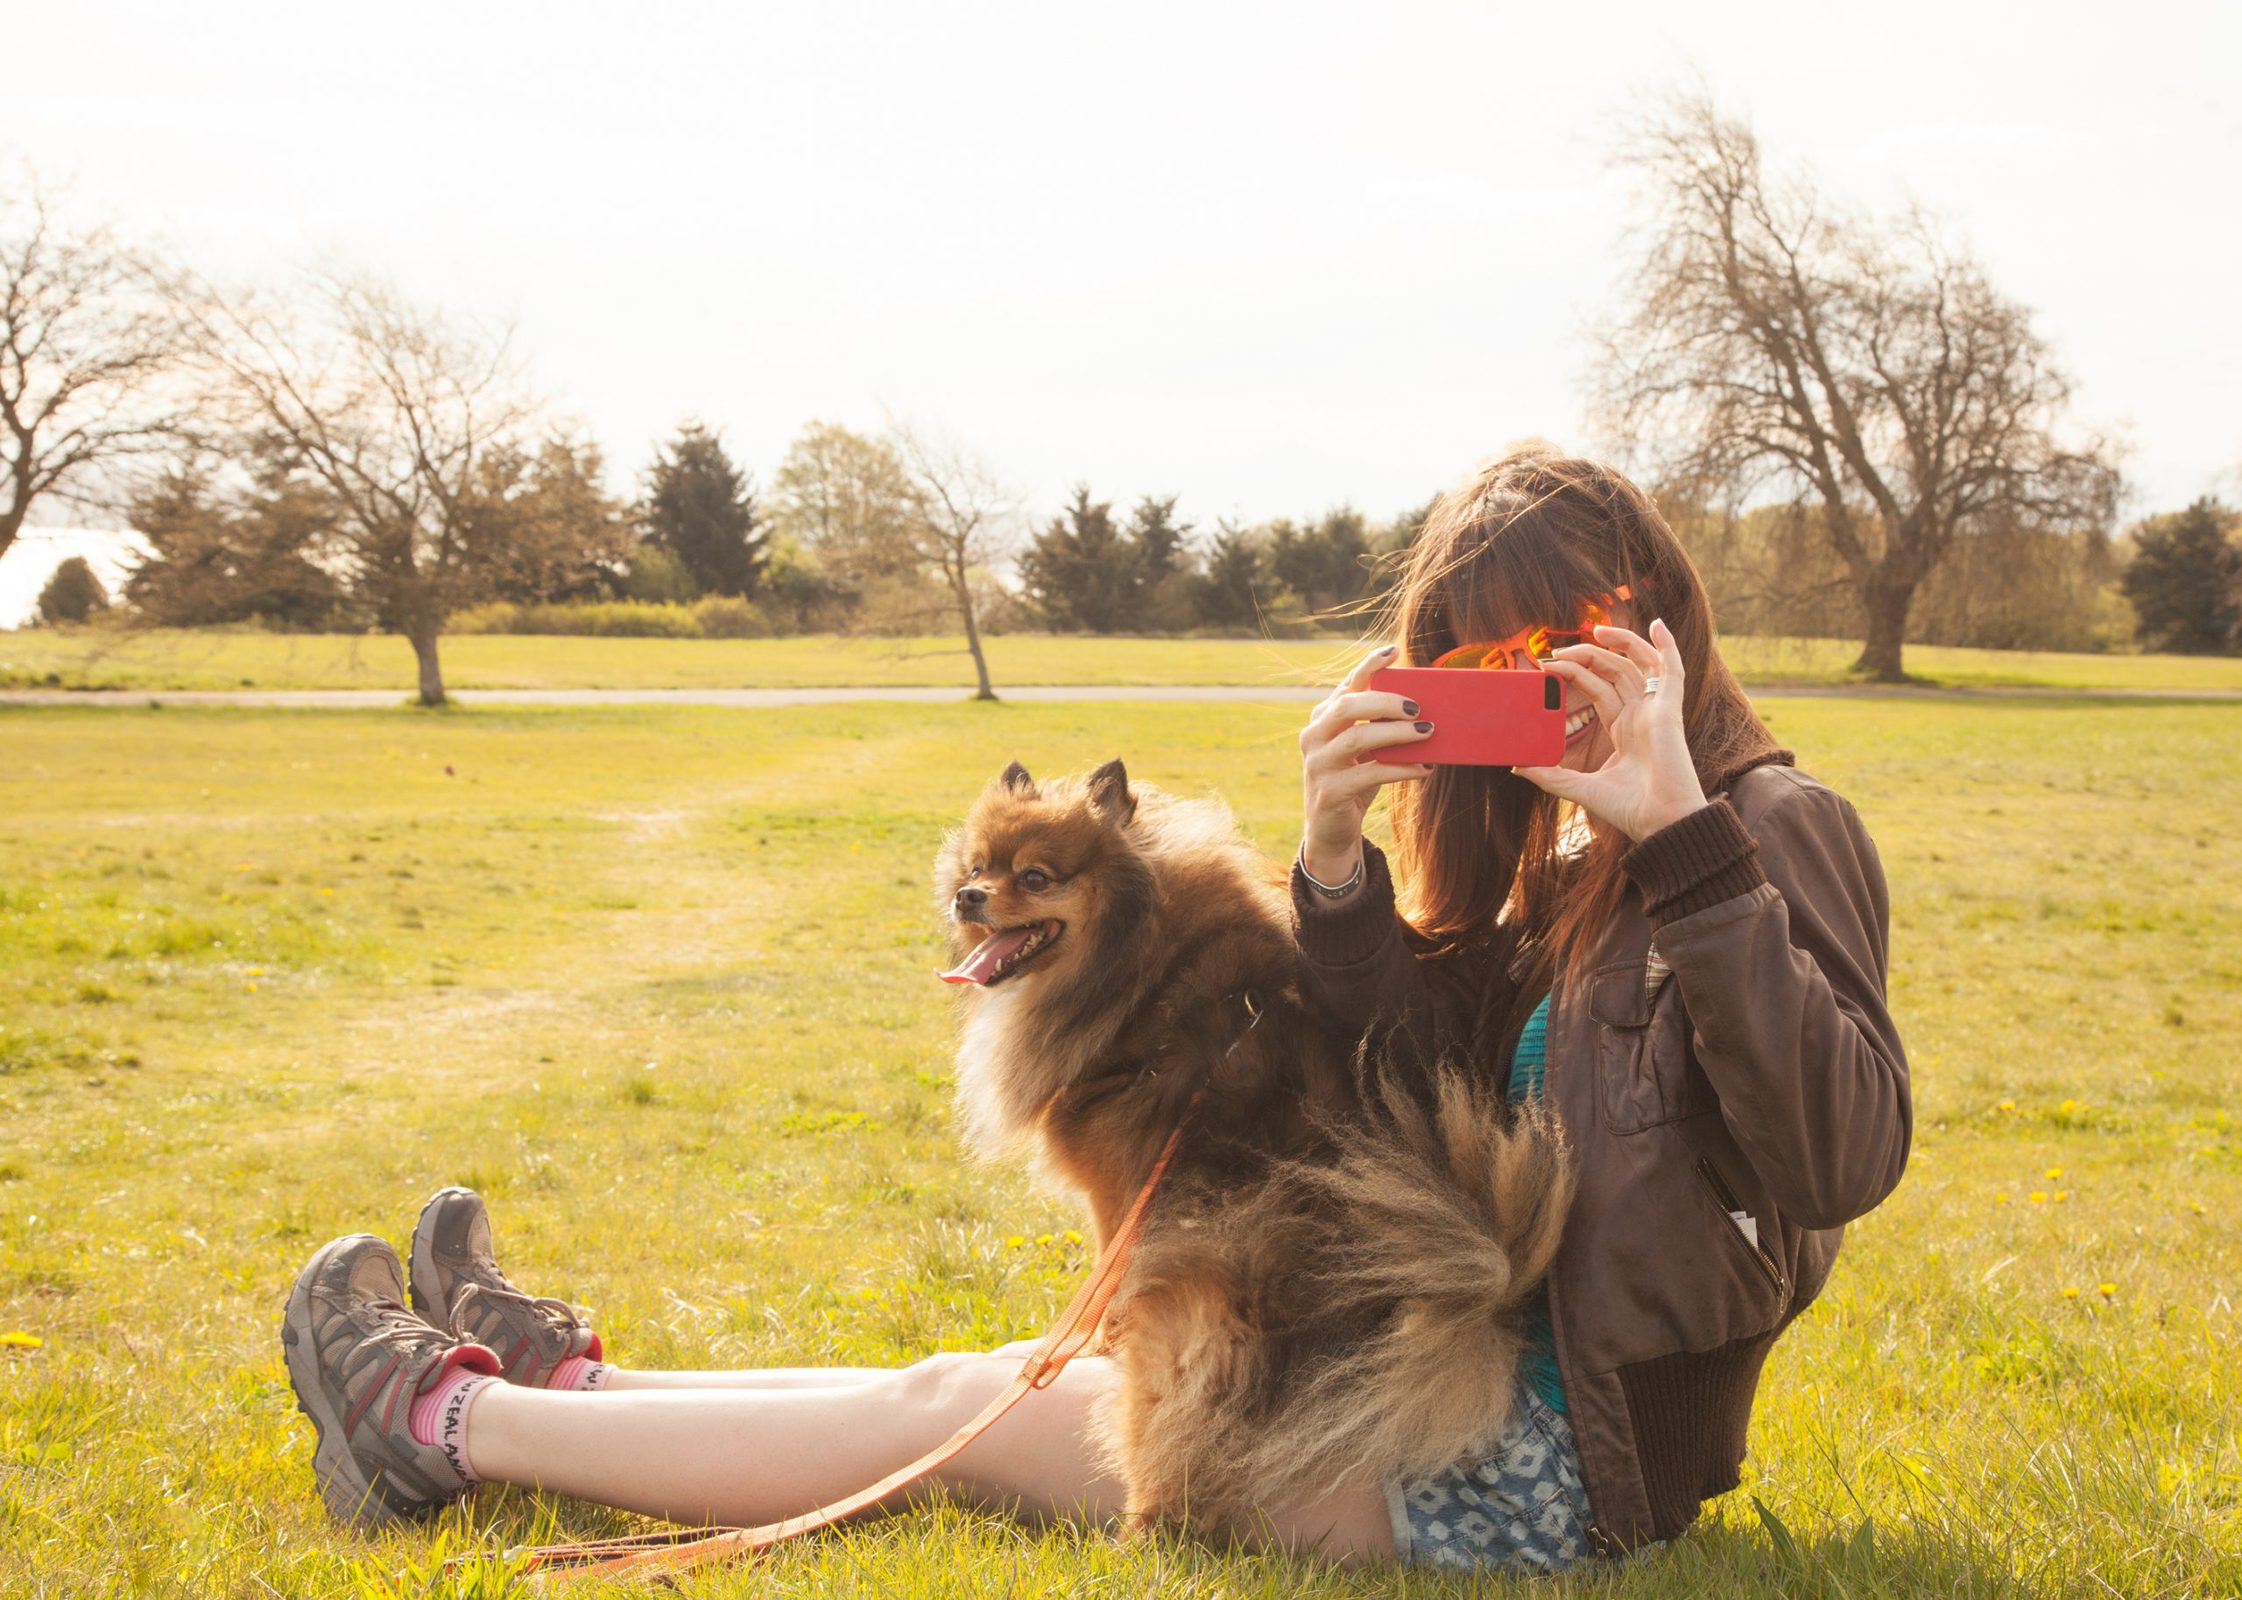
Many iPhone photography tips apply to regular photography, as well. When we interviewed photographers for our pet post, they all mentioned the importance of lighting. Professional photographer and owner of Candid Kitten, Josh Fenn recommends using the largest window in your home, adding “natural window light will do wonders for your photographs, even from a cell phone.”

Note that Fenn specifically calls out “natural light,” rather than fluorescent. Natural light is often soft and warm (and flattering), whereas some fluorescent light is rather harsh and cold, which can wash people out.
If you’re taking photos of people or pets, try to get them in the shade so they’re not looking into the sun. You’ll get plenty of light without people squinting. If you’re taking photos of landscapes, watch your shadows so they don’t cover anything you’re hoping to get in your shot.
Use the Grid
The grid function on iPhones is meant to help you with photo composition. It’s also a neat way to immediately look like you know what you’re doing in front of your friends, which is an underrated feeling, honestly.
You can turn this feature on by going to Settings > Camera and then turning on the grid function. Good composition in professional photography (and videography, for that matter), follows something called the rule of thirds.
This rule involves dividing the image into thirds both vertically and horizontally, so you have 9 blocks on the screen. This is what the grid mode does when you turn it on. This is one of the most impactful iPhone photography tips in terms improving your overall composition.
Why does the rule of the thirds matter? Well, it came from the belief that images in which the subject is slightly off-center are more aesthetically pleasing and look more natural.
Let’s get a little nerdy for a minute.
Theoretically, the first person to give this principle a name was John Thomas Smith in 1797. In a book called Remarks on Rural Scenery, he wrote:
“Analogous to this ‘Rule of Thirds’ (if I may be allowed to so call it) I have presumed to think that, in connecting or in breaking the various lines of a picture, it would likewise be a good rule to do it, in general, by a similar scheme of proportion; for example, in a design of landscape, to determine the sky at about two-thirds; or else at about one-third, so that material objects might occupy the other two: again, two-thirds of one element, (as of water) to one-third of another element (as of land); and then both together to make but one-third of the picture, of which the other two thirds should go for the sky and aerial perspectives. […] I have found the ratio of about two thirds to one third, or of one to two a much better and more harmonizing proportion, than the precise formal half, the too-far-extending four-fifths—and, in short, than any other proportion whatever.”
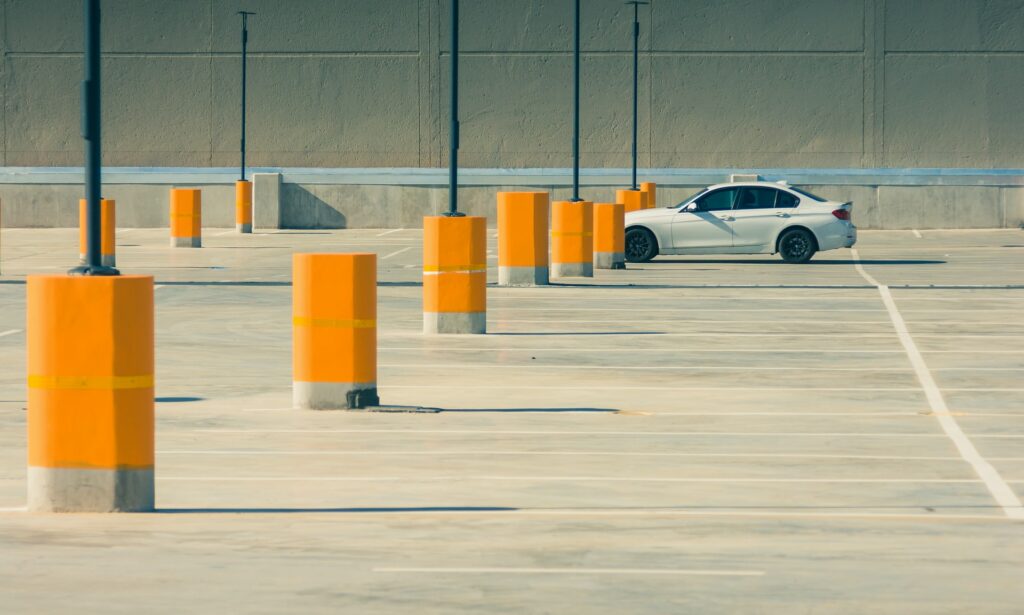
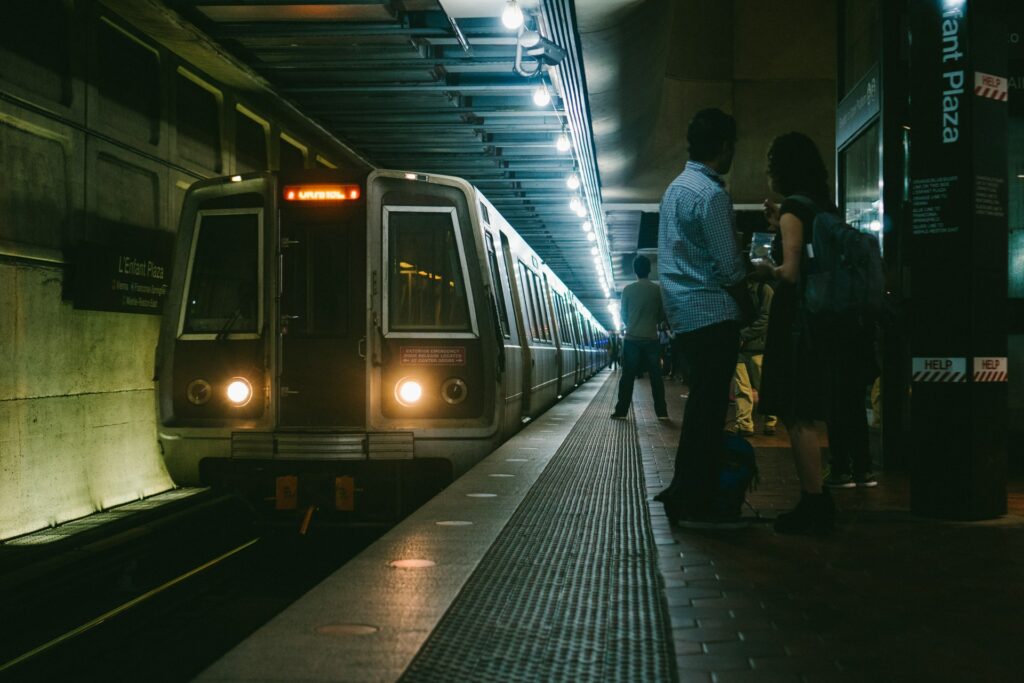
Ok, let’s get even nerdier. The rule of thirds forces you to think intentionally about the negative space in your image and how you’d like to portray emotion in that shot. For example, if you were to place the person in your photo on the right-hand side of your frame, looking to the negative space in front of them on the left, your photo will appear balanced. You’re giving your subject space to theoretically move.
But if you were to place the majority of the negative space behind your subject (to the right of the left-facing person), that’s an entirely different feeling. Shots like that tend to make people feel tense, which is why they’re often used in suspenseful movies.
Ok, nerdy time over for now.
Use Portrait Mode
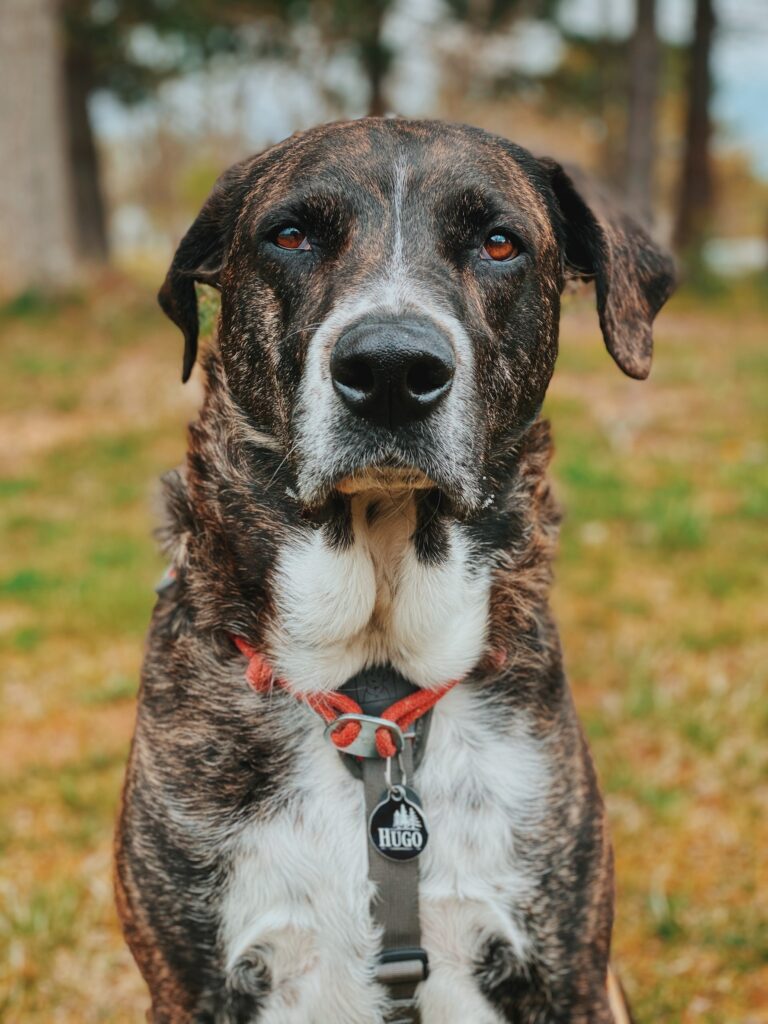
For many iPhone users, one of the best iPhone photography tips is to make sure that you are using the tools that are build into your camera. If you have an iPhone 7 Plus or newer, you get to use portrait mode. “Portrait mode uses the dual cameras to create a depth-of-field effect,” giving you stunning clarity on your subject and a blurry background.
Essentially, portrait mode recreates a shallow depth of field typically only possible using digital single-lens reflex (DSLR) cameras. Regular photos of your family and friends will be transformed into works of art. This effect alone has the ability to make people believe you went to photography school.
If you have a model XR, XS, or newer, you also have more manual control options in portrait mode. There are actually two ways to adjust the depth of field if you’re using iOS 12.1 or later. You can do it before you take a photo by tapping on the little “f” (for f-stop) in the corner and using the slider to adjust the depth of field.
However, you can also adjust the background blur in photos you’ve already taken. Any photo taken in portrait mode can be adjusted after the fact by tapping the edit button as you would to crop or change brightness. In this case, you’ll simply choose “depth” as your parameter.
Set Your Own Focal Point and Exposure
When you snap a photo with your iPhone, it autofocuses on whatever it believes is the subject and then adjusts the exposure (light) accordingly. By tapping on a different area of the photo, the camera will refocus and the light will adjust.
If you tap on your focal point and you don’t like the way the exposure was adjusted, you can fix that by swiping up or down on your screen. Up makes the picture brighter, down makes it darker.
Use Burst Mode
Let’s just get this out of the way: “Burst mode” not a slang term for downing a sleeve of Starburst for the ensuing sugar rush. But it is a highly underrated iPhone photography feature. You might’ve used accidentally — that is, if you’re anything like us. On iPhones version X and older, burst mode automatically enabled when you held the shutter button for too long — longer than a simple tap, basically. On the iPhone 11, things are a little different. Holding the shutter button will actually start a video (and swipe right if you want to continue filming). To access burst mode, you’ll have to swipe left, and release to stop.
This is a great tool if your subject is moving because it takes 10 photos per second, so if your kid is finally making that funny face you’ve been trying to prod out of him for an hour, using burst mode will help increase your chances of capturing that one, perfect split second. (The same is true for pet photography.)
iPhone Photography Accessories
You may not be thinking too much about iPhone photography accessories because, well… why? It’s just a phone camera, right? How much would a few accessories really improve your pictures?
The truth of the matter is that a lot of really great photos came with a little help from simple accessories — and there are a lot of them on the market. But if you want a simple rundown of the best tools, here they are:
A Tiny Tripod
Part of the battle with photography is keeping still. Another major hurdle is getting the right angle. Sometimes, our arms just aren’t long enough.
While we’re not championing the selfie stick (though they certainly have their uses), we’d recommend a tiny tripod. This one from tripod giant Manfrotto is affordable, lightweight, and easy to shove in a bag to take with you anywhere you need to go.
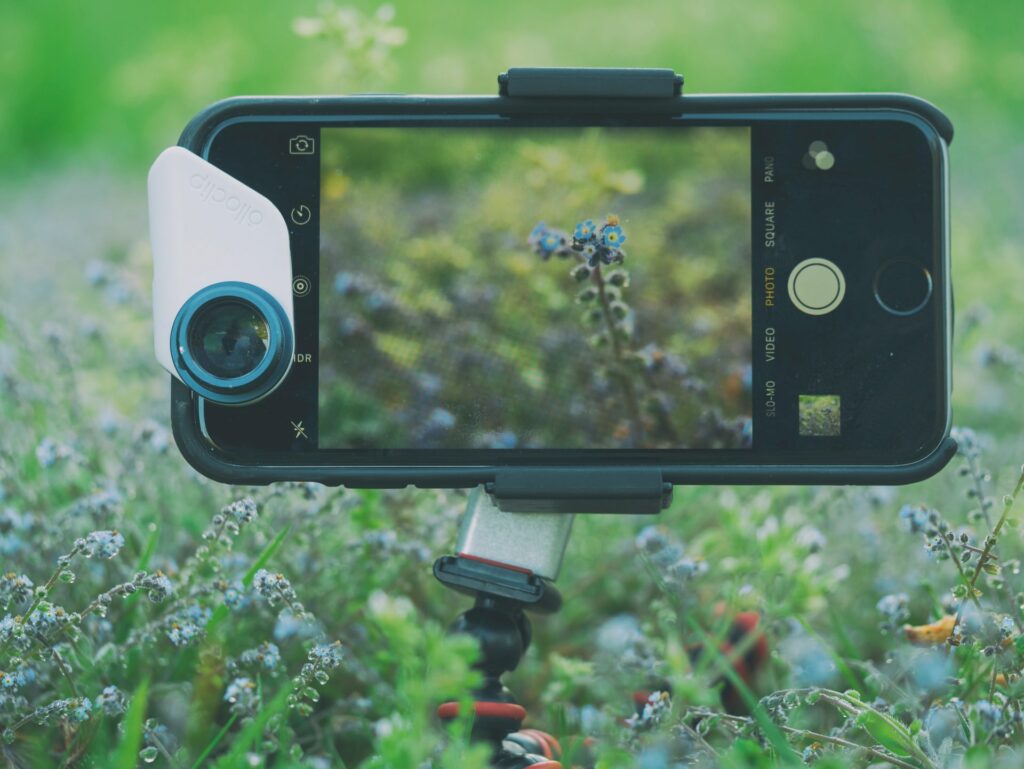
If you’d like a bit more flexibility in your tripod, consider this one from Joby. It has flexible legs that you can wrap around a round object — like a tree limb, for example. If you take a lot of outdoor or nature shots, this might be a good option for you.
A tiny tripod will not only help you achieve the stillness you need for that perfect photo, but it will also allow you to get in the photo — and from much further away than with a selfie stick. Simply use your built-in timer function in the camera app.
An External Lens
As good as our iPhone cameras are at this point, they still have limitations. For example, if you take a lot of landscape photos, you might want a specific wide-angle lens, and you might not yet have the iPhone 11 Pro (which has one built-in).
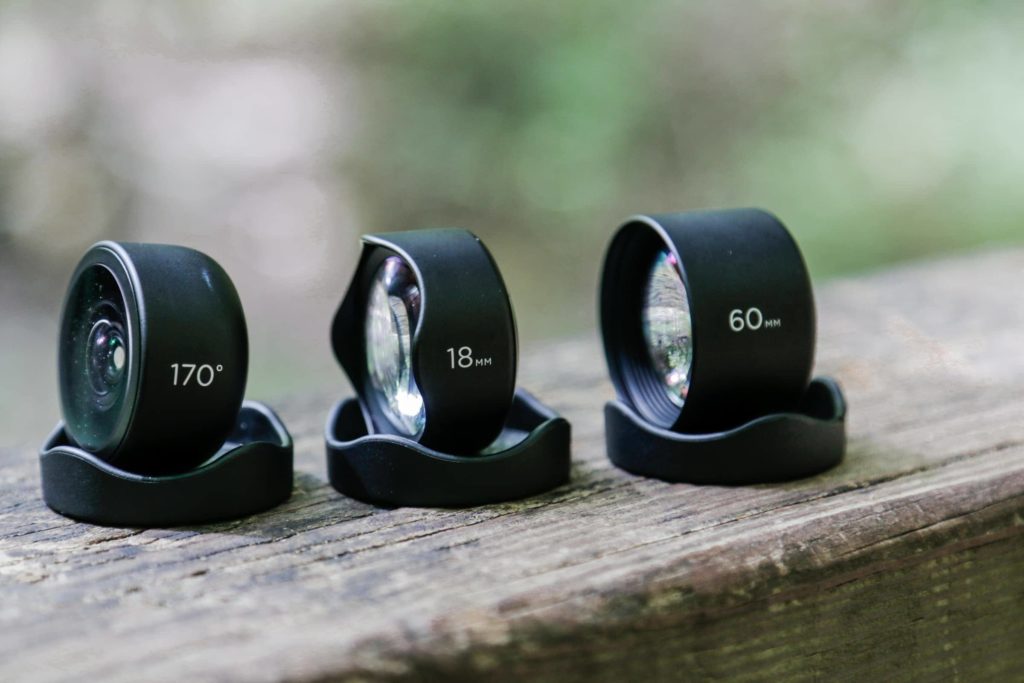
Zooming in on iPhone cameras quickly makes the photo grainy — particularly in low-light situations. If your favorite subject is quite small, like insects or jewelry for your Etsy shop, a macro lens might be more beneficial for your purposes.
While they aren’t cheap, lenses from Moment are widely considered to be some of the best. Their 18mm wide-angle lens and their 58mm telephoto lens both get excellent reviews across the board. And they’re still cheaper than the cost of the brand new iPhone.
A Bluetooth Remote Control
Yes, your iPhone comes with a self-timer so you can run into the shot, but you don’t have long — and your not-quite-ready-yet pose gives it away. Additionally, if your iPhone is set up on your tiny tripod, it might be out of your reach — which can be limiting. What if you’re trying to snap a picture of your family during the holidays — but from an angle you can’t quite get to? While a tripod might get your subjects in the frame, it’s going to be a challenge to actually… well, take the shot.
That’s where a little Bluetooth remote control comes in clutch. This one from CamKix is affordable and comes with a lanyard so it can conveniently hang around your neck if you find yourself needing to use it a lot or are just really good at losing things like remote controls.
5 iPhone Photography Tips for Taking Better at Night
Use that tripod.
When there’s lower light, cameras use a slower shutter speed, and if there’s any movement at all — even just the movement you make from breathing naturally — you’ll get motion blur. Using a tripod helps reduce this possibility.
If you don’t have a tripod available, set your phone down on a flat surface or lean against something to steady yourself. If you’re taking this approach, make sure your elbows are resting against the side of your body to stabilize your arms. Do whatever you can to reduce motion.
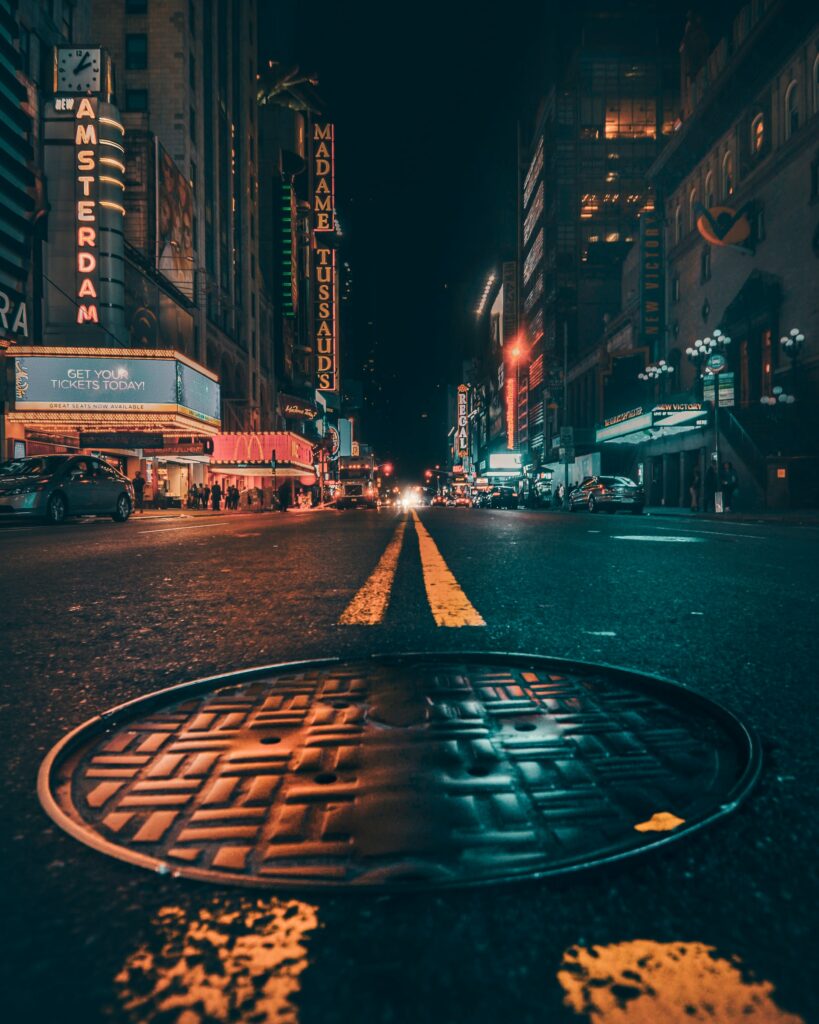
Take advantage of existing light.
Use spotlights on buildings, streetlights, your car’s headlights, the sunset, etc. Anything that is already putting out light can help your photo look better.
Manually adjust the exposure.
In the dark, cameras automatically open their iris in order to let more light in. This is exactly what our own eyes do — in bright light, our pupils close, letting less light in, and in the dark, our pupils open so we can see better. But more light is not what you want to capture a good night shot. When the iris opens up, your blacks will start to look grey or brown and become grainy.
As mentioned above, you can manually adjust the focus and exposure. If you see your image becoming grainy, tap the screen on the part of the image you want to focus on, and move the slider down to close the iris. Keep adjusting it down until your colors are vivid, details reappear, and the dark colors appear black again.
Lower the ISO.
It’s a common misconception that ISO is an acronym, but it’s not (and it’s pronounced EYE-so). In photography, ISO simply refers to how sensitive a camera is to light. The higher the number, the more light the camera will take in — this is sometimes good in low-light situations.
Therefore, it’s a reasonable conclusion that a higher ISO would help you out in a night photo session, but that comes at a big price. You get more light with a high ISO, but your photo also gets very grainy. Most of the time, the result isn’t worth it.
The bad news is, your native iPhone Camera app doesn’t allow you to adjust the ISO. You’ll need a third-party app (like Camera+ 2) to make this adjustment, but if you want good night shots, this is absolutely necessary.
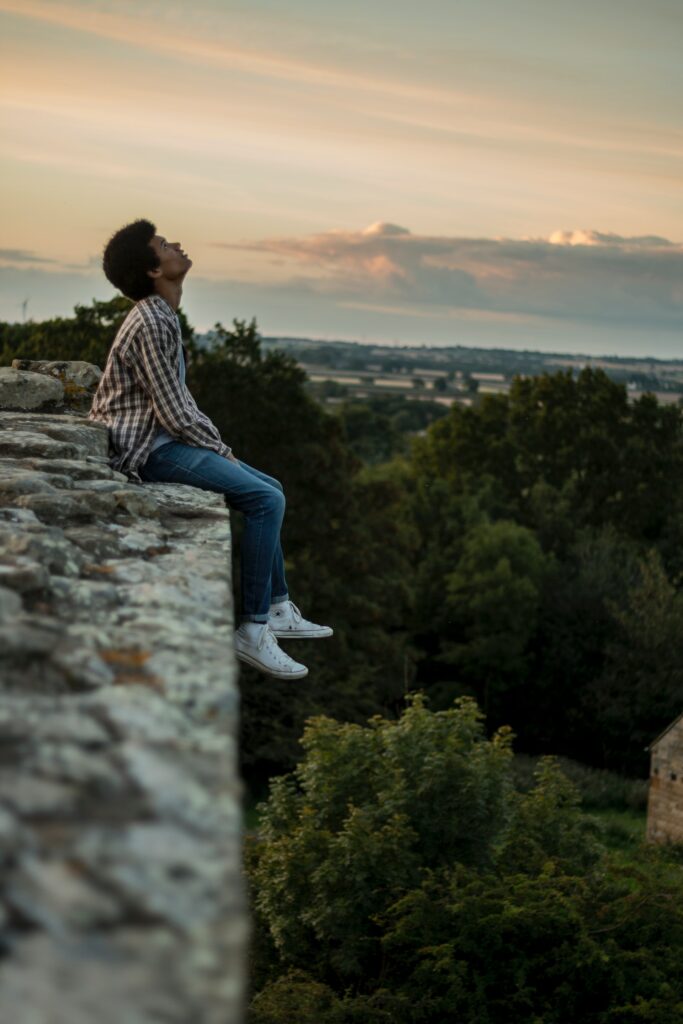
Embrace a silhouette.
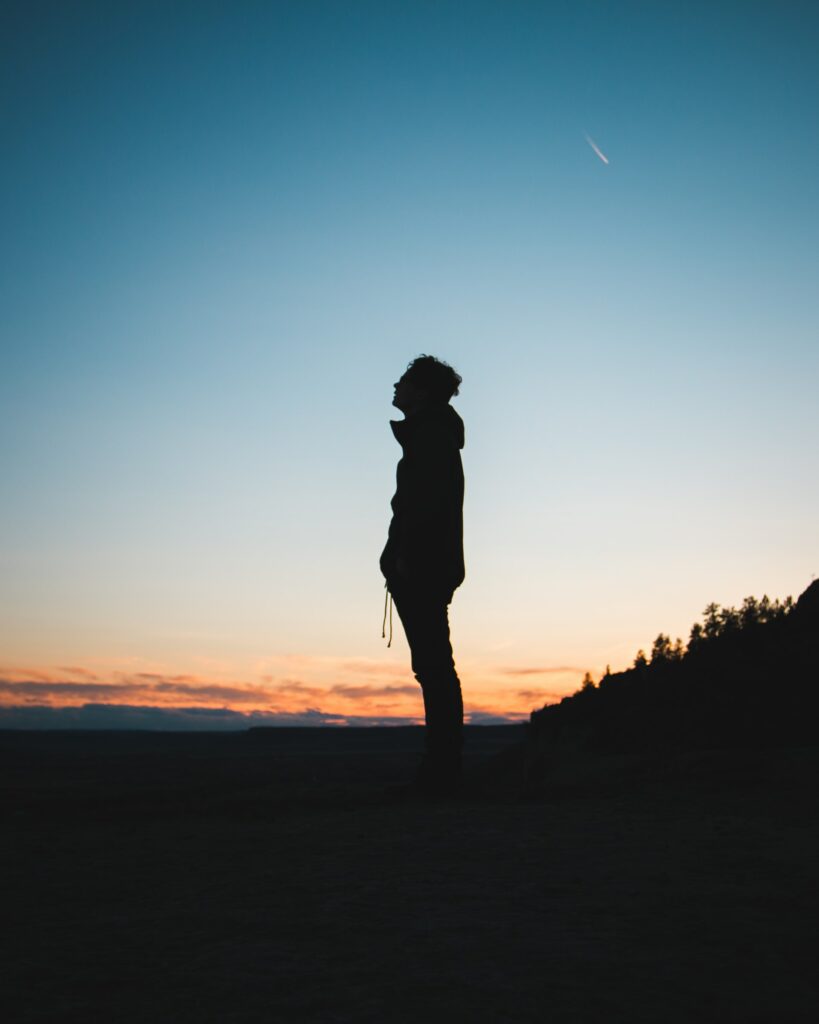
Night photos can be stunning when you use lights behind your subject. In silhouette photos, your subject won’t have much detail, but their bodies will create striking dark figures against the only light in the photo.
Use night mode.
This really should be the first tip. If you have an iPhone 11 or newer, you’ll have access to Night Mode, which essentially puts all these night photo tips together so you don’t even have to think about them — and it automatically enables when it senses that there’s not enough light. The one exception is the need for stillness.
You’ll still need to hold still while taking your photo, but your iPhone will help with that, too. At the top of the screen, you’ll see a little reminder to hold still, and at the bottom, you’ll see a timer to show you how much longer you’ll need to remain still.
Improving Your iPhone Photography Skills
By now, it should be pretty clear. You don’t need a professional DSLR to take great pictures. Great iPhone photography is a matter of talent, skill, and practice.
We’re not all going to be pro photographers, but we can pick up some of their skills and tricks along the way — one of which is learning how to use our cameras to the best of our abilities.
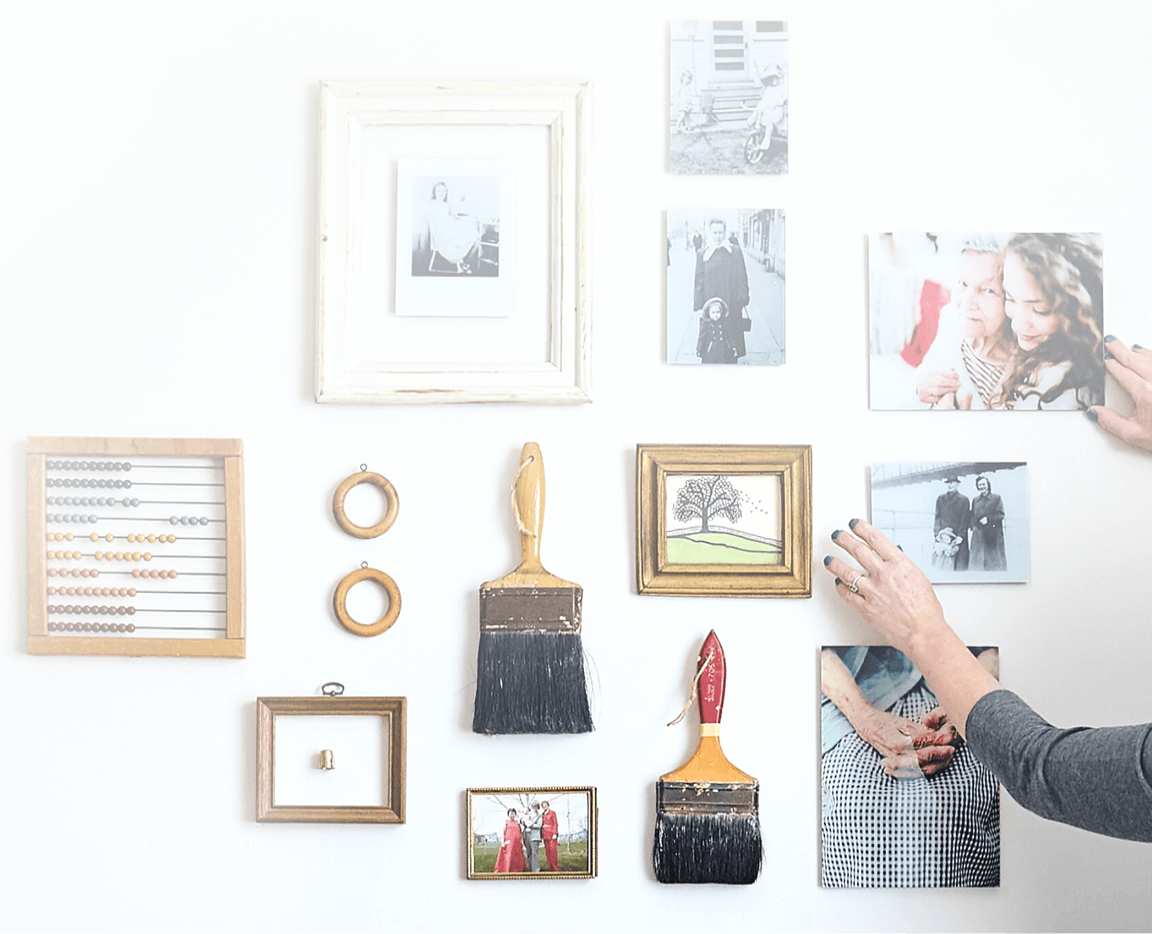
When you start taking amazing photos with your iPhone, here’s one parting tip. Resist the urge to leave them in the digital world. It’s awesome to share them on Facebook or Instagram and see people like or comment. But two days later, it’s gone from their mind and usually yours too.
It’s worth it to actually print out your faves to display in your home or wherever. All our glass prints ship with everything you’ll need to hang your photo (except the screwdriver, of course).
Comments