

The Secret That Turns Your Digital Photo Into a Priceless Work of Art
You have a photo on your phone that you absolutely love. You can picture it on your wall, looking stunning, a permanent reminder of a perfect moment. But how does that digital file actually become a beautiful, vibrant image on a solid piece of glass? The custom printing process on glass often seems like a mystery, and the internet is filled with confusing terms like glass sublimation and DIY craft projects that rarely live up to the promise.
The truth is, creating a flawless, gallery-quality glass print isn’t magic. It’s a precise blend of cutting-edge science, advanced technology, and dedicated craftsmanship.
Our guide will pull back the curtain. We will walk you through the exact, step-by-step process that transforms your photo from pixels on a screen into a cherished object you can hold in your hands. Forget the cloudy finishes and peeling transfers. You’re about to learn how a truly beautiful print in glass is made.
The Professional Process: A “How It’s Made” Deep Dive
When you order a professional glass print, you are not getting a sticker or a decal laminated to a piece of glass. The image itself is printed directly on the glass using sophisticated direct-to-glass UV printing technology. This unique method, invented by Fracture, is engineered for one purpose: creating a permanent, vibrant, and flawless print. Here’s a look inside that process.
Step 1: It All Starts with the Perfect Canvas

Not all glass is the same. The process begins with a sheet of high-quality glass, selected specifically for its optical clarity and durability. Before a single drop of ink is applied, this glass must be rendered impeccably clean. It’s often cleaned with specialized solutions like deionized water or even acetone to remove any microscopic dust particles, oils, or residues that could compromise the final print. This pristine surface is absolutely essential for the steps that follow.
Step 2: Printing Directly Onto the Glass with UV Ink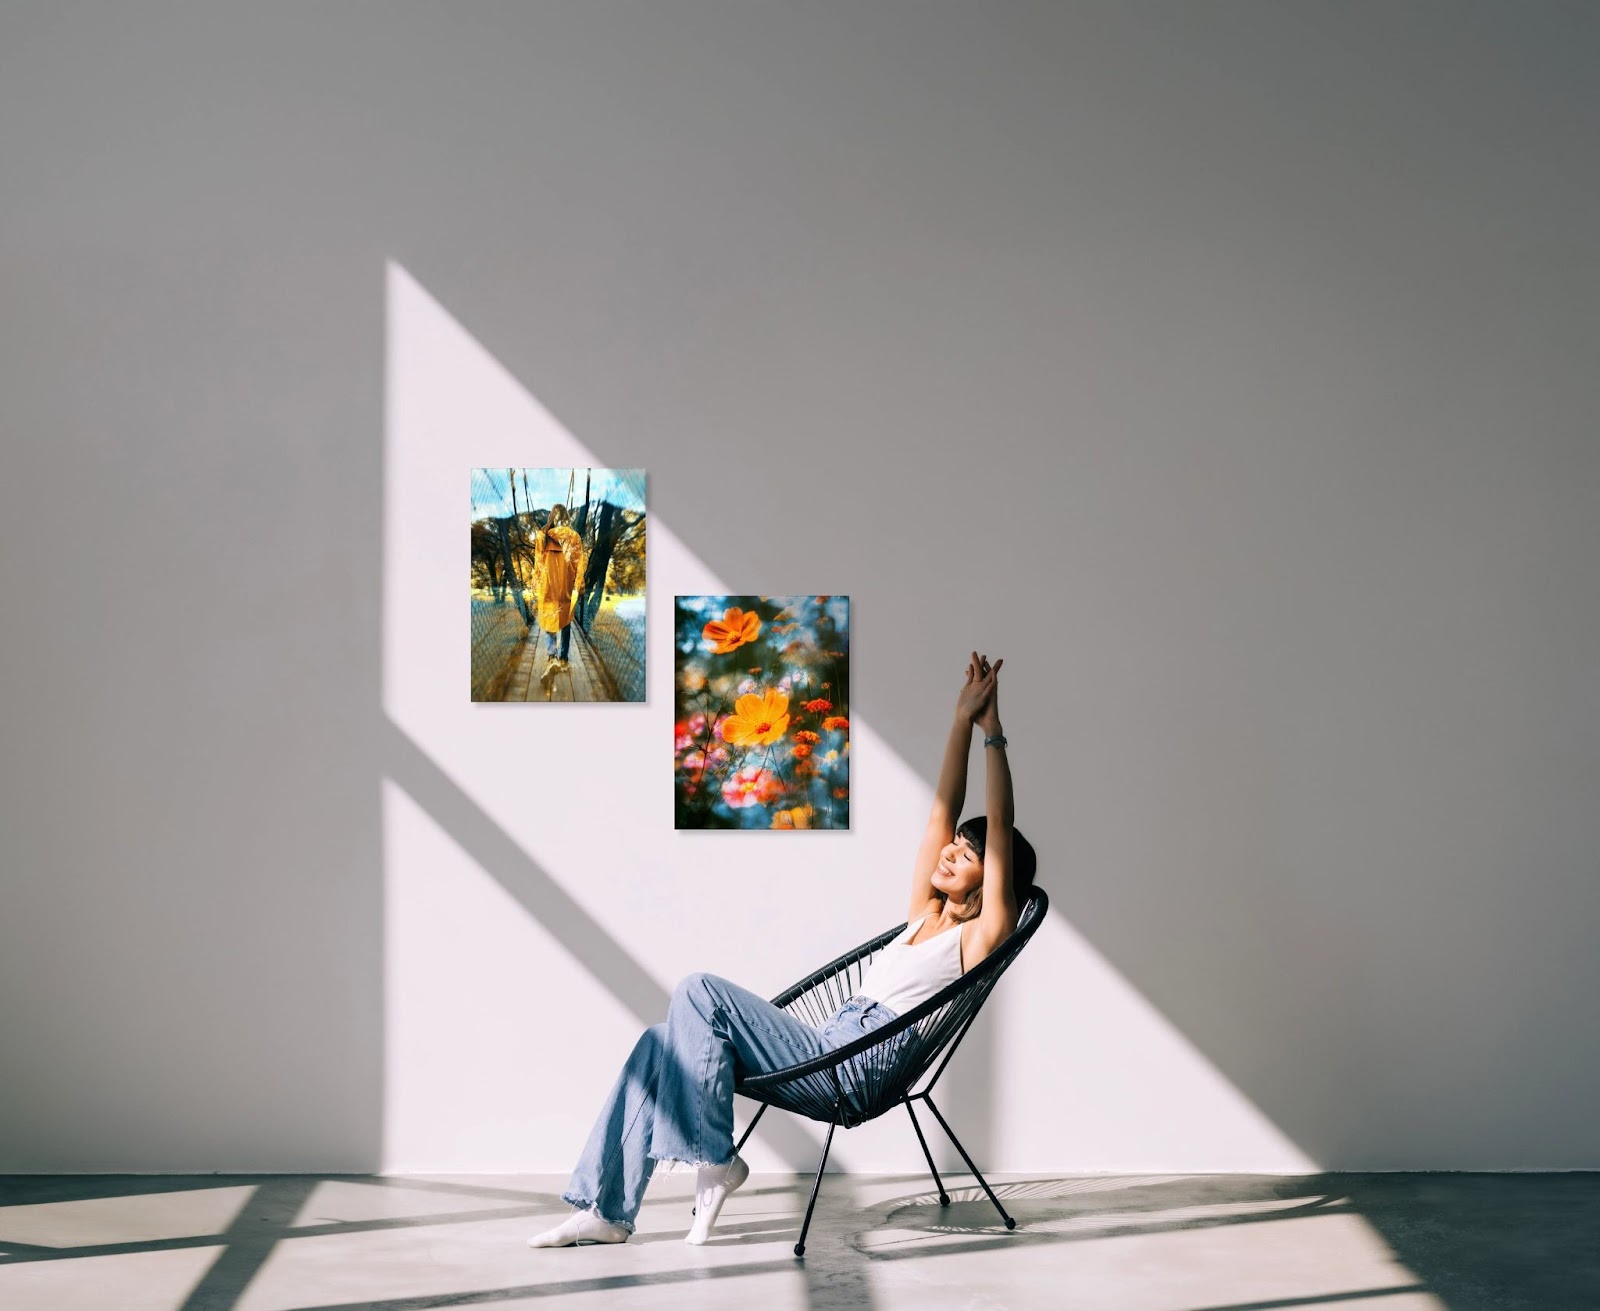
This is where the real transformation begins. A proprietary printer, a marvel of modern engineering, jets droplets of specially formulated, UV ink directly onto the back of the glass pane. Yep, we print on the glass itself, not onto a piece of paper that will fail to stand the test of time. This direct application is what allows for incredibly sharp, crisp details and the seamless, ultra-modern look of a professional glass print.
Step 3: The Power of Instant UV Curing
This part of the process happens simultaneously with the printing. As the printer applies the ink, a set of powerful, integrated UV lamps follows close behind, unleashing intense ultraviolet light that cures the ink instantly. This process hardens the liquid ink into a solid, durable layer and bonds it to the glass surface. This rapid curing process locks in the color at its peak vibrancy and ensures the longevity of your print
Step 4: The Secret to Rich, Vibrant Color—The Opaque White Layer
Have you ever wondered how a photo printed on clear glass can look so rich and not transparent? The secret is a final, completely opaque layer of white ink that is printed behind the entire colored image. This pure white backdrop serves the same purpose as a white canvas for a painter. It prevents light from passing through the image and instead reflects it back, making the colors pop with incredible depth, richness, and contrast.

Want to see this entire fascinating process in action? Take a peek behind the scenes at our Alachua, Florida workshop.
Step 5: The Final Touch—Ultra-Lightweight Foamcore Backing and Wall-Ready Mount
After your image has been printed and cured onto the glass, there’s one final, crucial step that transforms your print from a beautiful piece of glass into a complete, wall-ready work of art. This is where we apply our proprietary ultra-lightweight foamcore backing.
This isn’t just any backing material. The specially engineered foamcore we use is incredibly light yet remarkably strong, adding virtually no weight to your print while providing essential structural support. But here’s the real magic: the special adhesive we use to bond this backing to your printed glass serves a dual purpose. Not only does it create an unbreakable seal that locks in the UV-cured ink for added protection and longevity, but it also provides the foundation for our integrated wall-mounting system.
The foamcore backing comes with a precision-cut keyhole slot that makes hanging your print effortless with no complicated hardware or guesswork required. Simply drive the included screw into your wall, slide the keyhole over it, and your masterpiece is perfectly positioned and securely mounted. This final step ensures that your custom glass print isn’t just a stunning piece of art, it’s a complete, ready-to-display solution that goes from our workshop to your wall with remarkable ease.
Why This Process Creates a Superior, Lasting Print
The custom printing process on glass isn’t just about creating a beautiful object—it’s about creating a product that is engineered to last. Here’s how the technology translates into real-world benefits for you.
- Exceptional Durability: The UV-cured ink means your glass prints have permanent, lasting color. Are glass prints durable? Yes. While the glass itself is not shatter-proof, your print will not peel, fade, or warp in any way over time. At Fracture, we also mount the printed glass to a rigid, lightweight foamcore backing, which adds stability and helps prevent the glass from shattering into many pieces if it’s ever accidentally dropped.
- Fade-Resistant Photo Printing: The high-quality UV inks used in this professional process are specifically formulated for longevity. They offer excellent resistance to fading, ensuring your vibrant color glass prints stay as beautiful as the day you received them for years to come.
- A Perfect Finish, Your Choice: This process also allows for different finishes to match your decor. Our Original Finish lets the natural, brilliant quality of the glass shine through for a sleek, glossy look. We also offer a popular Matte Finish, which is a fantastic non-glare glass photo prints option that beautifully minimizes reflections without sacrificing color vibrancy, making it perfect for viewing from any angle.
The Simple Path from Your Screen to Your Wall
The technology behind the scenes is complex, but the experience of creating your own custom glass photo prints is designed to be incredibly simple and rewarding.
Step 1: Choose the Perfect Photo
The quality of your final print starts with the quality of your digital photo. For the sharpest, most beautiful result, always upload the original, high-resolution image from your camera or phone. Avoid using screenshots or photos sent via text message, as these are automatically compressed and will look blurry when enlarged. Not sure if your photo is good enough? Our website will automatically alert you if your image resolution is too low for the size you’ve selected. For more details, you can always check our complete file specifications.
Step 2: Select Your Ideal Size and Shape
We offer a range of unique, non-standard sizes—designed to perfectly match the aspect ratio of your smartphone photos—to help you create the perfect display. Our state-of-the-art printers create every image at a crisp 300 DPI (ink dots per inch), ensuring every last detail is captured. Whether you want a small accent piece like a Small Square (5″x5″) for your desk or a show-stopping Large (15.6”x20.8”) to be the focal point of a living room, there’s a size that’s just right for your vision.
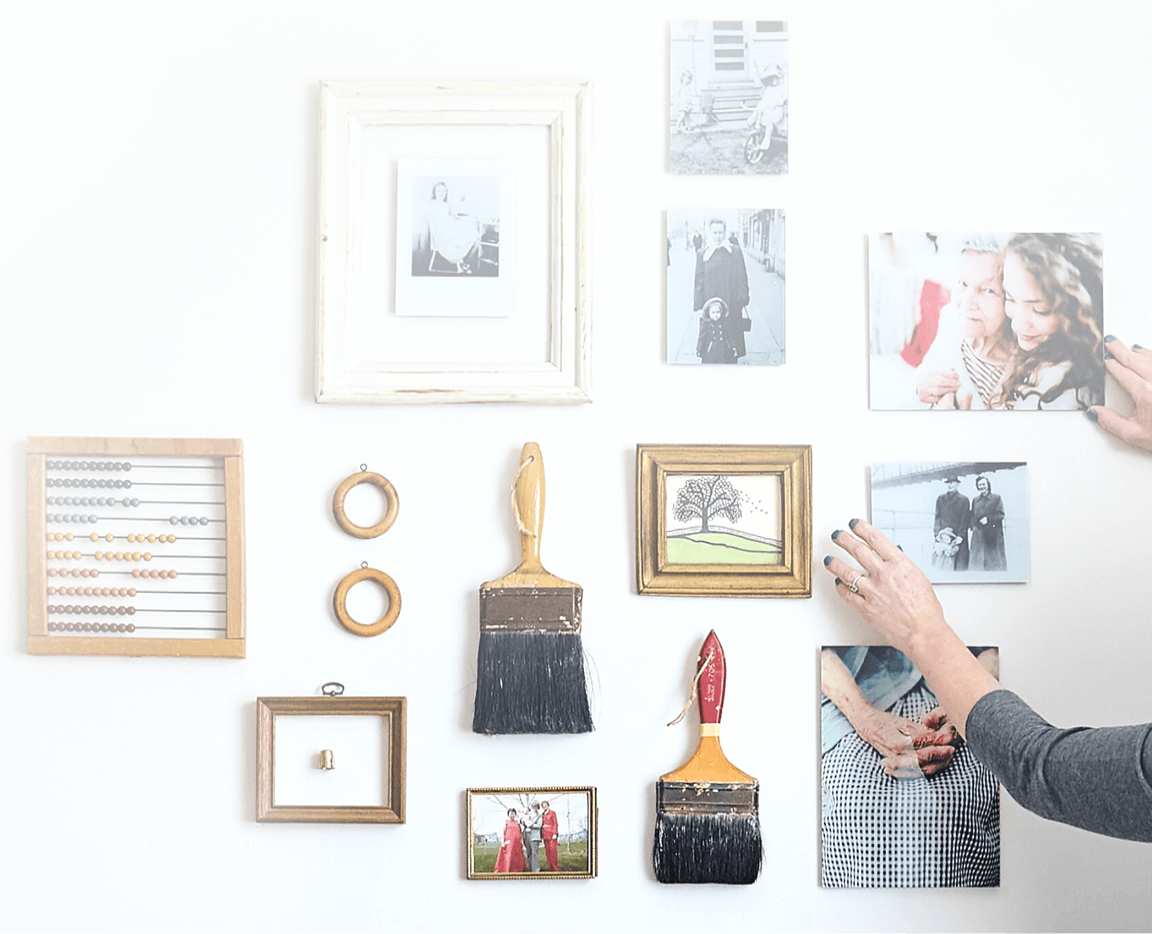
Step 3: Design Your Story Wall
This simple, cohesive printing process makes creating a stunning gallery wall easier than you ever thought possible. You can create a sleek, modern grid with multiple prints of the same size or design a more eclectic, story-driven cluster. For a truly effortless designer look, our curated Gallery Walls offer pre-designed layouts at a bundle discount, taking all the guesswork out of creating a beautiful, high-impact display.
Beyond the Print: How Our Values Shape Our Process
The custom printing process on glass at Fracture is about more than just technology. It’s guided by a commitment to quality and sustainability.
- Made with Care in the USA: Every Fracture print is made by hand in our carbon-neutral factory in Alachua, Florida.
- Sustainability as a Standard: We believe in creating beautiful products that are gentle on the planet. Our operations have been carbon-neutral since 2015, and we use minimalist, eco-friendly packaging that is fully recyclable.
- A Clear Difference: How does this process compare to other methods?
- Glass Sublimation: This popular DIY and small-scale method doesn’t print directly on glass. It requires a special polymer coating on the glass for the ink to fuse into. Our process bonds ink directly to the glass itself.
- Canvas & Acrylic: Canvas offers a textured, painterly look. Acrylic offers a lightweight, plastic alternative. Our glass prints provide a unique, modern aesthetic with a premium feel and brilliant clarity that these other materials can’t replicate.
Your Custom Printing Questions, Answered
Question : What is the difference between direct UV printing and glass sublimation?
Answer : Direct UV printing jets ink directly onto the glass itself, which is then cured into a hard, durable layer. Glass sublimation is a heat transfer process that requires the glass to be pre-coated with a special polymer. The ink turns to gas and fuses into this polymer coating, not the glass itself.
Question : Can you print on any glass object, like a cup or bottle?
Answer : The Fracture process is specifically engineered for printing high-resolution photos on flat panes of glass for beautiful wall art. A different type of glassware printing machine with a rotational axis is needed for cylindrical objects like cups and bottles.
Question : Will my photo look transparent or see-through when printed on glass?
Answer : Not at all. A final layer of opaque white ink is printed behind the entire colored image. This ensures your photo is completely opaque and that the colors are rich, deep, and vibrant.
Question : How is the print mounted to the wall? Is it difficult?
Answer : It’s incredibly easy. Every Fracture print comes with a pre-attached, lightweight foamcore mount that has a keyhole for hanging. We even include the screw. All you need is a wall and a screwdriver. We include Wall Tape for hanging as well, if you need a renter-friendly option that gets your print on the wall in seconds.
Question : What is the minimum photo resolution I need for a good print?
Answer : While our system prints at a high 300 DPI, we can often produce a beautiful print from a lower-resolution file. The best test is to zoom in on your photo on your computer; if the details look clear and not pixelated, your print will look great too. Our website will also provide a warning if your file size is too low for your chosen print size.
From a carefully prepared pane of glass to a final, vibrant image ready to hang on your wall, the custom printing process on glass is a journey of transformation. It’s a method designed to honor your most important memories with the quality, durability, and beauty they truly deserve.
Ready to see the difference for yourself? Explore our selection of glass print sizes and turn your favorite photo into a masterpiece.


Comments