I’ve trashed countless moon pics from my phone.
Maybe you’re in the same boat. You’re walking outside, and you look up. The moon and the stars are just breathtaking. So you whip out your phone and try to snap a photo of that beauty.
And, if you’re like me, your photo looks blurry, grainy, and just plain wrong. Trash.
But it *is* possible to get some incredible shots of the night sky. We only need some direction on how to do that. Because, despite our modern technology, a great shot of the night sky is not as easy as snapping a selfie.
So I’ve asked photographer Göran Strand to share with us a guide to capturing some of the beauty of the night sky. I’ll let him take it from here. – Drew
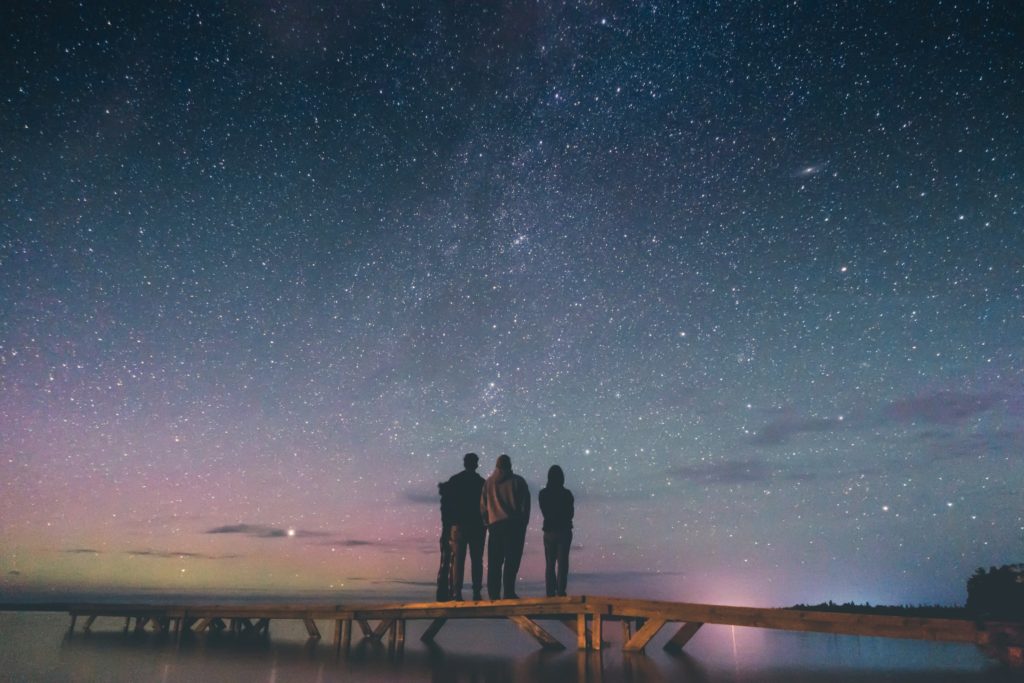
Standing under a starry night sky can be an overwhelming experience in many ways.
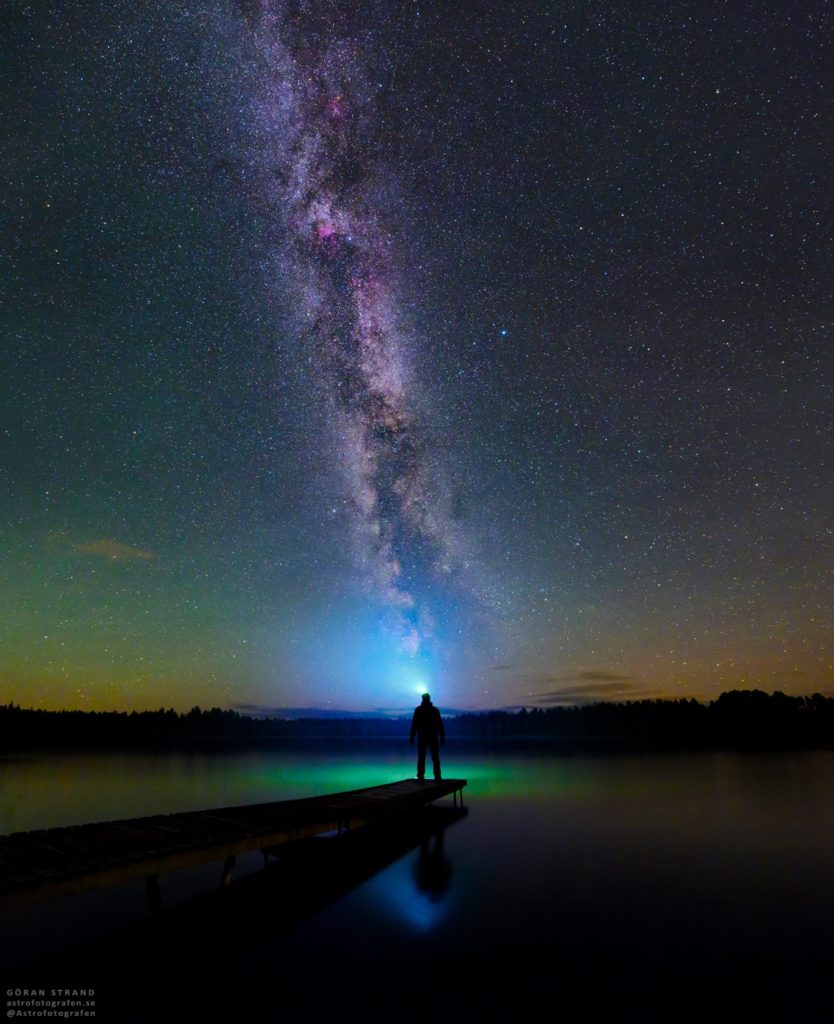
It’s the best feeling I know, standing there alone watching billions of stars lighting up the night sky. Here are some basic guidelines to get you started capturing that beauty.
Get the Idea
Your camera works like the human eye. To let light in, the lens, similar to our pupils, has to open and become larger. However, unlike our eyes, a camera will not do this automatically when in low-light situations. Keep this concept in mind when changing the settings on your camera.
Get the Gear
To take high-quality photos in low-light, you will need:
- A DSLR camera (or a camera with manual settings that you can change)
- A wide-angle lens
- A tripod
Get the Basics
Use your camera’s manual settings. The key to taking low-light photos is to adjust the exposure settings manually, or how much light the lens is letting in. Here are the three settings you should change once in manual mode.
- F-stop: The F-stop will appear as the letter F followed by a number (F3.5 for example). This setting controls the aperture, the size of the opening in the lens. The lower the number, the larger the aperture, and the brighter the image will turn out.
- Shutter speed: The shutter speed is a fraction (1/300 for example) and lets you know how fast the lens is opening and closing to take a photo. You will need to decrease the number in the denominator to increase the amount of light in the image.
- ISO: ISO controls how sensitive your sensor is to light. The higher the ISO number, the more sensitive it is to light. To take photos in low light, you will most likely want to increase the ISO.
Always aim for a low ISO value since raising your ISO reduces the camera’s dynamic range and adds noise to your image. Start by increasing the exposure time and then raise the ISO the get the shot you’re looking for.
Be cautious when adjusting these settings. Changing them too much can sometimes compromise the quality of the image. You are best off altering each setting a little at a time and taking a test shot until you have just enough light for the photo, but not too much.
However, don’t be afraid to experiment by taking multiple photos with different settings. It’s really the best way to find out which camera settings work best for the image you want to create. There are numerous settings to mess around with on a DSLR, so if one thing isn’t working, just try something else.
Pick the right format
Shoot in RAW. It’s a lossless format that gives you more freedom and options to work with in post-production. You can find this setting under “quality” or “image quality” on most DSLRs.
Plan your shot
If you’re going to a remote dark site, it can be a good idea to scout the location during daytime or go there before dark. It’s then much easier to find nice foregrounds to work with and to see if anything is blocking the view in a particular direction.
Also, you should know your camera buttons and dials by heart. When it’s dark at night, it can be frustrating to change settings when you’re having trouble finding the right buttons. You want to focus your energy on taking pictures, not on feeling around for the buttons.
Where to shoot
If catching the Milky Way is your goal, keep in mind that the galaxy is well below the horizon in December and January, so shoot accordingly. Light pollution also plays a part, so stay away from big cities. Here’s some great places to capture the night sky in the United States:
Arches, Utah
Badlands, South Dakota
Grand Tetons, Wyoming
Rocky Mountain, Colorado
Capitol Reef, Utah
Glacier, Montana
Death Valley, California and Nevada
You’ll also want to make sure you have clear skies– so checking the weather before you head out with your gear is a must.
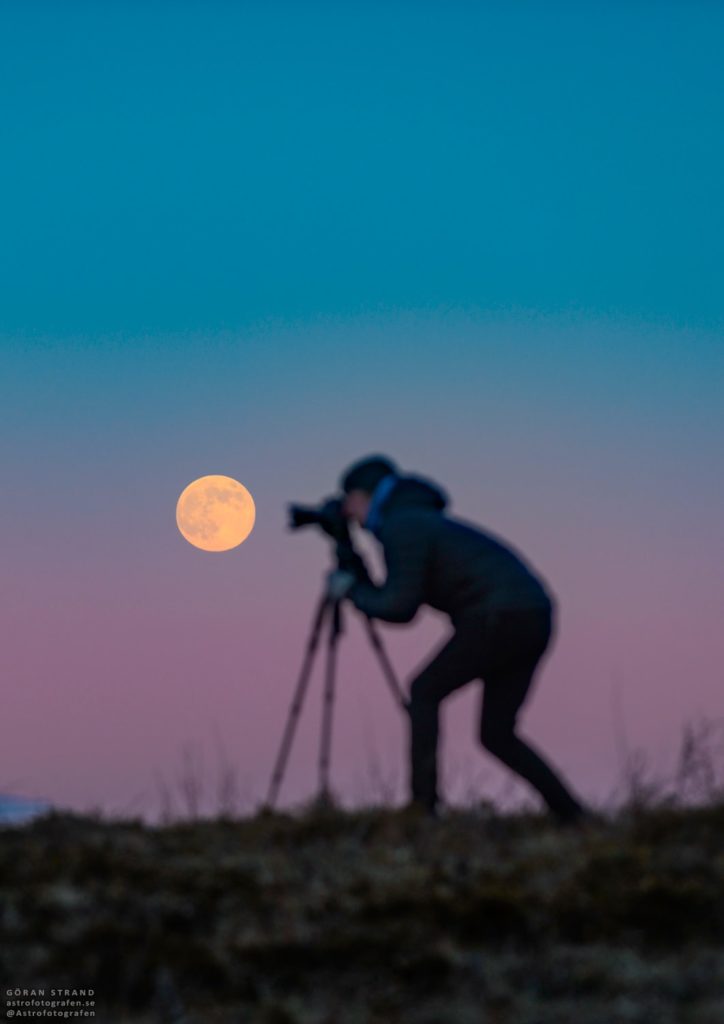
Focus
One of the trickiest parts when shooting in darkness is focusing. When using wide angle lenses, autofocus usually doesn’t work on small distant stars. If the moon is visible, you can try to autofocus on that and then recompose the shot. You can also try to autofocus on a bright distant light source like street lights, lit-up buildings, etc. If you don’t have anything to autofocus on you must do manual focus. Start by setting the manual focus just shy of infinity. Then, take a shot, look at it on the LCD, and if the focus isn’t right, make a small adjustment to the focus and repeat the process.
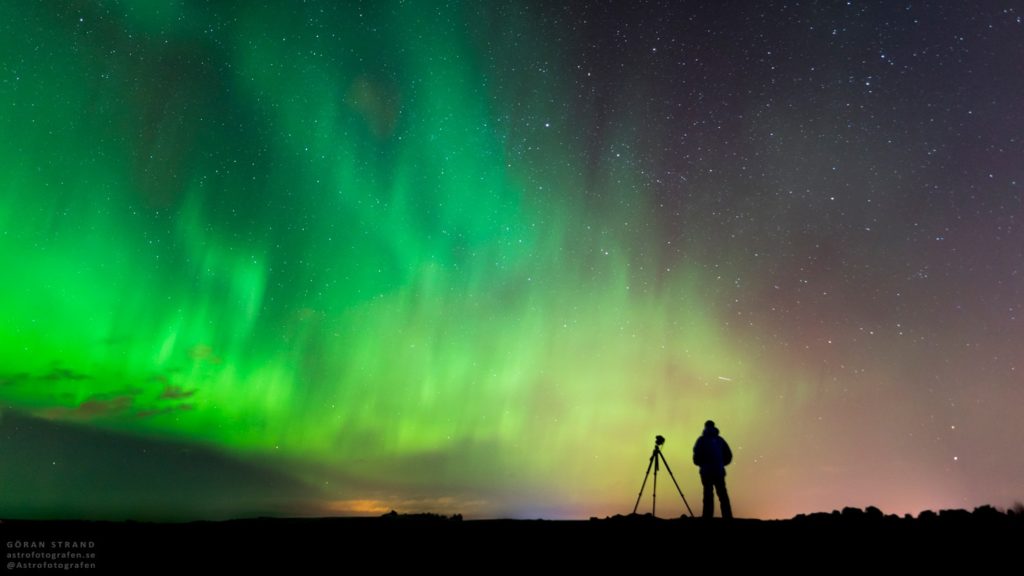
(If you’re looking heading to a location where you can see the Aurora Borealis, here’s a guide to photographing the Northern Lights.)
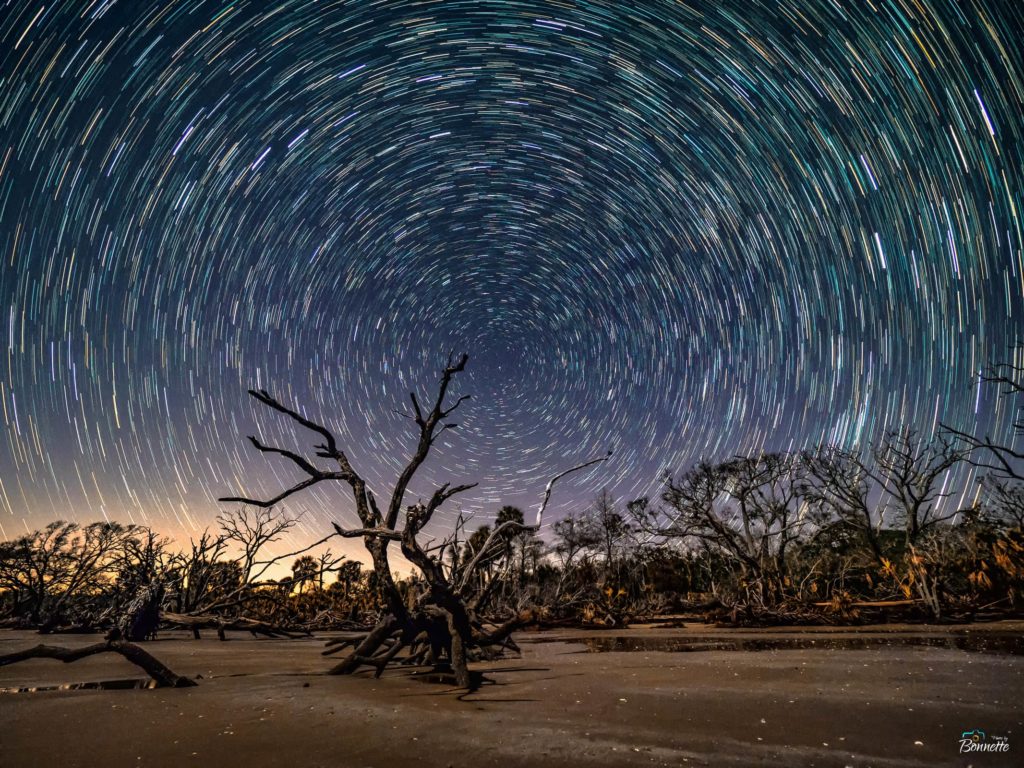
Use the 500 rule
A good rule of thumb for avoiding star trails is if you divide 500 with your focal length (Don’t forget to include the crop factor on smaller sensors), you get the number of seconds you can expose. For example, if you’re using a 50mm lens on a full format camera, you divide 500 by 50. Since that equals 10, that tells you that you can use an exposure time of 10 seconds and still get round stars.
Make light trails
Once you have the basics down, get fancy with it by creating images that do show light trails. These happen when light sources are in motion while you’re taking the photo and you capture the entire trail they follow. Imagine a moving car with headlights, except the headlights are frozen in the image showing the path they took. Light trails can be created by using a tripod, slowing the shutter speed substantially, and a low aperture (larger F-stop). Don’t be confined to city lights and cars; you can create your light trails with flashlights, sparklers, or any source of light.
Be patient
And remember, the most important thing is patience. Don’t give up if things don’t work out as planned. Keep shooting and don’t be afraid to experiment!
Wow! SO much good advice here, Göran. Thanks for sharing all of these tips.
Comments