Outdoor adventures aren’t just about thrilling action; they can be **super peaceful** too. Imagine the rush of mountain biking or the calmness of canoeing. **Snapping awesome pics** of these moments is a breeze with some cool tips. Bill Hatcher, in the National Geographic Photography Field Guide: Action and Adventure, says, “Taking great adventure photos means balancing **your camera skills** while enjoying the activity and observing what’s happening around you.” **Amazing photos** will tell the story of your experiences clearly.
With that great advice in mind, here are 9 photo tips for your next outdoor adventure that will take your photos to the next level. Use them to capture dynamic and inspiring images you’ll want to look at again and again.
1. First, the journey
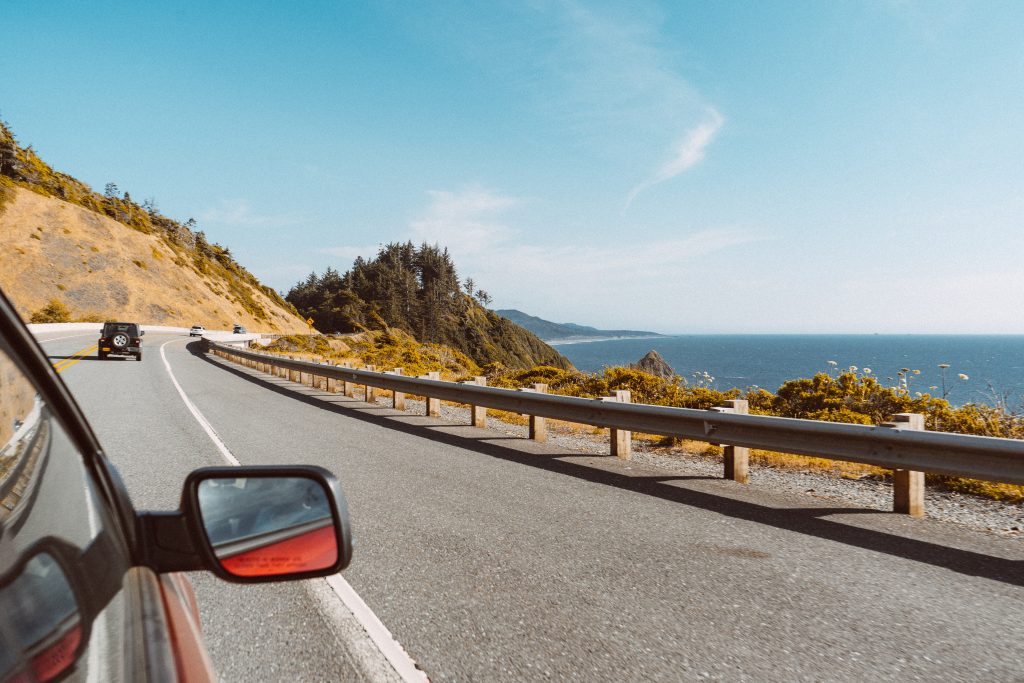
Having your camera ready at all times is key when you’re embarking on an outdoor adventure. And that begins the moment you leave home. You never know what you’ll see along the way that’s just as cool—if not more so—than the main event itself. The journey to and from your adventure sometimes leads to the best photos. For example, if you’re driving to the mountains or the countryside, the sprawling ranches, fields, or barns on the side of the road may be worth capturing. In those cases, fast shutter speeds are your best friends. If you’re using an iPhone, Burst Mode allows you to take multiple high-speed photos at a time.
2. Capture the best light on your outdoor adventure
Unlike portrait photography or any type of indoor photography, you can’t control or manipulate light during an outdoor adventure. The thing is, though, it can make or break a photo. With only the sun as your source of light, it’s important to keep in mind the best times to shoot outdoors: early morning and early evening, when the light is softest and appears diffused. However, that doesn’t mean you can’t take great photos in the middle of the day. Cloudy days usually yield great photos because the light is neither too dark nor too bright. On sunny days, avoid capturing shadows or washed-out objects by making sure the sun is always behind you. This will help illuminate your scene without overwhelming it.
3. Expand your perspective
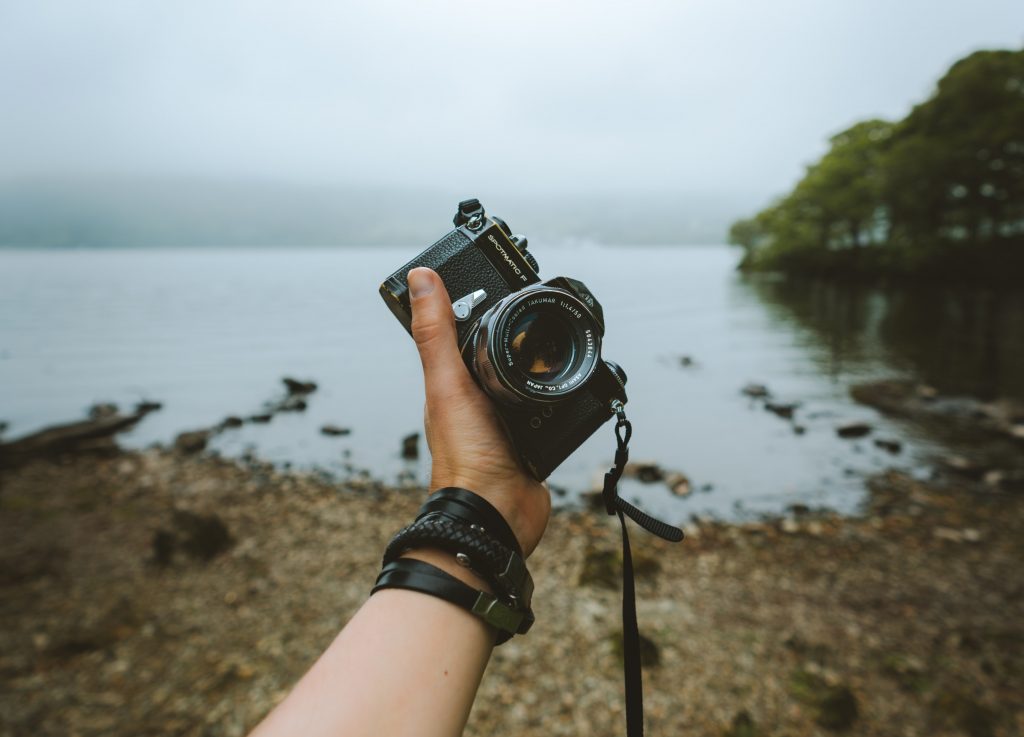
Most people shoot everything at eye level. However, changing the height of your camera, whether you go high or low, can capture outdoor adventures in a unique way. Simply moving to another side of a hill or trail can make the same object look entirely different. So don’t be afraid to switch your perspective and get away from shooting every outdoor adventure at eye level. Sometimes it’s a good idea to get up close and personal if you want to capture a person’s emotion and grit while someone is, for example, paddling down Class III rapids. But even a photo of someone laying in a hammock can look completely different if shot from ground level. The silhouette of the hammock and the person in it against the tall trees take on a new dimension just by moving your body to the ground and shooting up.
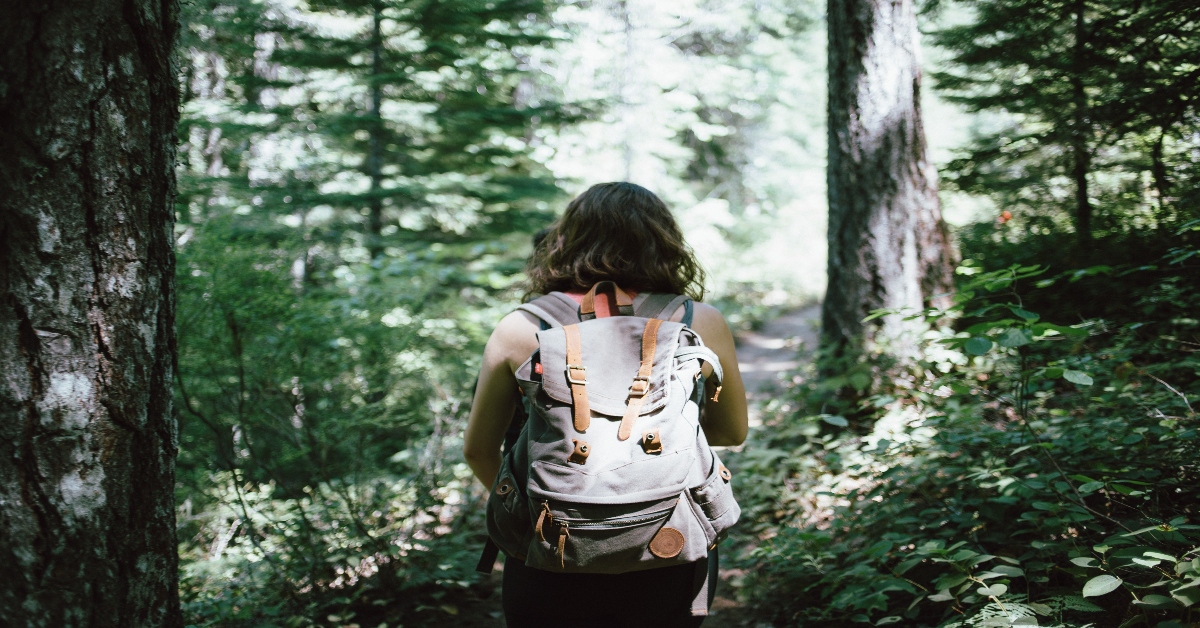
The same technique can be applied to long walks and hikes; try snapping your partner or group from behind, framed by nature, instead of always from the front. Walk to the other side of the ravine. Don’t be afraid to look at the scene from a different vantage point and snap away.
4. Play with scale
It’s hard to know you’re next to an incredibly tall tree or the world’s highest cliff if you don’t have anything in the photo to help provide scale. One easy way to maximize scale on any outdoor adventure is to place a person or a common object in your photos instead of always trying to capture the landscape view. Even if they’re far away, this helps the viewer quickly understand the scale and proportion of the composition, providing a valuable reference point.
5. Remember the Two I’s: Isolate and Illustrate
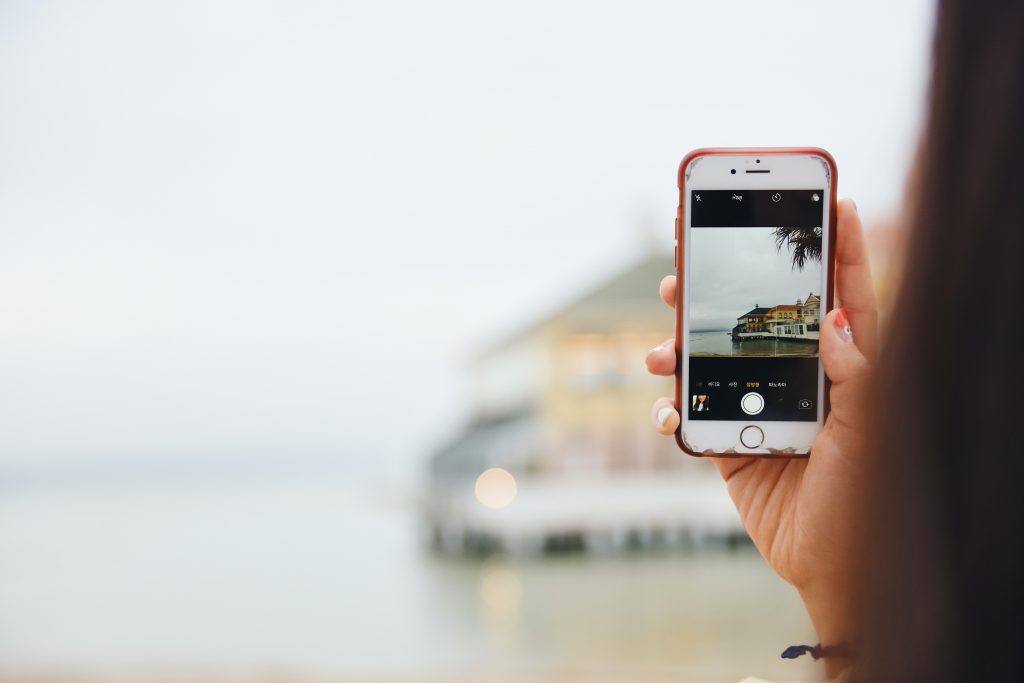
When you isolate a subject, you make it the star attraction. Nothing else in the frame distracts the viewer or pulls attention away from the main element. By contrast, to illustrate a photo is to make the main object smaller to provide more context. For example, a kayaker maneuvering the rapids is pretty cool up close (isolated). But when you pull back, you illustrate the size and scope of the rapids, the water’s force and velocity, and the overall spirit of the moment. Different outdoor adventures call for different takes but keeping these two I’s in mind can make all the difference.
6. Keep it local for your outdoor adventure
Popular tourist spots, even those inside large parks and vast expanses of wilderness, don’t generally make for the best adventure photo backdrops. Not only does the area appear crowded in photos, it can also feel worn out. No one wants the same photos everyone else has. So instead of heading to crowded trails and lookout points, look for places where locals go hiking, fishing, or whatever activity you’re looking to capture. The extra elbow room will declutter your images and make the outdoors look like they’re all yours. Plus, it’ll save you time and give you more room to be creative with your photography.
7. Decide whether you’re an observer or participant—or both
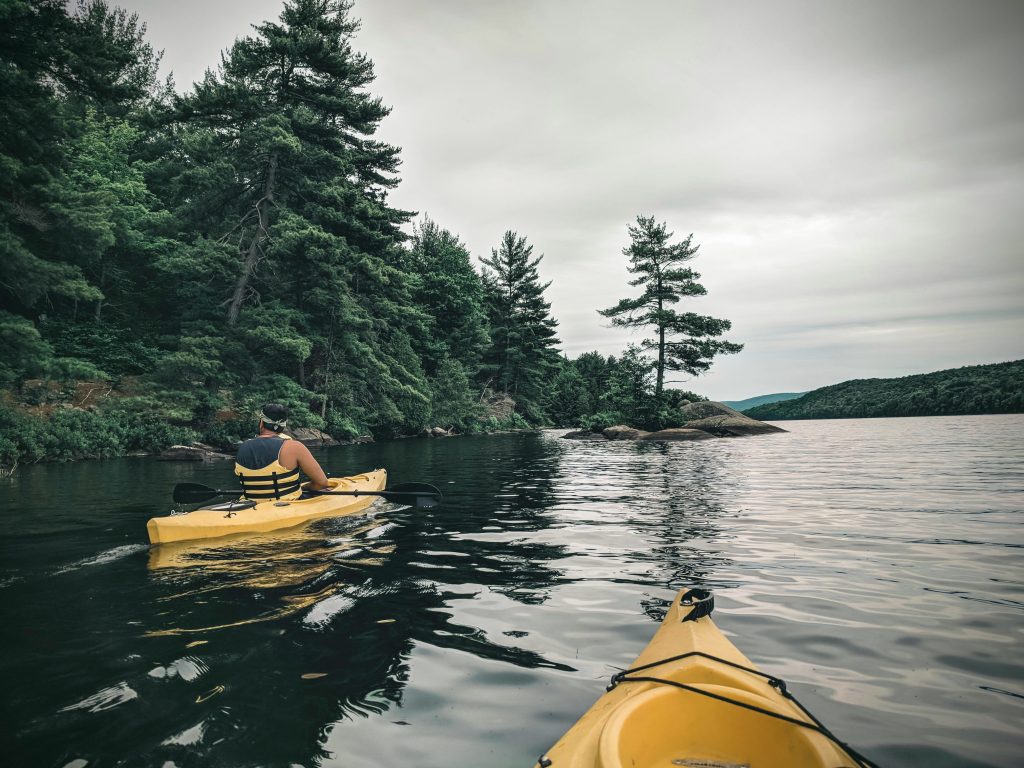
When it comes to snapping outdoor adventures, there are two types of photo-takers: Observers, who capture everything from the sidelines, and participants, who capture everything from the inside. Participants usually snag a point of view that few get to see. On the other hand, observers tend to capture the images that everyone else sees. For example, capturing a kayaker from a riverbank is very different from capturing one from another kayak in the water. Perhaps it’s even in the same kayak, but sitting farther back in the boat. Participating in the action will always yield more interesting and unique perspectives. So keep that in mind as you plan your outdoor adventure (and join the fun).
8. Do your research before your outdoor adventure
The best outdoor adventure photos begin at home. Look at existing photos of the destination or activity you’ll be doing. Let them spark ideas about what to do—and what not to do. Read about the area or scout it out ahead of time so that you’re already familiar with the best vantage points on the day of your big adventure. Also, don’t forget to check the weather reports and any specific times such as sunrise, sunset, or when the tides change. Perhaps there is certain wildlife native to the area that you can snap. Research anything that will help you be better prepared to take great outdoor adventure pics.
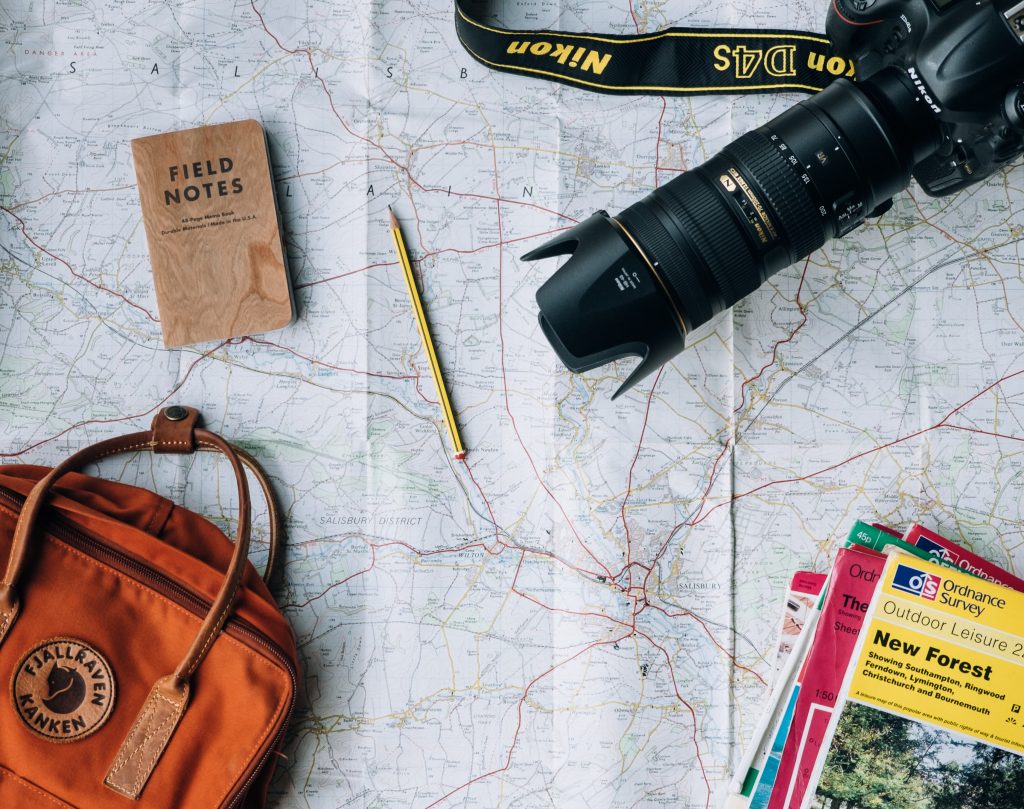
9. Bring the right gear
Even if you’re just chronicling a bike ride through your favorite neighborhood with your kids, the right gear can make all the difference. Hip packs, for example, provide easier access to a camera or smartphone than backpacks because they’re on your person and always within arm’s reach. Depending on the activity, you’ll also want to keep your phone or camera protected from water and other elements as much as possible. (This might require waterproof accessories). Planning ahead with the right gear can save you time and a headache. This way, you can indulge in the fun you’re having and capture every smile and special moment.
We always say your photos look better when you get them off your camera and onto your walls! Fracture offers multiple sizes and shapes so that you can create custom layouts—available in single glass prints, a Photo Wall arrangement, or Storyboard—to display your beautiful adventure photography. Plus, you’ll receive all of the materials you need to hang them on your walls hassle-free, with options for tabletop display stands.
The possibilities are endless—we can’t wait to see your prints in your home!


Comments