
Hey folks, enjoy this awesome guest post by Andrea Duclos, a *fantastic* blogger, author, and designer from West Palm Beach. Dive in! – Drew
Ever thought about creating a gallery wall in your home? Need some gallery wall ideas?
While plenty of designers will tell you that creating a photo wall is a difficult process, I want to tell you:
It’s not difficult, I promise.
Skip the tracing and cutting and template steps– there is no need! There are so many gallery wall ideas, styles, and types that you really can’t go wrong. The most important thing is having a straight line. Have a tape measure? Yes? Perfect! Grab a collection of your favorite art, photo wall arrangement or standalone Fracture prints and let’s go!
We’ve created a few gallery walls in our space– all of them wildly different depending on my mood and budget, and trending gallery wall idea I might be inspired by. The size and amount of art in my gallery wall layout are undoubtedly influenced by any and all books on minimalism that I’ve recently read.
The thing is, you don’t need A LOT of art to create a good gallery wall layout, you just need a few pieces that you love! Or many pieces– depending on how filled in you want your photo wall to be.
A Brief History
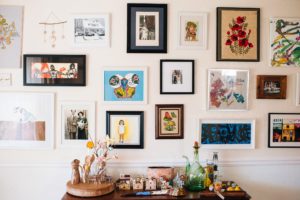
On our past photo walls, we had A LOT of art in the gallery wall layout. One of the first gallery wall ideas I came up with and created in my home was a hodge-podge of whatever art and photos we could find inside mostly thrifted frames. We’ll call it a *super budget funky and cluttered art gallery wall.*
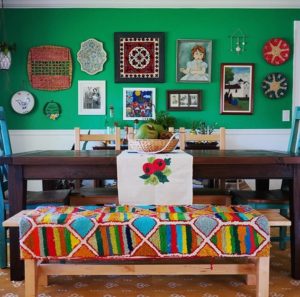
For the second gallery wall we created in our home, we wanted a bit more of a rhyme and reason to the wall. It was still a bit funky, but slowly moving into a more refined zone for sure. We had stepped up our art game a bit by thoughtfully collecting a few pieces that were sentimental.
But one of the biggest things that was missing for us in both earlier photo walls was family photos. In fact, our entire home seemed to be missing personal photos. This time, I opted to create a wall that could have our personal lives in them, without being too in your face, “these are our portraits” — you know, something to keep the funkiness in.
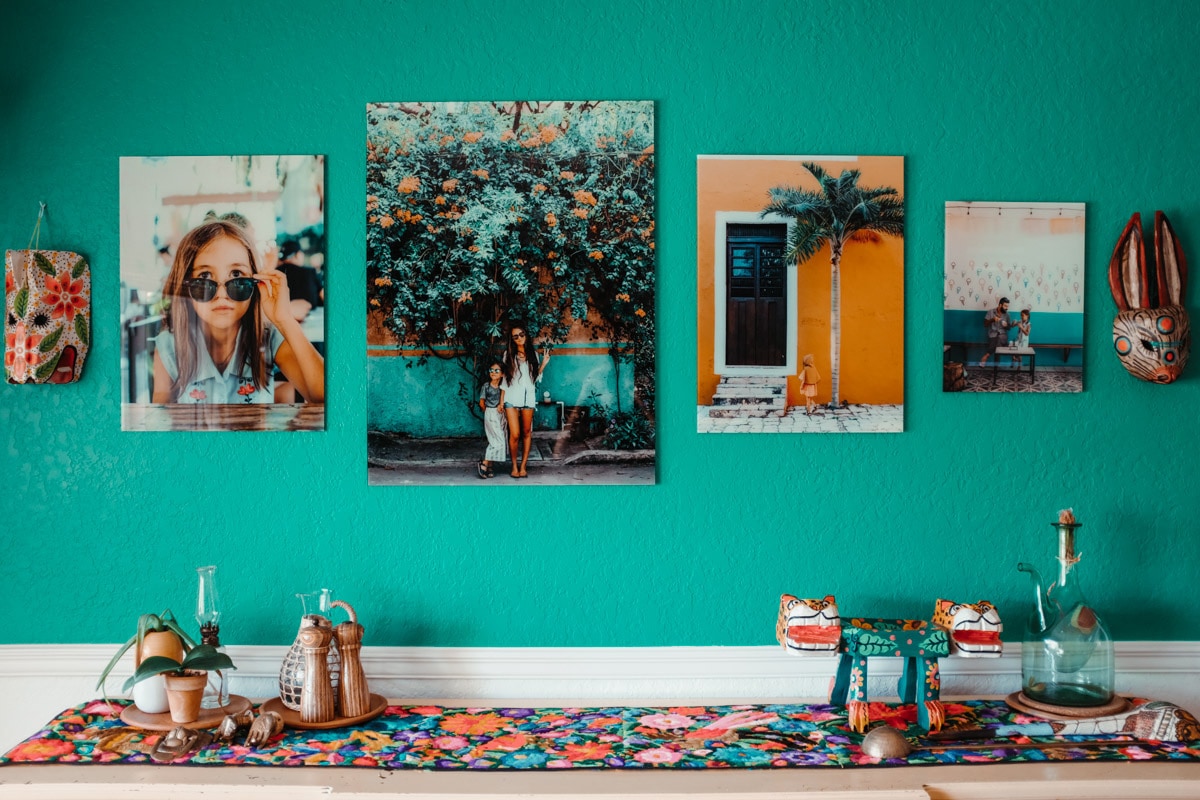
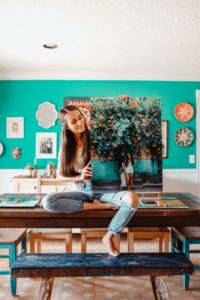
This newest gallery wall idea is perfect for the current state of our lives. It’s minimalistic, without being boring or barren. It was crazy easy to put together (and fun too!). And it’s personal– a series of artwork that shows us and our love for and in the world.
Simple tips on how to create the perfect gallery wall for your home!
1. Choose your art
The number of pieces in your gallery wall idea does not matter as much as the size of the pieces does. I wouldn’t suggest buying largely different sizes if you’re only going to have a few pieces. Gallery wall idea 1 had mostly a collection of smaller art– which means we needed A LOT of art to really make a statement on our wall.
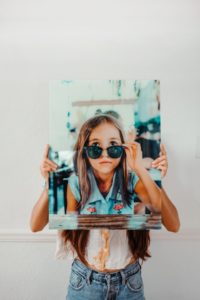
Gallery wall idea 2 had fewer pieces, nothing was overly large or overly small, as this can make the wall feel off. For gallery wall idea 3, we chose to really limit/edit our art on the wall. Originally I had printed three Fracture glass prints for this wall, but when the prints came, I was so in love with them that I created a fourth print. But you’ll really never know which one I added in at the last minute because all of the four pieces blend in together quite nicely.
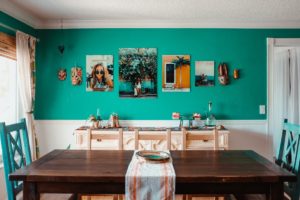
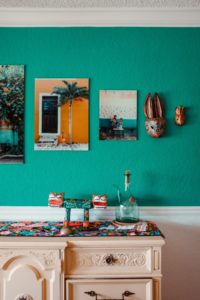
Decide what colors are your favorite and stick with them. One way to do that is by maybe choosing your absolute favorite piece of art, and then basing all of your other choices on the colors of the first piece. For me, I knew I wanted to do a larger print of my daughter and myself– and chose the other three prints to match this photo. Shades of teal, blue, green, and orange.
Can’t really nail down a certain color? Perhaps consider a black and white gallery wall. For me, I LOVE color, so I wasn’t scared to add too much. I just wanted to stay away from red and browns– as they would clash (or look like Christmas) with the green wall.

2. Plan your wall
Here’s where your tape measure comes in. The most important point of your photo wall is the center line. When you step back and look at your gallery wall layout, you want all your art to be based off this center point. Go ahead and find a friend and that tape measure and make a marking on the center point of your wall (both vertically and horizontally). From this point, you want to measure both up and out to know exactly how large your wall is so you can plan how much art will be on either side of this point.
If you’re creating a simple gallery wall line like we did, then from here, all you need to do is measure the length of all your art combined, the distance between the art (we chose to separate each piece of art by about 3.5 inches), and the distance you want on either side (though this doesn’t matter as much as the center point in your gallery wall idea).
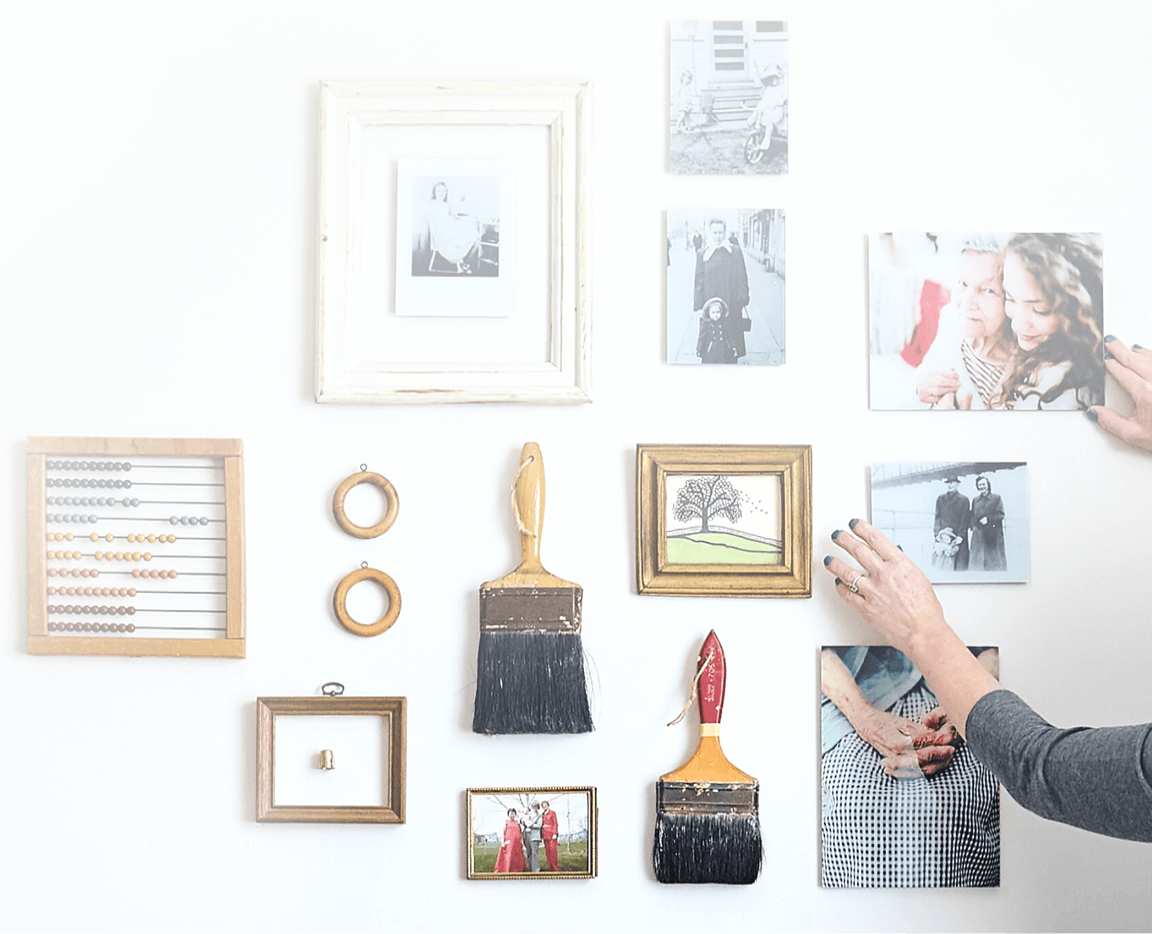
3. Lay it out
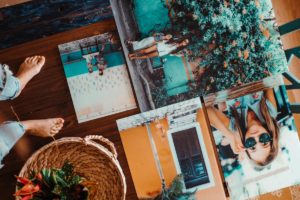
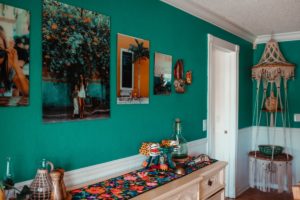
We laid out our four prints and moved around the order until we found a gallery wall layout we liked best. We didn’t plan the sizes of the art when printing/ordering them. While you can totally do this, it’s not as important as you would think.
The prints came in three different sizes and we just moved them around until it felt right. We stuck the middle-sized print between the largest and smallest print so that it would feel balanced, and since we had already picked art that would all match each other, it really didn’t matter (colorwise) what order the prints were in. You can also opt for a pre-made Photo Wall, which makes creating a gallery wall simple and easy.
4. Nail it up
Once you know the order of the prints, you can put them up. Fracture makes it super simple with their mounting system already in place. All you have to do is insert the screw (or nail) into the wall and hang your print to bring your gallery wall idea to life! Each print was hung in the center of our middle line.
Horizontally, the center point was measured from the total distance of the four prints divided in two. This line was just about a few inches from the biggest print.
5. Fill it in
When measuring and planning, we only measured our Fracture prints to hang. These were our important pieces. After they were hanging, we looked at them and asked, “Should we add more?” While we all agreed that the wall didn’t need more art, but it would be fun to add something else to really complete the space– and again, add a bit more fun and bring your gallery wall ideas to life.
We had a few wooden masks from our recent trip to Central America, and the colors matched pretty well to the photos on the wall. And the best part was that all four photos I chose for the wall were from that same trip, so it was perfect.
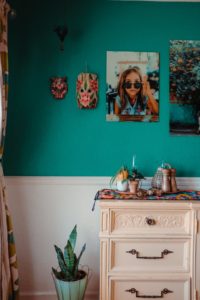
Now we have a perfect photo wall that’s super personalized, fun, and colorful too– while adding a spark of refinement to our homey funky space 😉 The biggest lesson?
Don’t be scared to create a gallery wall idea that’s completely you– just make some memories, take some photos, and have fun.
Comments