Seeing black and white photos feels powerful. The striking contrast and tonal range of black and white photography can make everyday subjects or scenes seem truly special. Black and white images catch our attention; they create a deep, emotional bond that makes us pause and look.
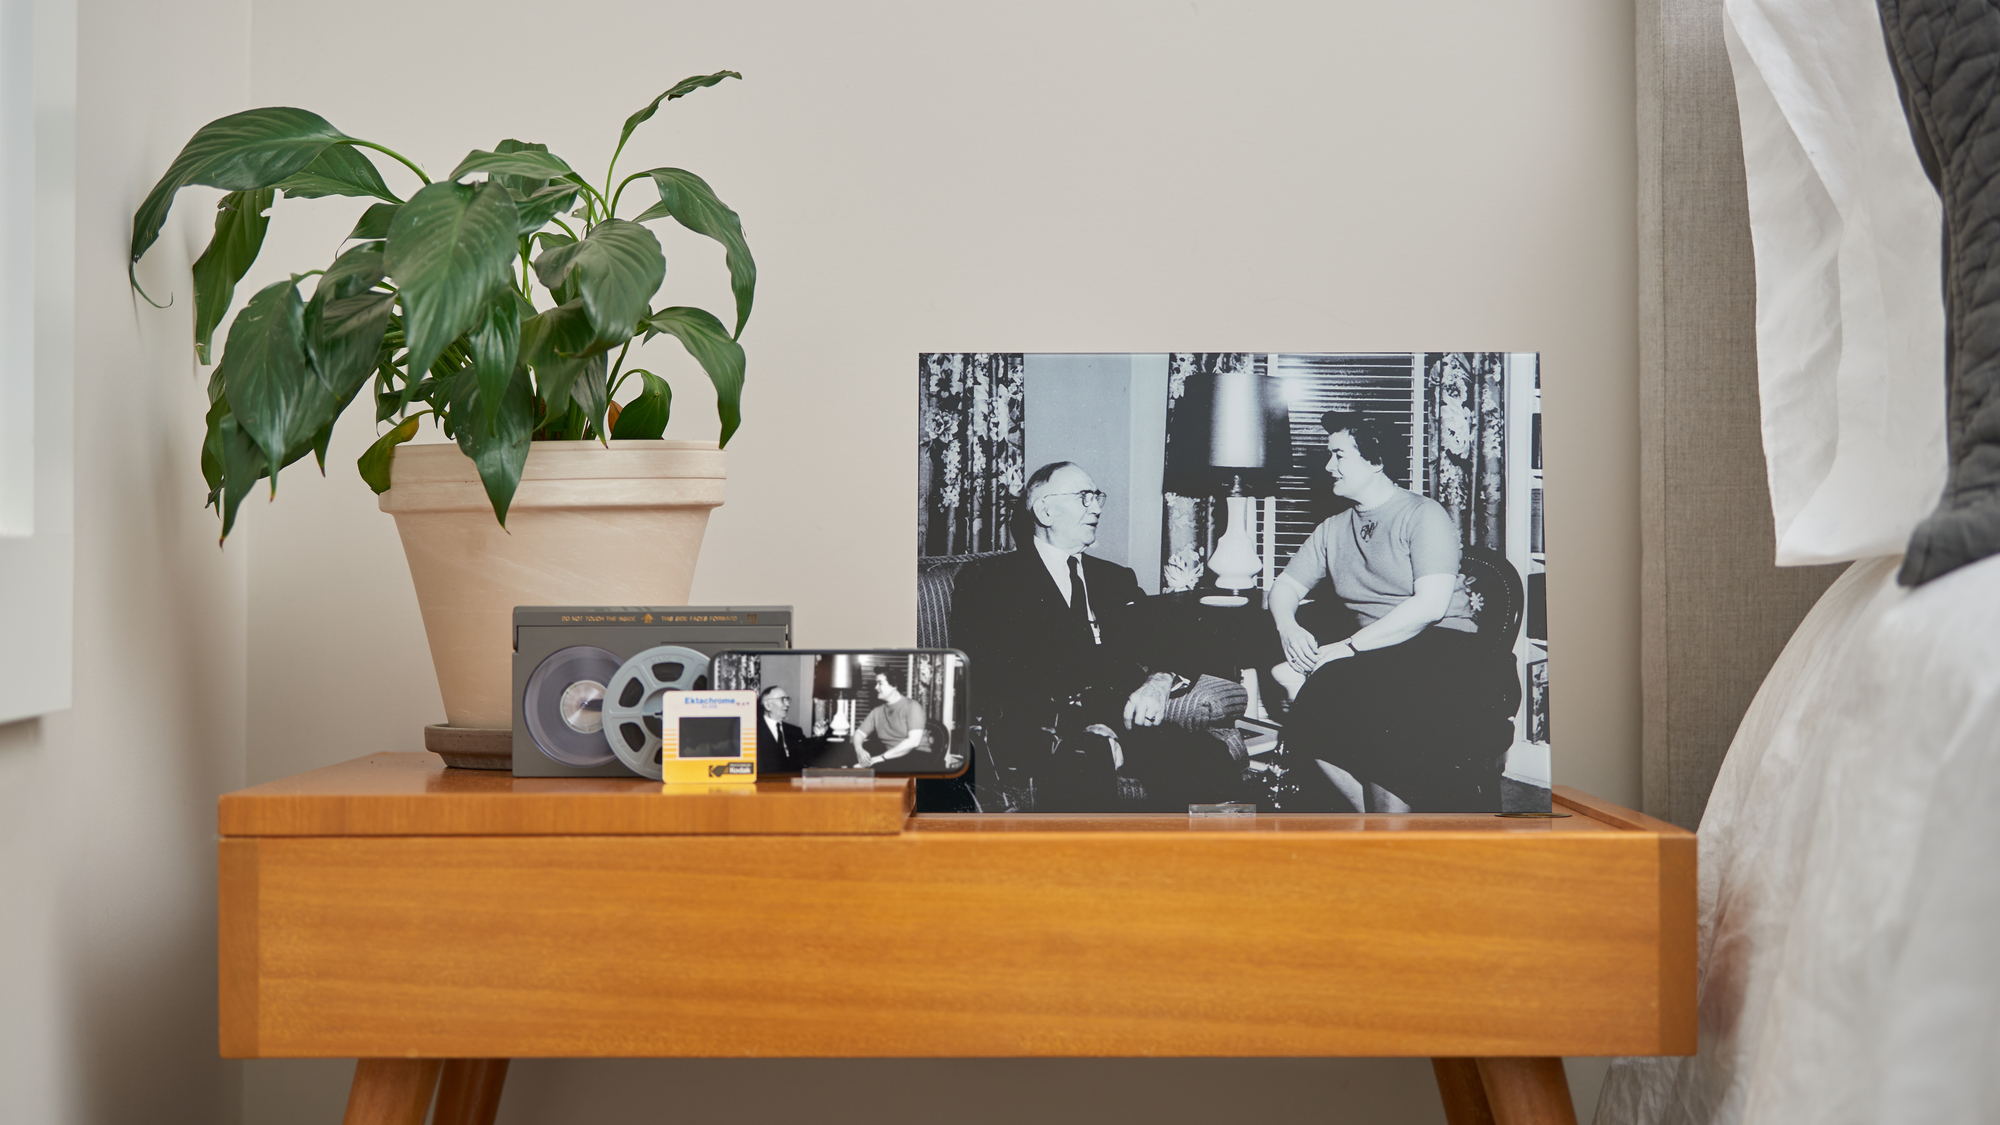
Whether you’ve come across a stunning old photo or wish to add an aesthetic filter to your latest pics, Fracture can make black and white prints happen. (In fact, they typically turn out stunning on glass!) Of course, there are a few things you can do on your end to ensure you upload a crystal clear, high-quality photo. Once that’s done, we’ll take it from there and do the rest! Read on to find out how to print the best black and white photos.
Upload your own photo or use a filter
If you have your own black and white image, the process is pretty straightforward. Simply upload your own black and white image and place your order as usual. On the other hand, if you have a full-color image that you’d like to convert, you can put a black and white filter on it. While there are countless photo editing apps such as Lightroom, we’ll do you one even better; for maximum convenience, you can convert your photo to a black and white print directly from your Photo Library.
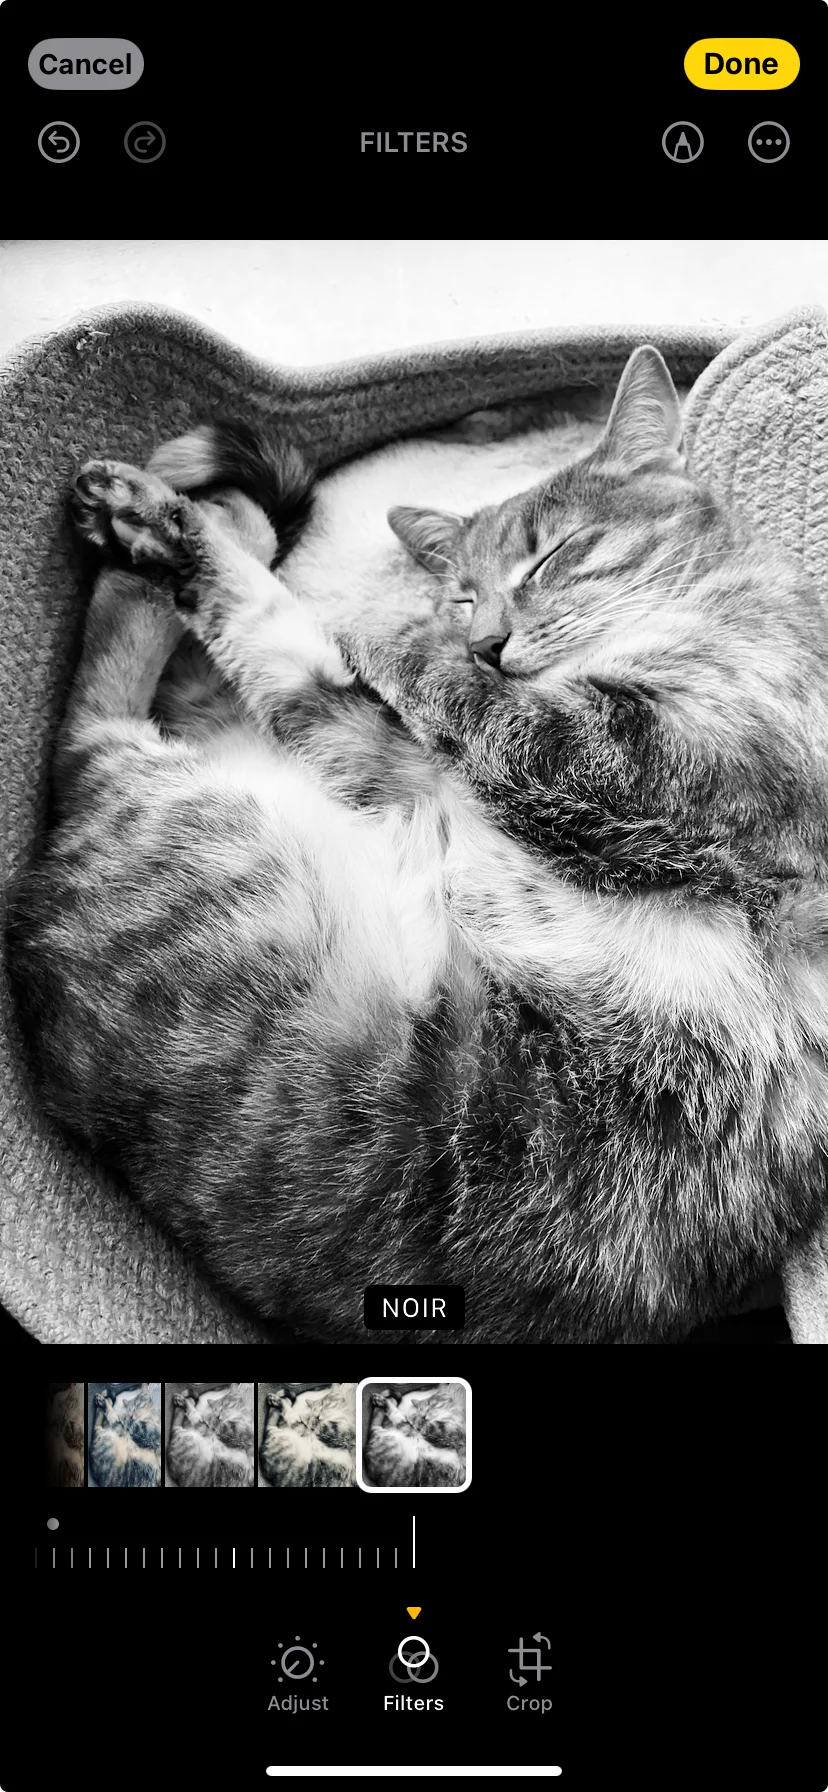
How to make your photo black & white from your iPhone
- Find the photo in your camera roll and tap to select the image
- Tap Edit at the top right of your photo
- Choose Filters from the edit tool options
- Swipe to see all the filter options—we recommend the NOIR filter for extra contrast, but you can choose whichever B&W filter you prefer
- Select the filter and tap Done in the top right to save your changes
Pro tips for scanning your photos
There are many ways to scan your photos as well, including specialized photo scanning apps, using a traditional photo scanner, or using a service that will digitize your photos for you (such as Legacybox). If you’re planning to DIY it, there are a few best practices to keep in mind to make sure your black and white photos turn out well.
High contrast
Similar to printing color photos, a black and white photo with higher contrast will turn out better. (This is the case especially if you’re scanning old photos.) Soft gray tones can end up looking muddier. However, you can fix this on a photo editing app of your choice: Darken and apply contrast to the mid-tones, brighten the lighter grays, darken the darker grays, and sharpen the image. These edits should reduce the overall soft appearance that sometimes comes with black and white photos.
Be wary of sepia
Sepia-toned images are ones that change the appearance of black-and-white prints to brown. While sepia photos may be nice to look at, they may not be the best choice for glass prints. Generally, a sepia tone pushes the contrast of an image pretty far. Sometimes this can lead to the image losing detail and making highlights pure white. With our glass printing technology, this could potentially cause issues with the photo. All in all, sepia tones can work wonders for the right photo. If you want to double check on your sepia-toned photo, don’t hesitate to reach out to our Customer Support team.

Creating tangible mementos of your cherished memories has never been easier—in color or black and white. Fracture offers multiple sizes and shapes so that you can create custom layouts—available in single glass prints, a Photo Wall arrangement, or Storyboard—to display your unique moments. Plus, you’ll receive all of the materials you need to hang them on your walls, with options for tabletop display stands.
Let a Fracture glass print be the thing to add a touch of personality to your home.


Comments