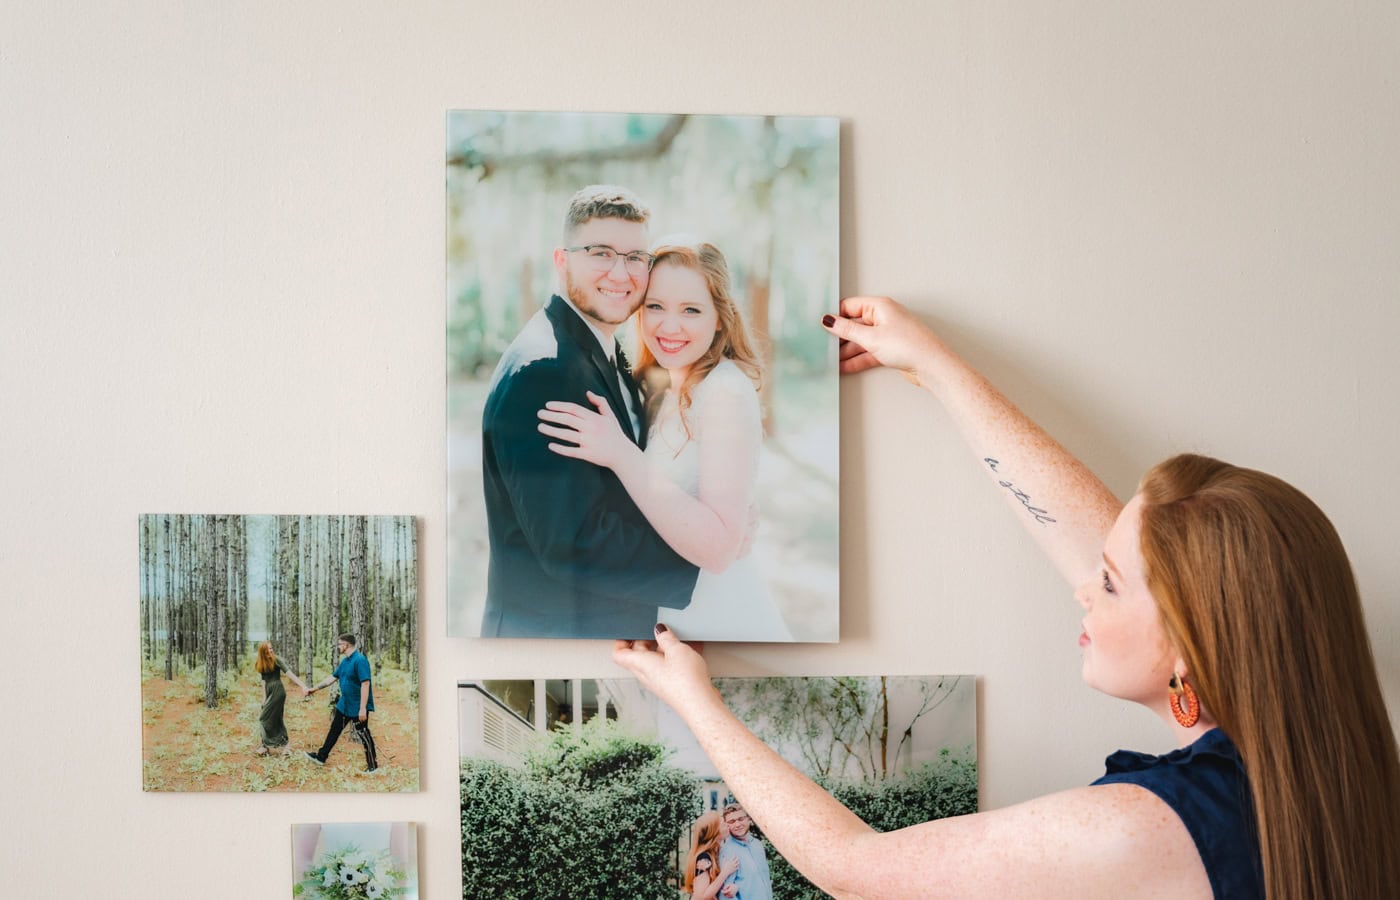

Curious about hanging glass prints? Don’t worry—we promise it’s ridiculously easy.
There are 4 tried-and-true methods to put up glass prints and, yes, they’re all hassle-free!
All of our prints come with a backing that is completely ready for wall mounting—all you need is the included screw! If you have restrictions in your space or need to get creative, don’t worry; we have some other good options for you as well.
1. Use the included screw and a ruler to measure
- Yep, just the one screw is enough to support the weight of all of our print sizes.
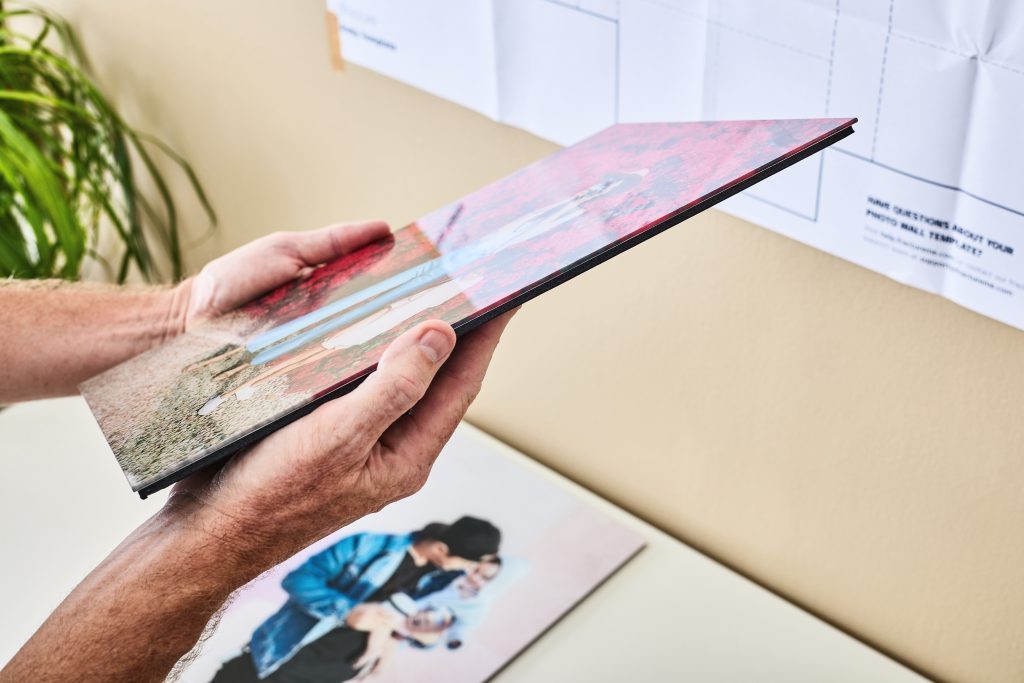
- To put up glass prints, insert the screw into the wall using a drill or screwdriver until it’s close to flush with the wall. The keyhole cutout in the backing will fit right over the top of the screw.
- TIP: Measure from the top glass edge of your print to the top of the keyhole cutout on the backing to get an exact distance. Then, you can put your screw in the wall based on where you want the top of the print to end up.
- Your print will automatically hang straight thanks to the self-leveling ability of the screw mount. Since the keyhole is directly in the center of the print, gravity and friction against the wall will ensure your print is hanging evenly.
- If you need to make sure your print is precisely lined up with another print or something else on your wall, don’t skip the measuring!
Try the toothpaste method for screw alignment when you put up glass prints
- Dab a little spot of toothpaste right on the keyhole where the screw will be placed. For our prints, a good spot is right at the top curve of the keyhole cutout.
- To avoid a giant glob of toothpaste, use another tool first so that you can apply it with more precision.
- Lift your print up and press it flat against the wall’s surface where you want to hang it. Once you’ve flattened it against the wall, pull the print away from it. You’ll see a perfectly marked spot with the toothpaste.
- Insert your screw right below the mark, and set your print on the screw as usual.
2. Use Fracture’s included Wall Tape for damage-free mounting

Yes, we include both options in the box along with your Fracture glass prints: a screw and specially designed Wall Tape. If you want a damage-free, renter-friendly, zero holes method to mount your prints, Wall Tape is your best bet.
This is also the fastest way to hang a picture—just peel, stick, and they’re on the wall in seconds! Here are the exact steps to mount your glass prints with Wall Tape:
- Peel the liner off the first side of the tape and adhere to the back of your print just below the keyhole cutout. Check out the image below for a Wall Tape placement guide.
- Clean the area of the wall where you plan to mount your prints with isopropyl alcohol and let dry completely.
- Remove the remaining liner from the Wall Tape, and place the print on the wall. Use a level to double check the that the print is even. Don’t worry if you need to adjust—our Wall Tape is designed to be removed and re-stuck a few times without losing strength.
- Once you’ve made your final placement, use the palm of your hand to press down on the surface of your print for about 30 seconds to ensure good adhesion.
Notice some fingerprints after mounting your glass prints? Check out this guide on caring for your glass prints.
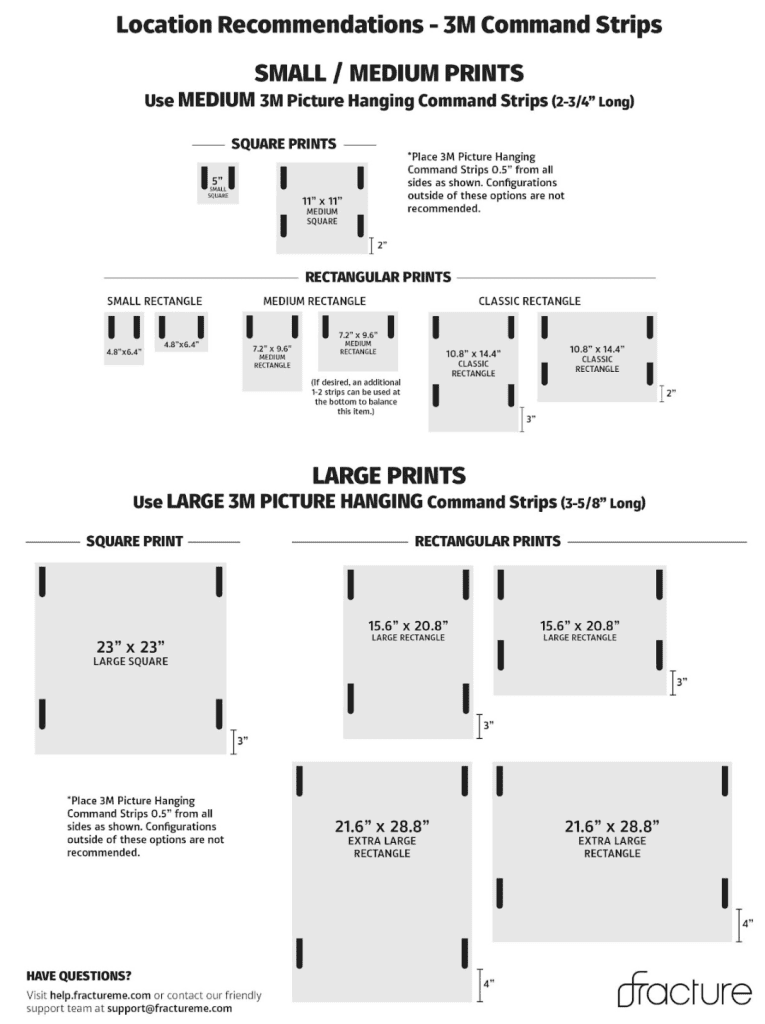
3. Use Command Strips for screw-free hanging
Perhaps you’re renting your home, or simply want to avoid getting out the spackle if you decide to do some rearranging. You can also use Command Strips to put up glass prints if you know they might be coming off the wall down the road.
- Use the 3M “Picture Hanging Strips”— these have two sides that click together like Velcro. This is important for keeping your print backing intact and damage-free if you ever move it.
- Use the Medium strips for our smaller print sizes and the Large strips for the largest sizes, following the guide below.
- For optimal placement, each strip should be half an inch from the edge of the backing.
- Press the strips onto the print, and then the print onto your wall. Follow the Command Strip instructions to make sure they’re perfectly adhered.
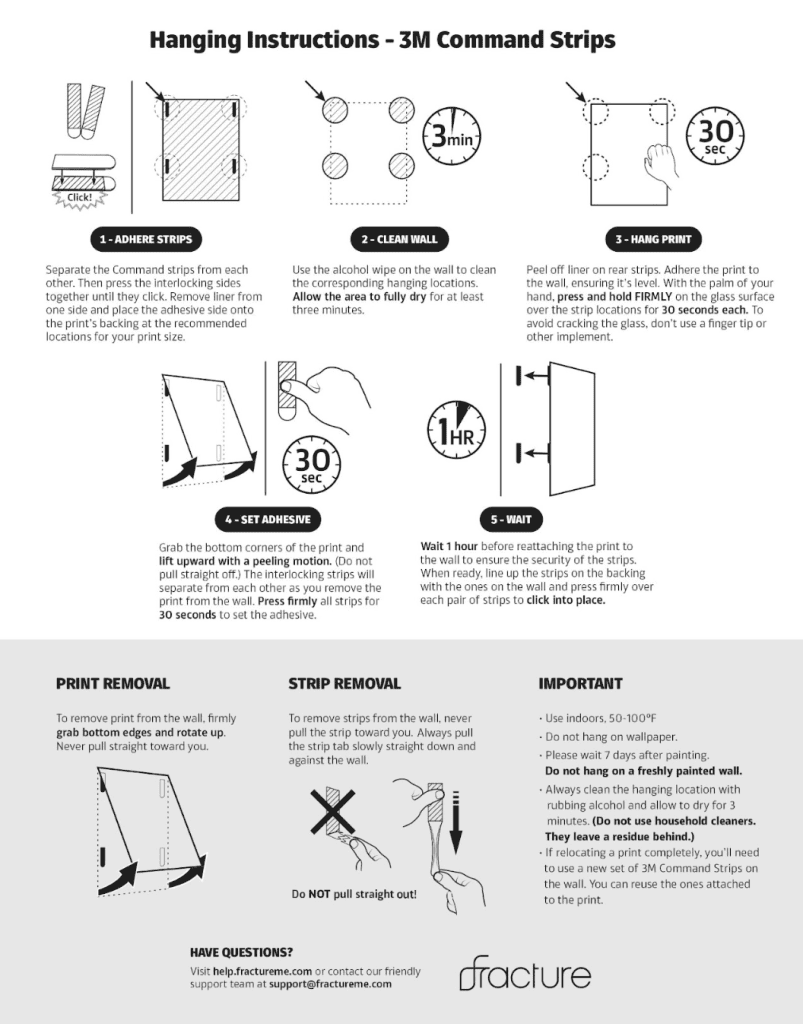
Command Strips also allow you to swap out prints easily for another print of the same or similar size in the future. If you like changing up your decor often, these velcro-style command strips are a great option to stay flexible with your decor.
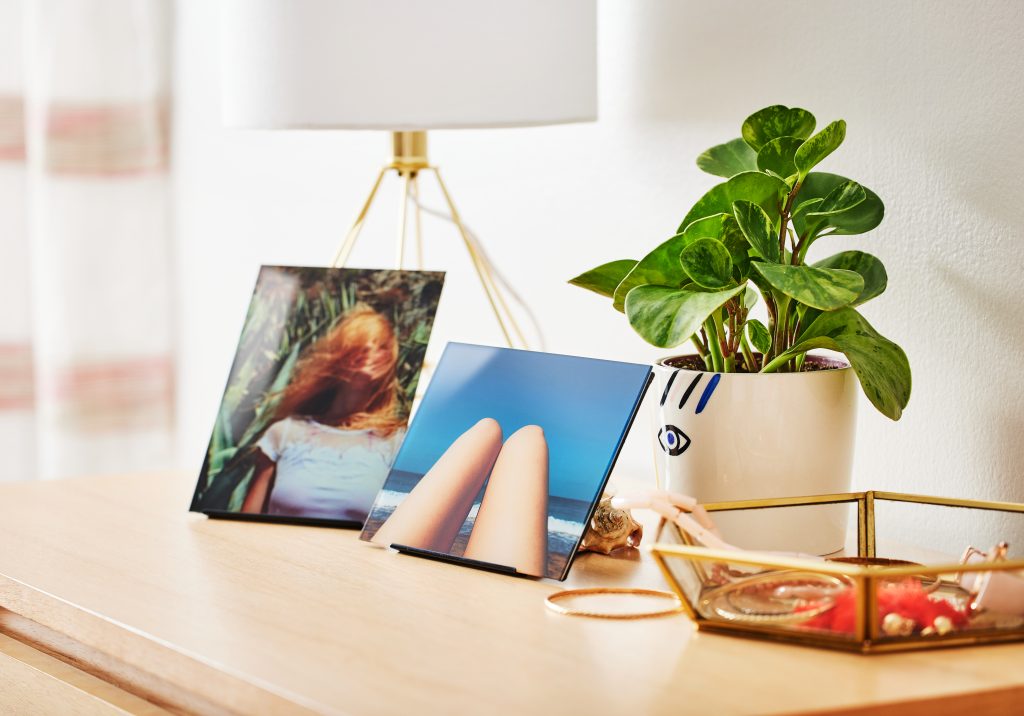
4. Our stands are perfect for tabletop or desk display
- Our black, powder-coated steel Print Stands are a low-profile way to display our smaller prints without wall mounting
- The glass edge and backing fit perfectly within the front ridge of the stand. Simply set it in and let the stand support its weight.
- If you’re planning to put up glass prints on a shelf or very narrow table, make sure you have enough space—the Small Stand is 3.3” deep and the Medium Stand is 4.1″ deep.


Comments