Taking pictures at night can be tricky, even for expert shutterbugs. But with a little extra patience and planning, you can snap stunning photos that show off the night’s beauty. Following these 5 handy tips will help your shots stay sharp and full of magical details.
1. Use settings optimized for night photography.
If you have a newer smartphone, your camera will help you out with the option to shoot in Night Mode. Android users can turn this on manually in the camera app. On the other hand, iPhone Night Mode will be triggered automatically by the camera app in low-light situations. Plus, it will show you how many seconds it will take to snap the photo. If the results still aren’t sharp enough, try turning on the flash or using the flashlight on a friend’s phone to better illuminate the subject before you take the shot.
If you shoot with a DSLR or other camera, you’ll likely want to shoot in Manual Mode so you can tweak your three primary settings as needed. As a general rule of thumb, you’ll want to aim for:
- Low f-stop to let more light through your aperture
- Slower shutter speed to take more time capturing the photo
- Higher ISO to make your camera’s sensor more sensitive to light and capture more detail
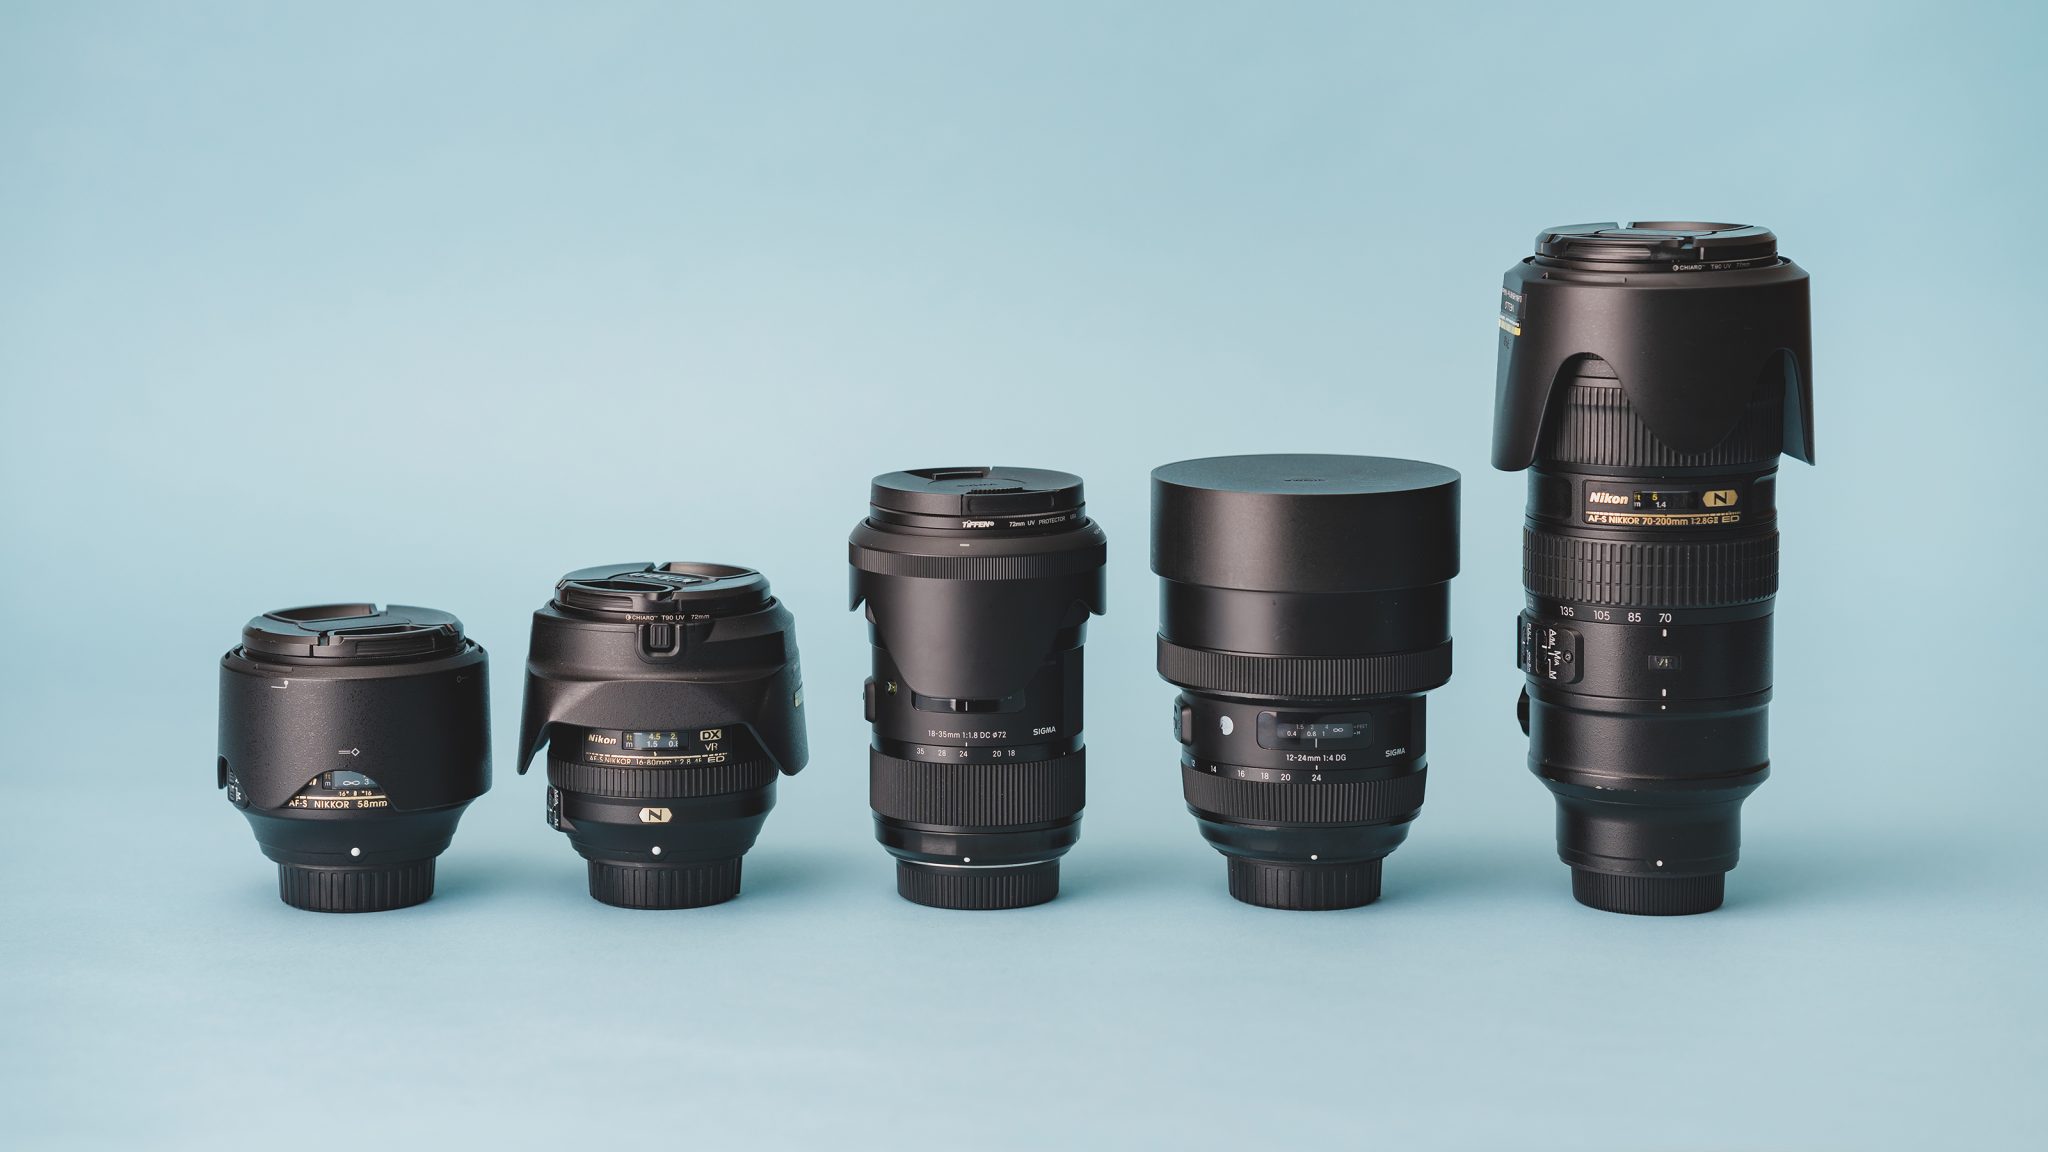
2. Invest in a camera that performs well in low light.
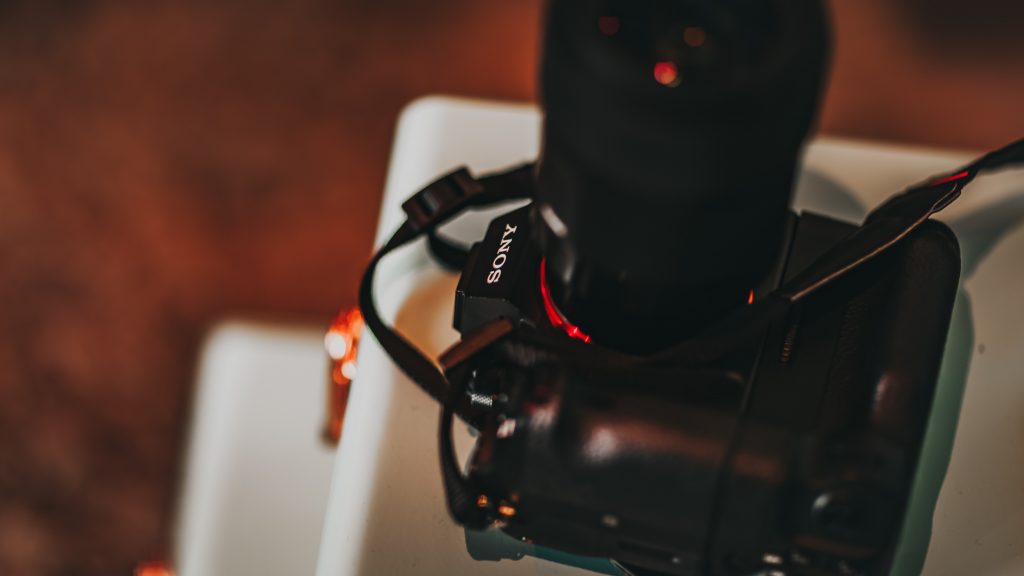
If you’re shopping for a camera, consider ISO performance. When looking at the camera’s product page, look for the ISO Range or ISO Sensitivity listed in the camera’s specs, like this one from the Sony Alpha 7 II product page:
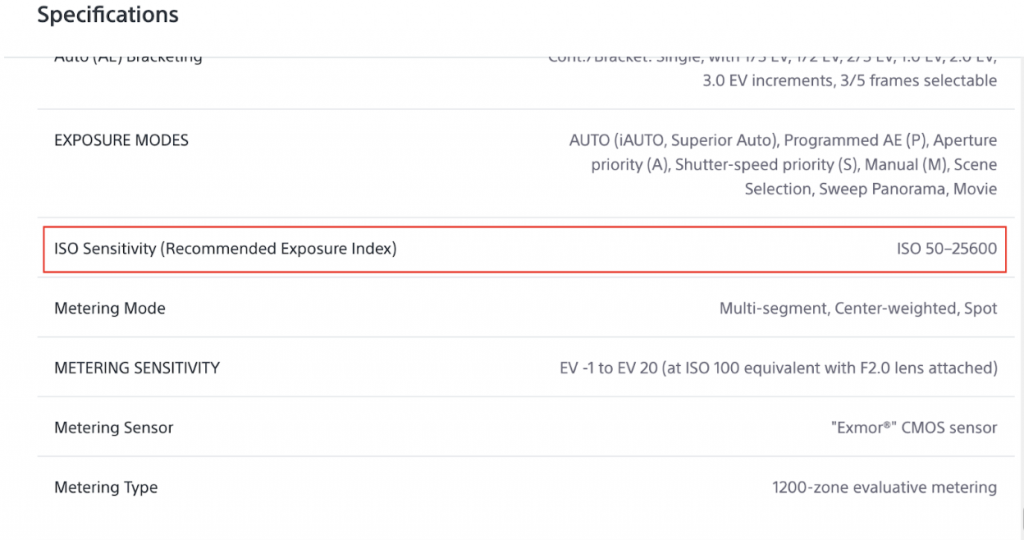
Cameras with a large range are typically better at maintaining good performance (and lower noise) at the higher end of ISO numbers. Take a look at reviews with photos or an example gallery of shots from that camera, so you can see the actual results. Pay extra attention to shots taken in low light and at night to assess how the performance holds up.
3. Keep your camera STILL for clear night photography.
You don’t have to get a tripod, but if you’re serious about night photography, it’s a big help. If shooting handheld, take extra care to avoid moving your camera in the seconds after you take your photo. The slower your shutter speed, the more important it will be to keep the camera still.
Set the camera down on a flat surface if you can. Also, use the self-timer feature on your camera to avoid inadvertent shake when taking your photo.
4. Use the light sources in your environment.
Fracture team member and talented photographer, EllieClaire, advised us to “try to utilize light sources in the environment, even if they aren’t ‘natural’ light—things like car lights, stop lights, streetlights, restaurant signs, or neon lights.” Take a look at this completely unedited photo that she snapped at night in a Zanzibar food market. (How cool is that?)
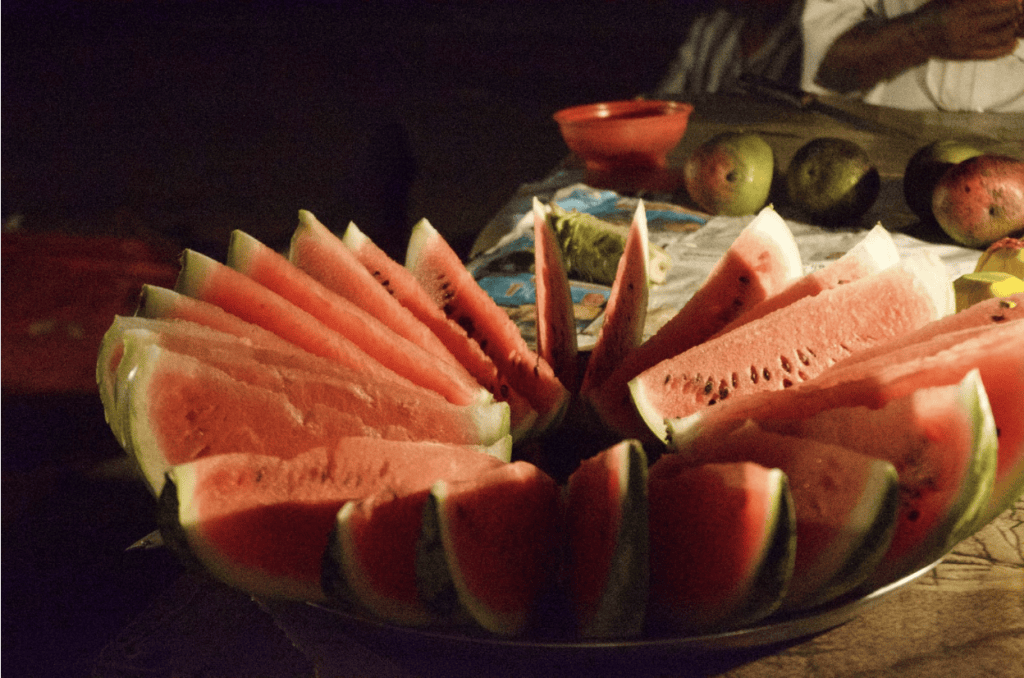
Focusing on a subject illuminated by a light source like this helps keep the majority of your photo as detailed and sharp as possible. The background and objects in shadow have a little more noise and look softer, but that’s okay—even in daytime photography, a soft focus background can help make the subject stand out more.
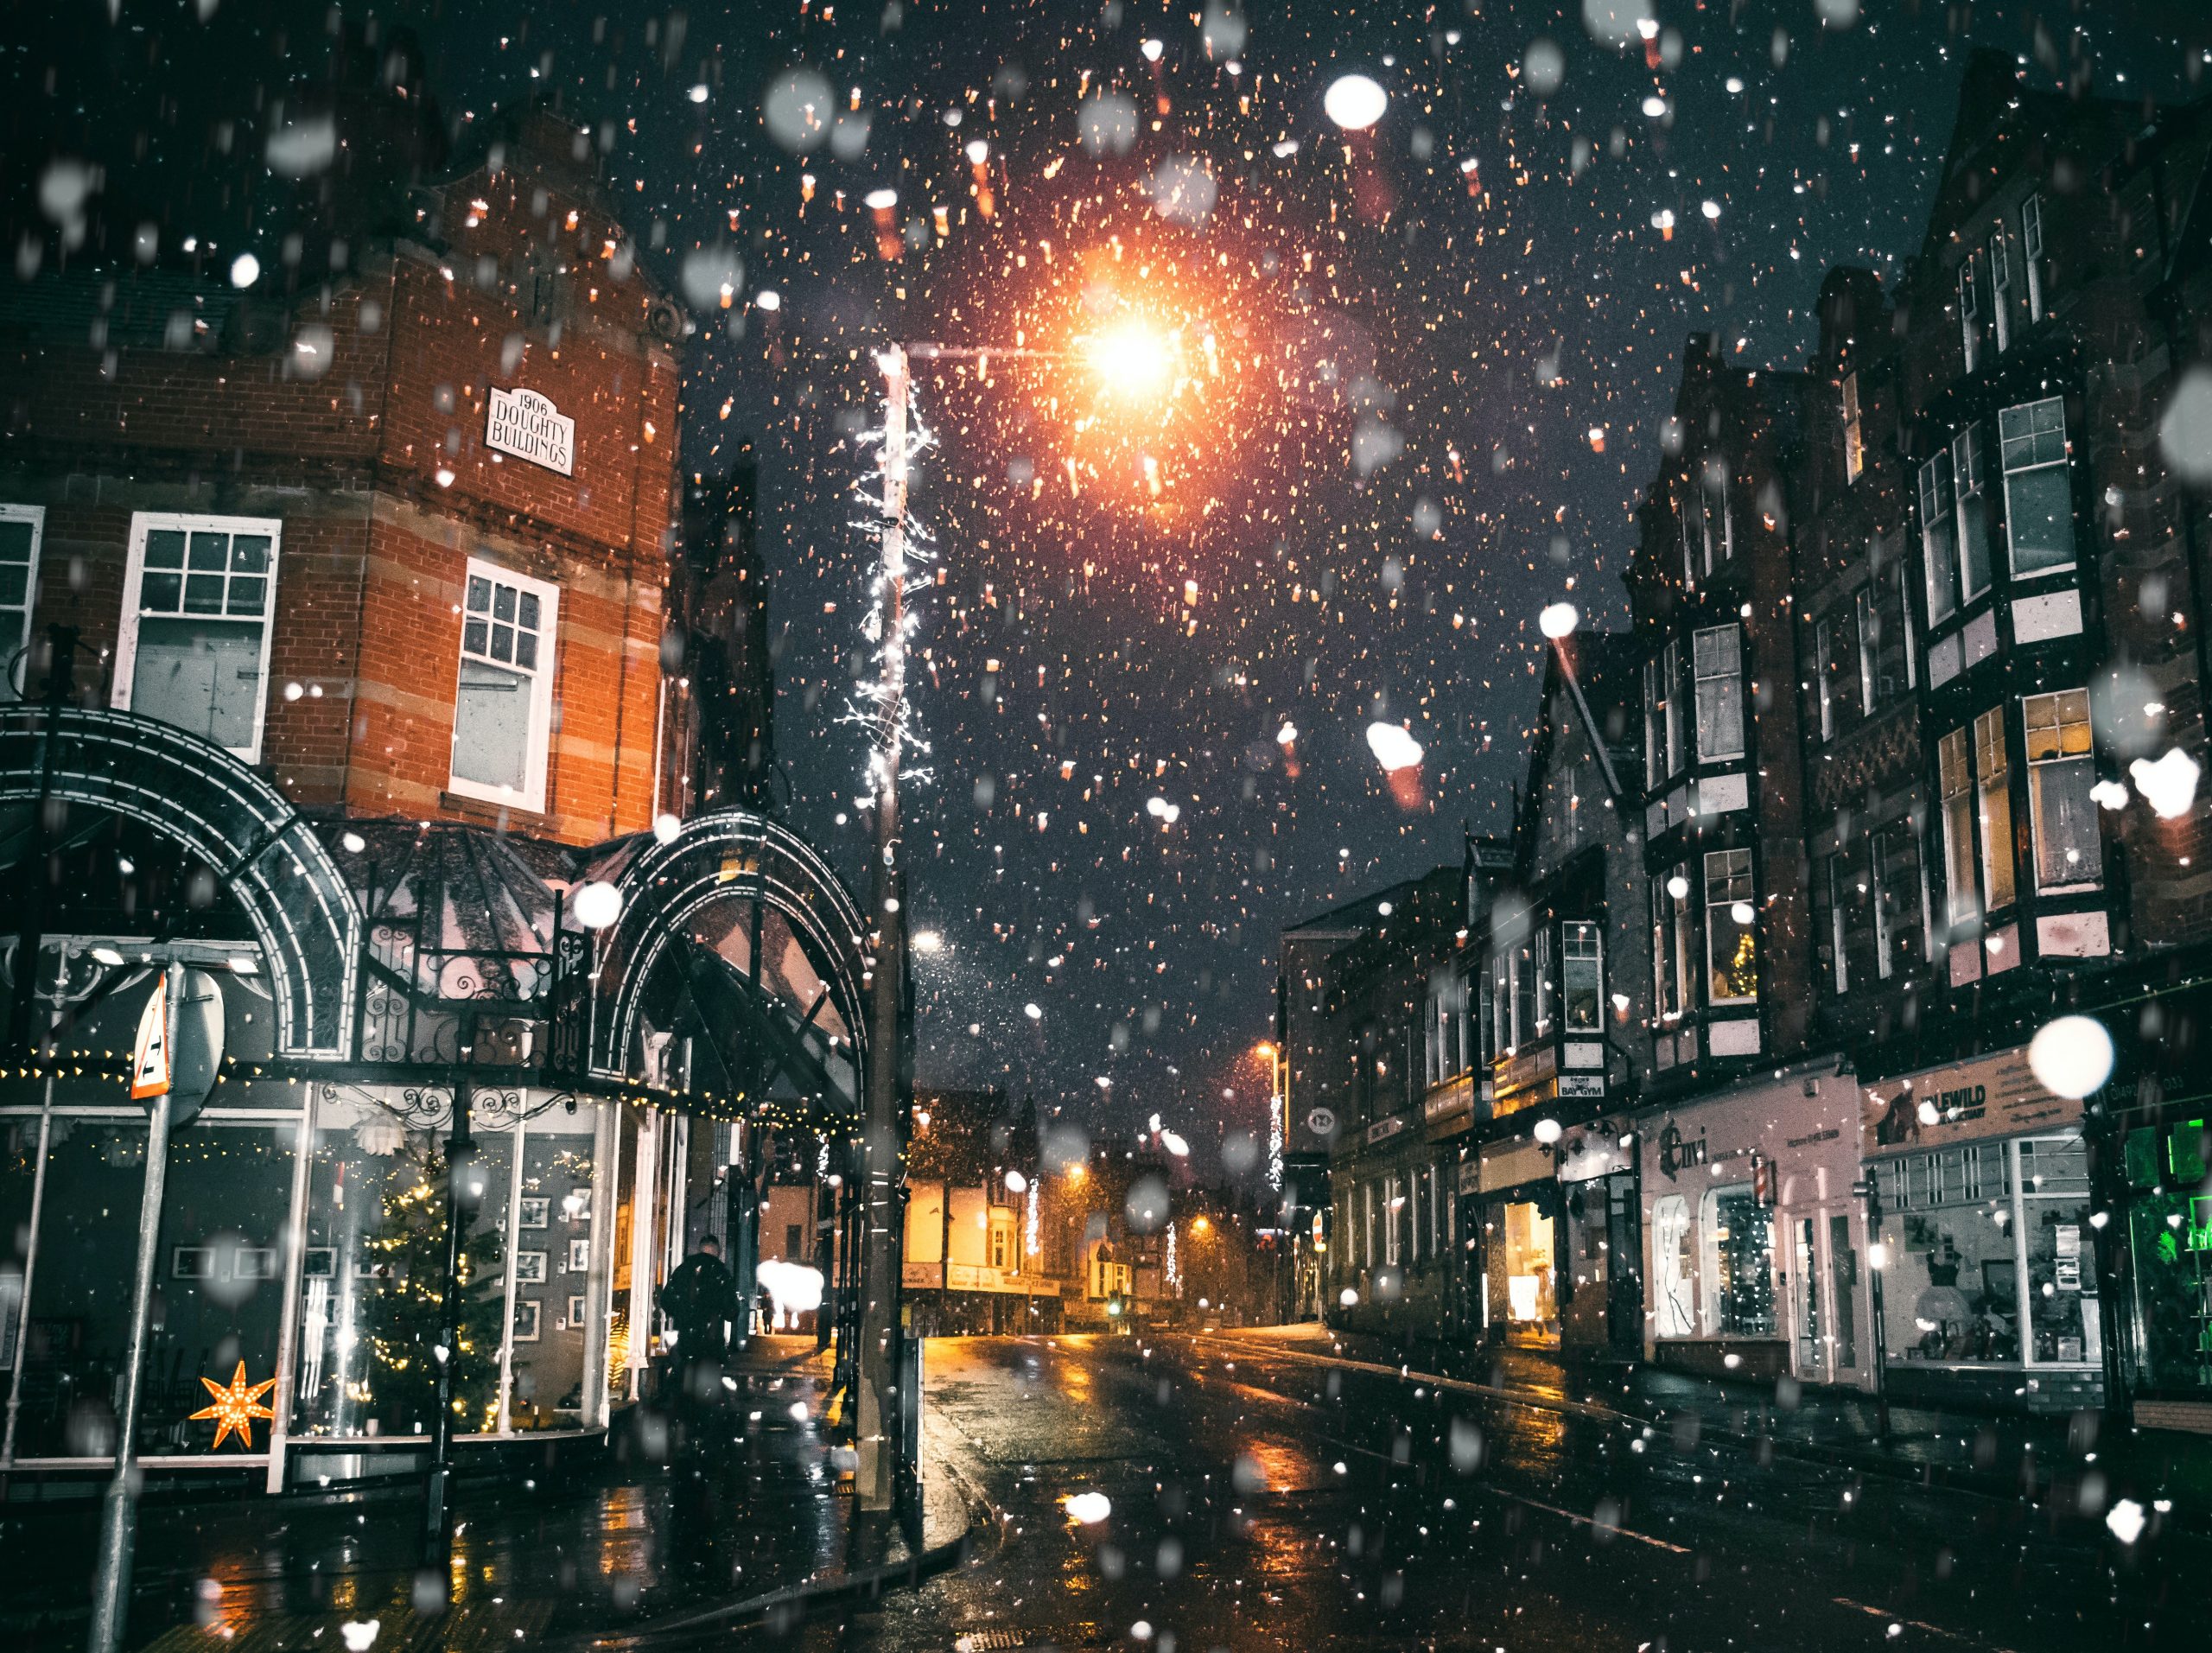
Play with the composition and the light sources available to capture some great, detailed shots like this one.
5. Reduce noise and sharpen with photo editing software.
Remove too much noise and you could lose the sharpness and definition of night photography. A powerful photo editing software, used strategically, will help. Some useful tools in Photoshop are:
- Filter > Noise > Median: This is a little simpler and easier to manipulate compared to the standard Reduce Noise filter.
- Filter > Blur > Gaussian Blur: Select just the background or certain areas first, and apply this filter to smooth out the texture more dramatically than your typical noise reduction.
- Blur tool: For smaller touchups in the foreground.
Here’s EllieClaire’s same photo, post-editing:

Your goal shouldn’t be to eliminate the grain completely, but rather to tone it down and make it less uniform. This technique will also help guide the eye to your subject. But don’t be afraid to embrace the noise—it’s not always a bad thing.
Now, you’re ready to go out and shoot some incredible night photos! While you’re out photographing, consider printing your beautiful night photography and showing it off in your home. And ditch canvas or traditional frames photos—your night photos will truly pop on glass.
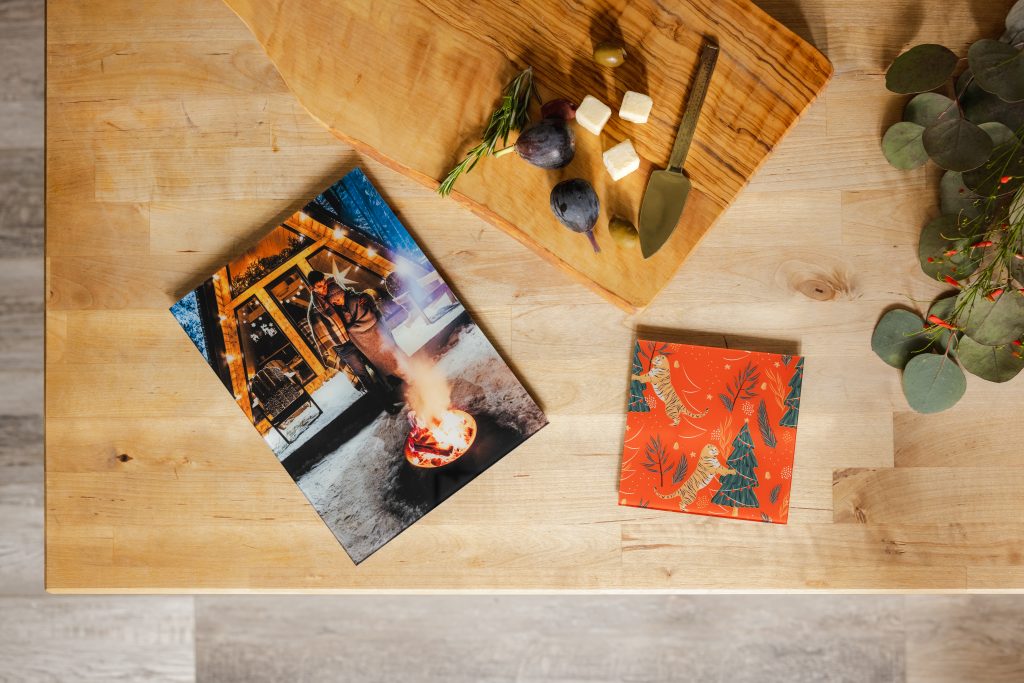
Fracture prints your photos directly onto glass to create beautiful, frameless works of art. With a selection of sizes and shapes, you can create custom layouts—available in single glass prints or a Gallery Wall arrangement—to print your art on glass and display it in a style that’s uniquely yours. In addition, you’ll receive all of the materials you need to hang it on your walls, with options for tabletop display stands.
We can’t wait to see your night photography in your home. Get started now!


Comments