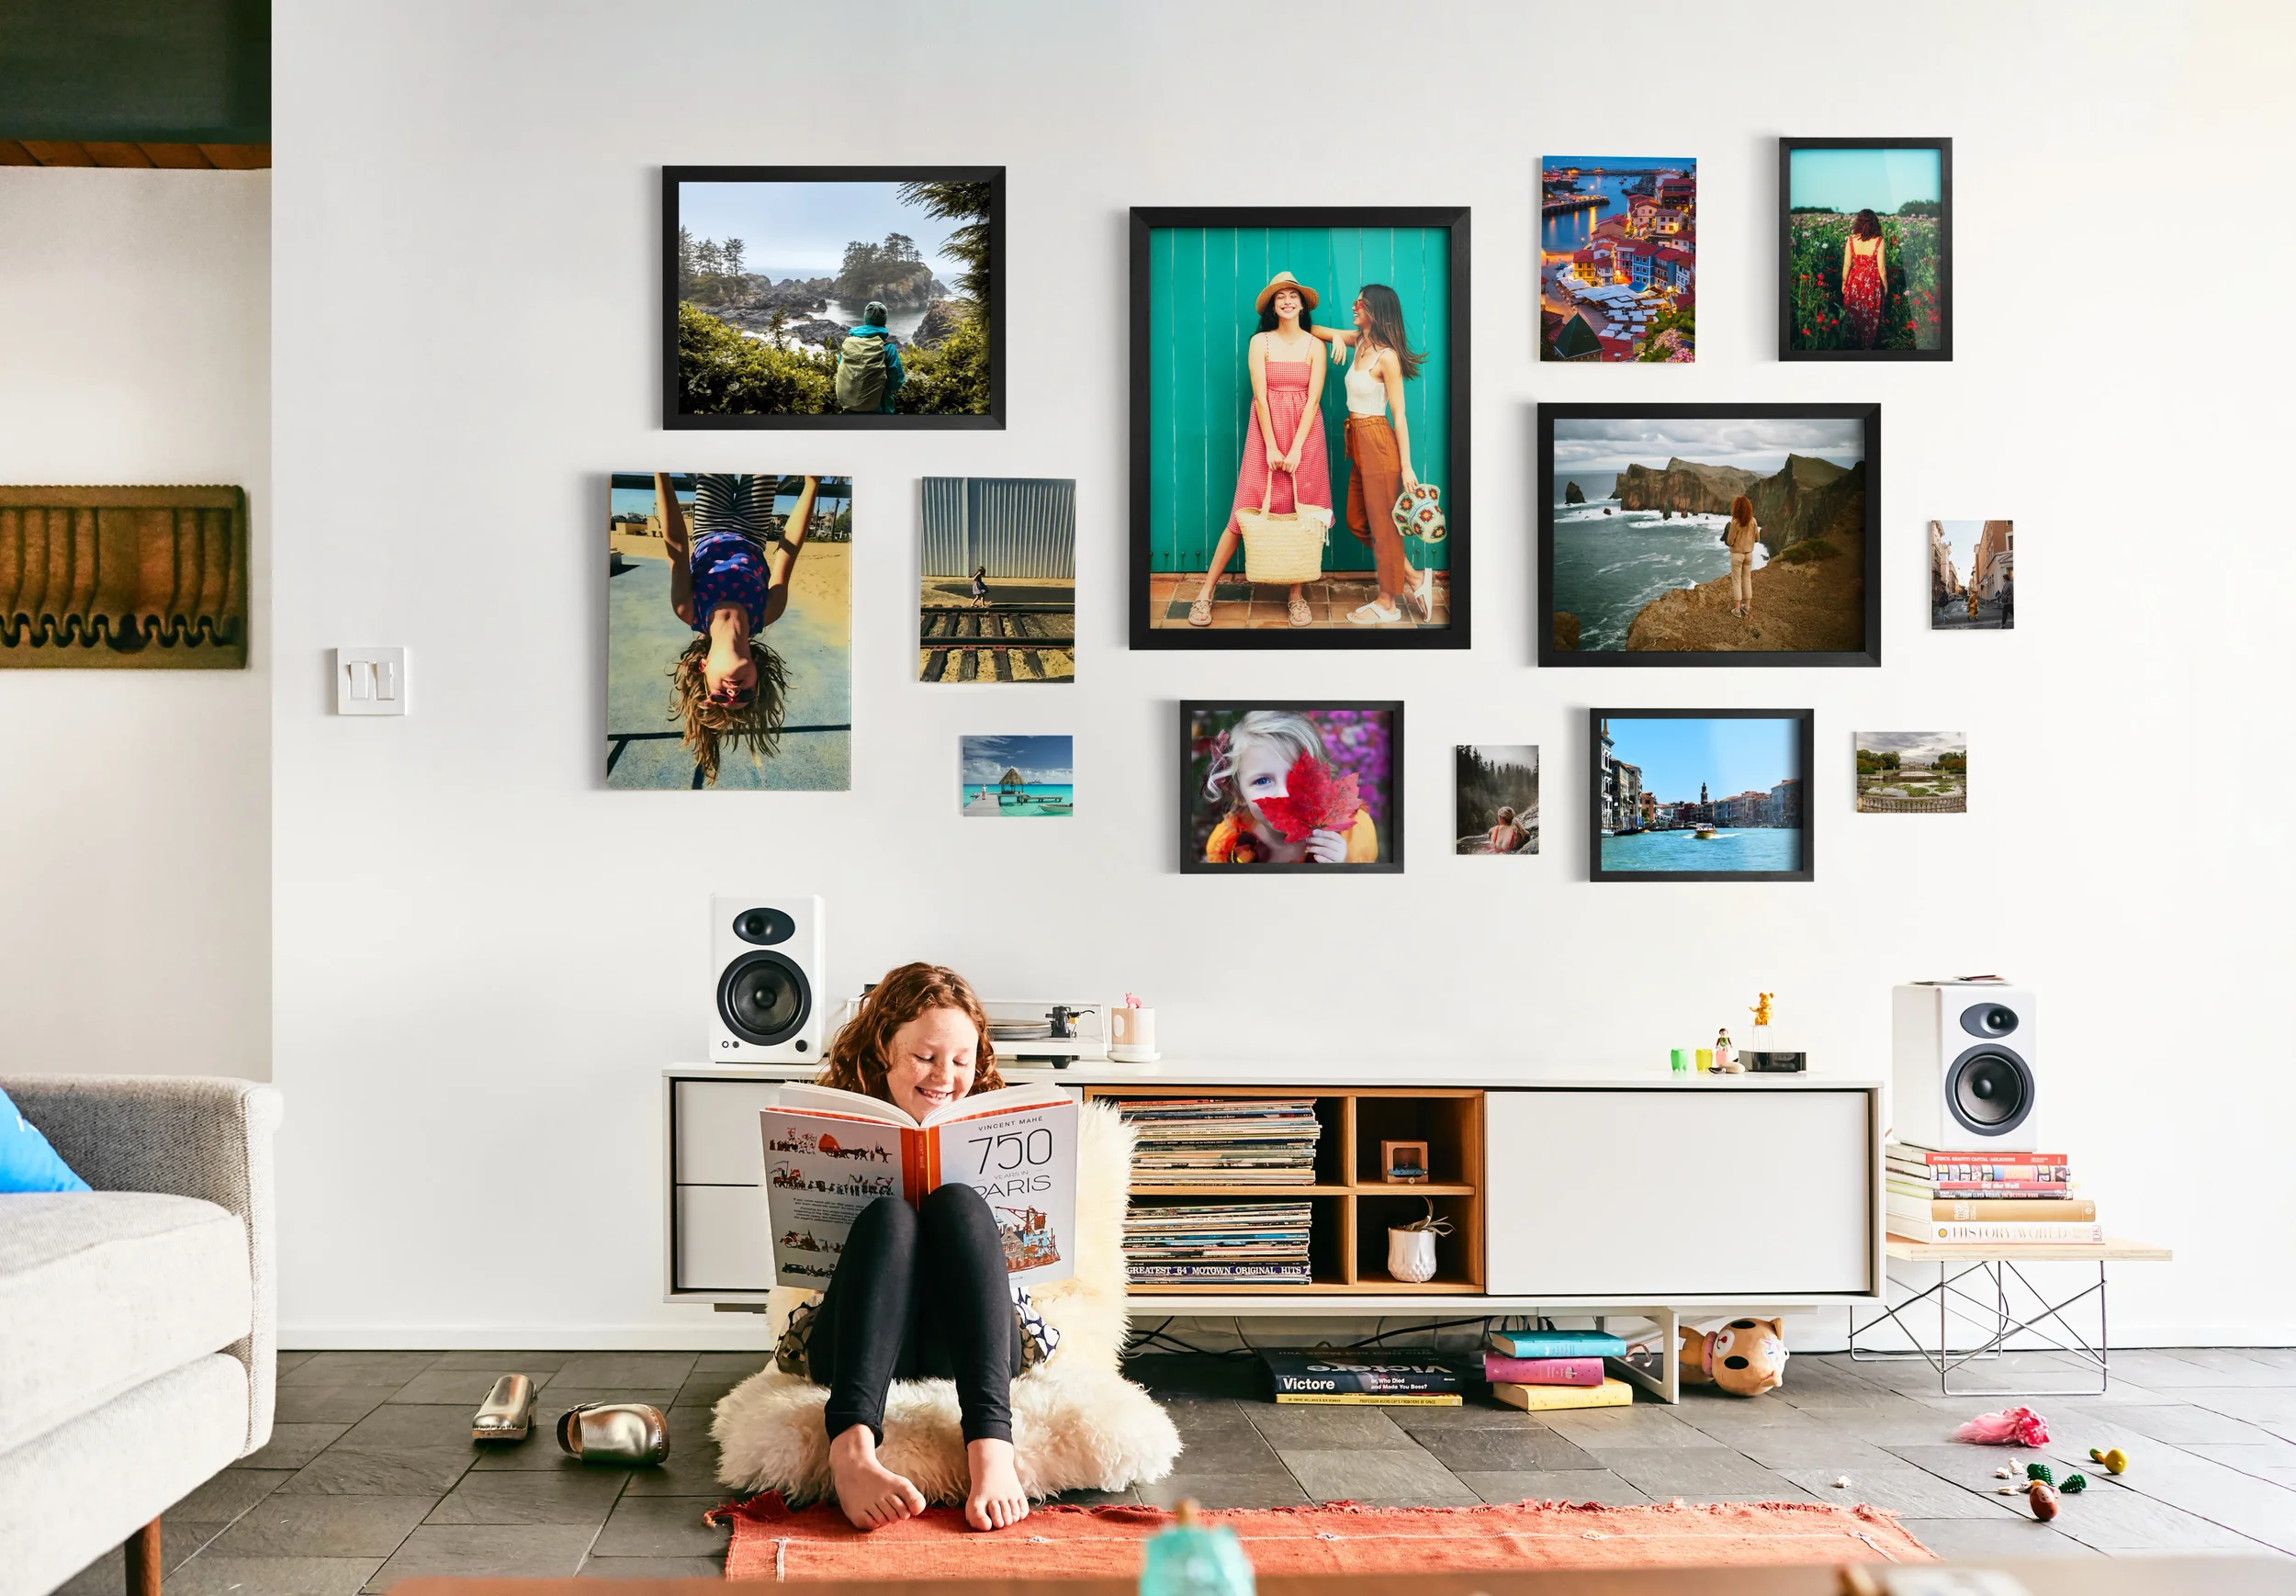

When it comes to displaying your favorite photos, there are endless possibilities in terms of layout, style, and personalization. It can be exciting to take on photo projects to make your house feel more like a home. On the flip side, it can also be overwhelming to try to “get it right.” Let us take the stress off your hands with Fracture Photo Walls, beautiful glass print gallery walls made easy. Simply choose a layout, upload your photos, and we’ll deliver your ready-to-hang Photo Wall. Creating a personalized statement wall for any room in your home has never been easier. Here are some tips to consider when designing your Photo Wall.
How many photos do you want to feature?
Each Fracture Photo Wall layout features between 3-6 prints, depending on the layout type. Consider whether you’d like your Photo Wall to follow a theme, such as vacation, wedding, or pets. Then, group your photos into your chosen category and narrow down your favorites. In order to better visualize your gallery, arrange photo prints (if you have them) on your desk in the various layout options. For digital image files, you can use an online platform such as Microsoft Word or Canva to create a “vision board” for your desired Photo Wall layout. Once you have an idea of which photos to use and how many, you can decide whether they will all fit one Photo Wall or if you’ll need more than one. (In that case, it can be a fun ongoing project!)
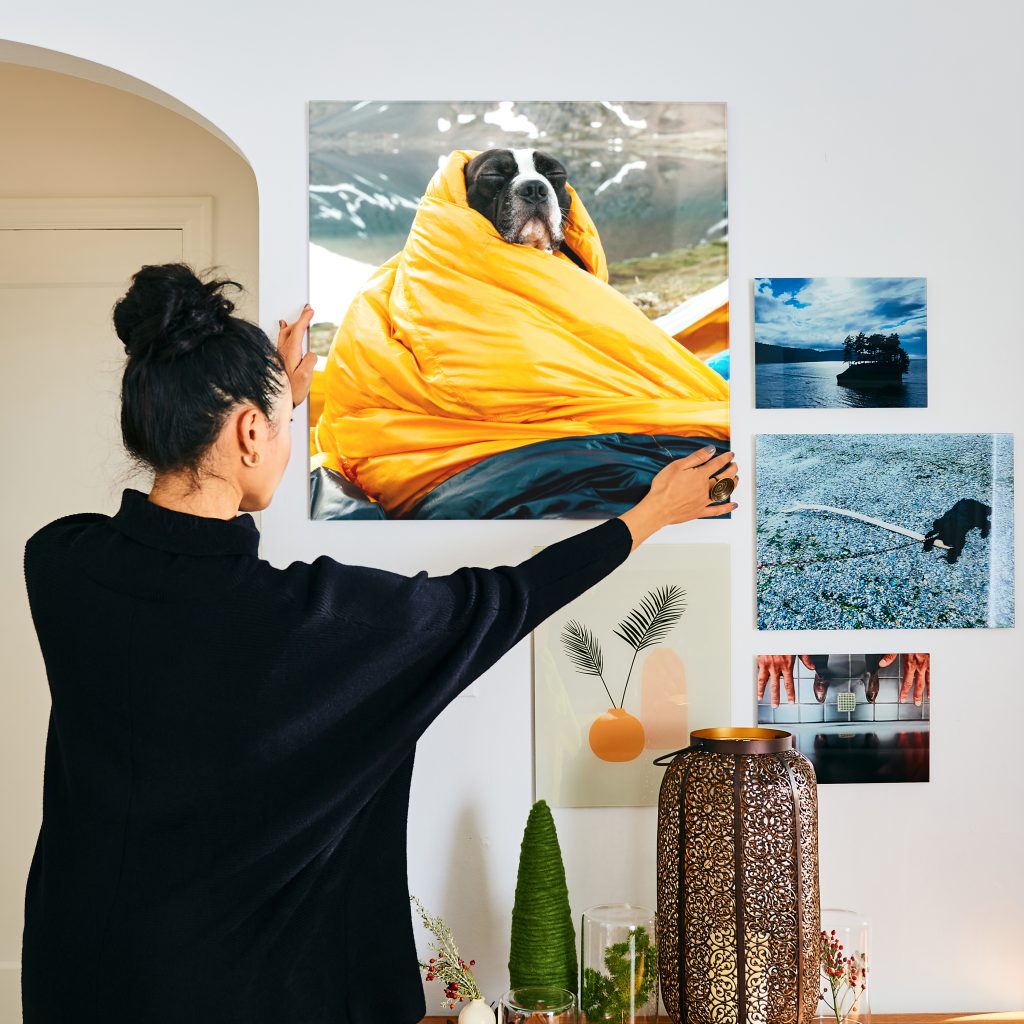
Do you have enough space to fit a Photo Wall?
There are various options for Photo Wall layouts; Finnigan has a completely horizontal pattern, Marlowe and Rajah take up more vertical space, and Frankie and Ruby have a long diagonal reach. (Fun fact: We owe these unique names to Fracture pets!) For whichever layout you choose, first decide where in your home you want to display your Photo Wall. Next, measure the total amount of space available for that particular wall. Keep in mind that our suggestion for the optimal distance between glass prints is 1.5 inches. We also include the estimated total dimensions of each Photo Wall under their product descriptions to ensure accurate measuring.
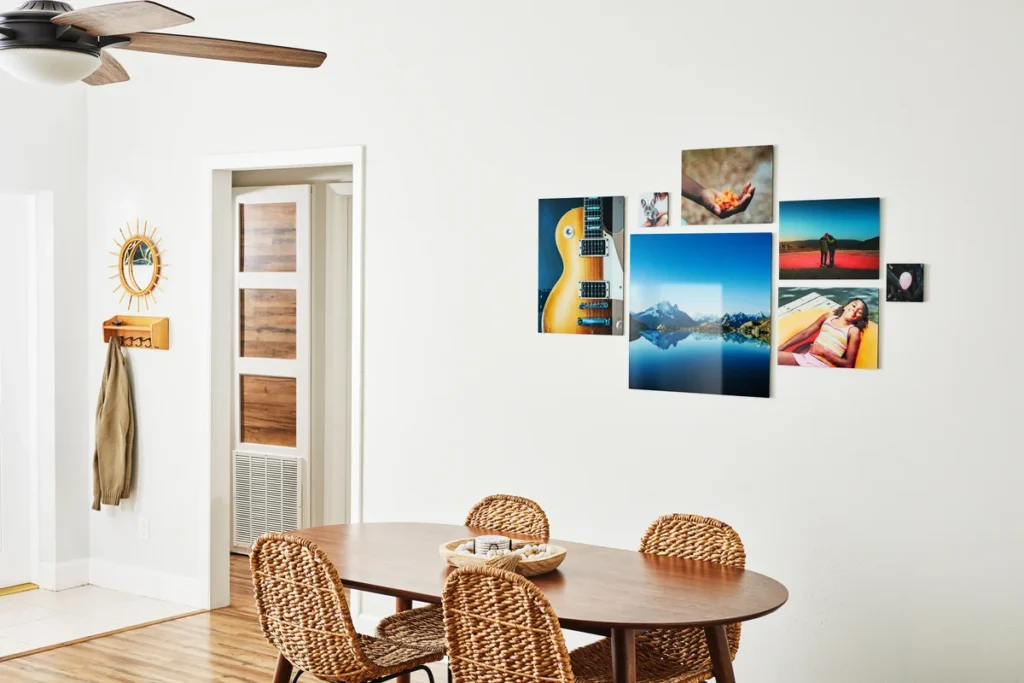
Decide which Photo Wall layout will best suit your needs
After selecting your photos and preferred layout, choose the Photo Wall arrangement that best suits your space—whether it’s for stairway wall decor ideas or just for living room wall decor. Next, upload your photos into their designated slots, and we’ll take care of the rest. Your stunning glass prints will be delivered to your doorstep, ready to hang and transform your home.
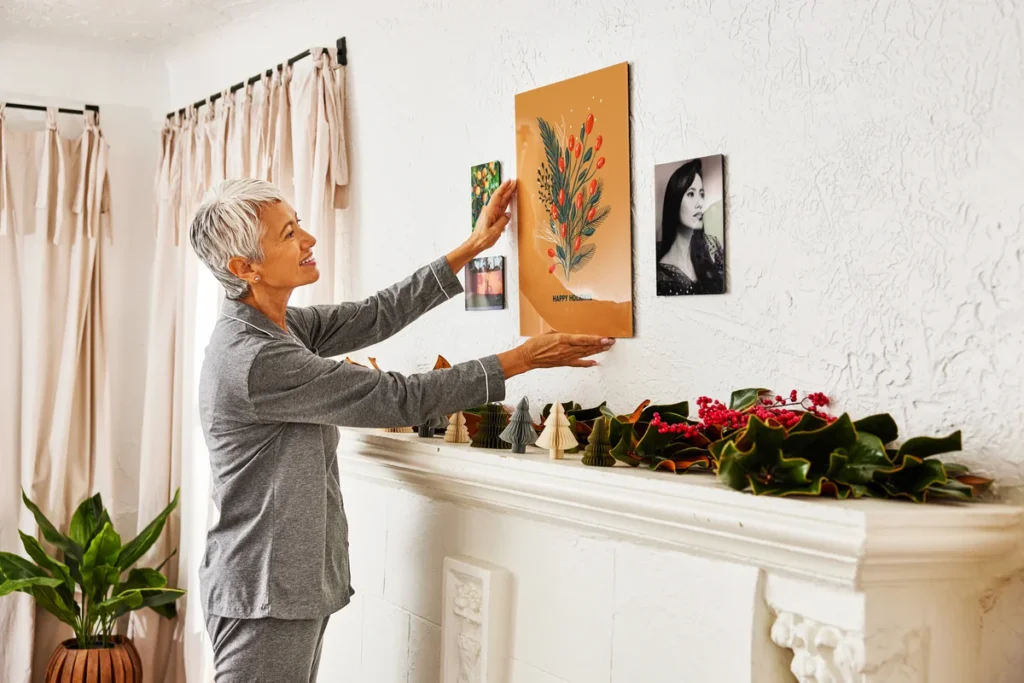
We know that not everyone is a design expert, so we’ve made it easy to achieve that sleek gallery wall look with minimal hassle. To aid you, Each Photo Wall comes with a paper template that shows you exactly where to place each screw, so you can ensure your prints will be perfectly spaced. (For the more creative-minded, you can rearrange the layout if you wish). Moreover, we include everything you need to mount your Fracture prints in the packaging (no outside tools necessary).
Hanging Instructions
1. Unfold and flatten this template at your desired spot on the wall. Double-check that the leveling line is at the top and that the arrow points up, then tape the top corners in place.
2. Use a level along the leveling line to ensure your photos will be hung evenly. If you don’t have a level, measure from both ends of the leveling line to either the floor or the ceiling (whichever is easiest), and ensure the distance is exactly the same. Adjust the template as needed.
3. Smooth out the template, ensuring there are no wrinkles. Secure the bottom corners with painter’s tape.
4. Step back and take a look at the template location on the wall. If all looks good, move to the next step. If not, adjust your template until you’re happy with its location for your Photo Wall.
5. Using one of the included screws, align the point with the center of the crosshairs on the template and push through the paper to mark the hanging location on the wall. Use the back of your screwdriver to tap on the screw, ensuring the location is well marked.
6. Pierce the rest of the mounting locations the same way. Once all mounting locations are marked, carefully remove the template from the wall.
7. Find the marked locations on the wall and use a Phillips head screwdriver to make a pilot hole in the wall at all locations.
8. Tighten all screws until almost flush with the wall, roughly 1/4” distance.
9. Hang each print according to the arrangement. Adjust screws as necessary to make certain your prints are flush to the wall.
Check out the video below for an in-depth look at Fracture Photo Walls and how the hanging process works!
Bundled discounts for a seamless shopping experience
Who doesn’t love a great deal? Our Photo Walls are offered at special discounted prices because you’re bundling multiple glass prints. Please note that since these prices are already reduced, additional coupon codes cannot be applied.
Whether it’s the living room, bedroom, or that little nook you just don’t know how to decorate, there’s a Photo Wall for you. Transform your space into something uniquely yours with a Fracture Photo Wall, showcasing your favorite memories.


Comments