Let’s be honest: what good are those cherished travel memories if they stay hidden away in your phone or buried under a sea of more recent social media posts? Those unforgettable moments deserve more than a fleeting glance—they ought to be celebrated every day. Imagine walking into a room where your favorite adventures greet you, filling the space with stories of far-off places and treasured experiences.
Whether it’s a serene beach, a bustling cityscape or a tranquil nature scene, creating a travel-themed gallery wall allows you to relive your travels while adding a unique, personal touch to your decor. In this guide on how to create a travel gallery wall, we’ll walk you through the steps to turn your jetsetting adventures into a stunning visual display that’s uniquely yours.
Steps to Create a Travel Gallery Wall
Creating a travel gallery wall is an exciting journey that allows you to revisit your favorite trips every day. The process involves several key steps, from selecting the perfect photos to deciding on a layout that brings your memories to life.
Select the Right Vacation Photos
The foundation of any memorable gallery wall lies in the photos you choose to display. Start by carefully curating images that resonate with you, capturing the essence and deeper purpose of your travels. Think about the emotions each photo evokes and how each of them can come together to tell a cohesive story. Make sure your photos are of excellent quality with good lighting to enhance their impact. The mood, color palette and overarching theme of your images are decisive elements in establishing the overall vibe of your gallery wall.
Order Prints and Frames
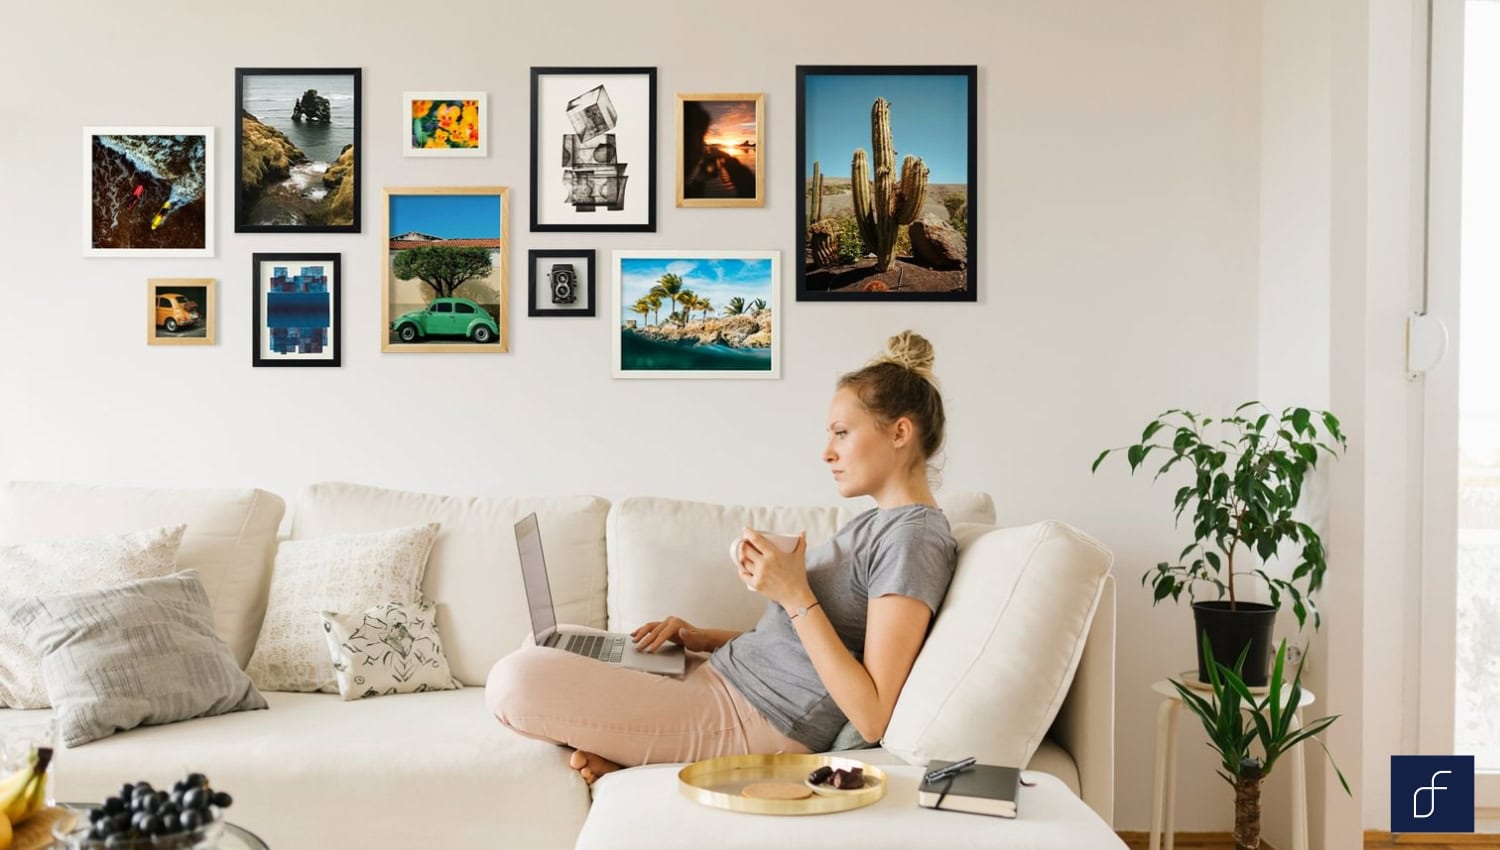
Once you’ve chosen your photos, the next step is to showcase them in a manner that highlights their beauty. Opt for top-notch glass prints and sturdy frames to ensure your gallery wall truly shines. If you have a large expanse to cover, varying frame sizes can add visual intrigue, while smaller, consistent frames work best in more confined spaces. For a sleek, organized look, consider matching frames and perhaps alternating between metallic tones like silver and gold for a sophisticated touch.
If you lean towards a more relaxed and eclectic vibe, experimenting with different frame sizes and styles can add personality to your display. Including frames you’ve collected during your travels can also enhance the narrative of your gallery wall. When it comes to frame colors, consider the backdrop; bold frames can stand out against plain walls, while simpler frames work best with intricate wallpapers. Fracture’s glossy and matte finish options, along with a variety of frame sizes, allow you to design a gallery wall that harmonizes with your décor.
Pick a Travel Gallery Theme
If you’re a passionate traveler, narrowing your focus to a specific region or country with special memories can help create a thematically consistent gallery wall. Alternatively, you might center your display around themes such as outdoor adventures, world-famous beaches or iconic cities. Whether you choose coastal retreats, urban exploration or natural landscapes, selecting a central plotline that resonates with you will give your gallery a distinctive character that reflects your experiences.
As your journeys continue, you can update your gallery by swapping out photos or leaving space for future adventures. The frames you choose can further enhance your theme; a blended mix of colors and materials might reflect a backpacker’s diverse experiences, while simple, elegant metal frames could be ideal for showcasing family vacation photos, ensuring the emphasis remains on the moments that truly matter.
Installation and Layout Tips
With your photos selected and framed, it’s time to think about how you’ll bring them together on your wall. The arrangement and installation of your gallery are just as important as the content itself. By carefully planning your layout and considering factors like color schemes, focal points and frame styles, you can create a gallery wall that’s not only beautiful but also uniquely yours.
Choose a Consistent Color Scheme
While there are no hard and fast rules when it comes to creating your gallery wall, a cohesive color scheme can make a significant difference if you’re aiming for a more polished look. By sticking to a specific palette, you can create a harmonious, well-thought-out display. For example, you might choose tones that complement each other such as neutral shades, soft blues and touches of gold, as seen in some vintage-themed walls.
When it’s time to hang your artwork, you can either take precise measurements or go with a more spontaneous approach. If you’re lucky enough to have a large paper template, you can simply mark where the nails should go and hammer them in through the paper. The template will tear away easily once you’ve secured everything in place. Whether you opt for bold contrasts or softer tones, maintaining a consistent color palette will help your gallery wall feel unified and purposeful.
Begin with a Bold, Focal Piece
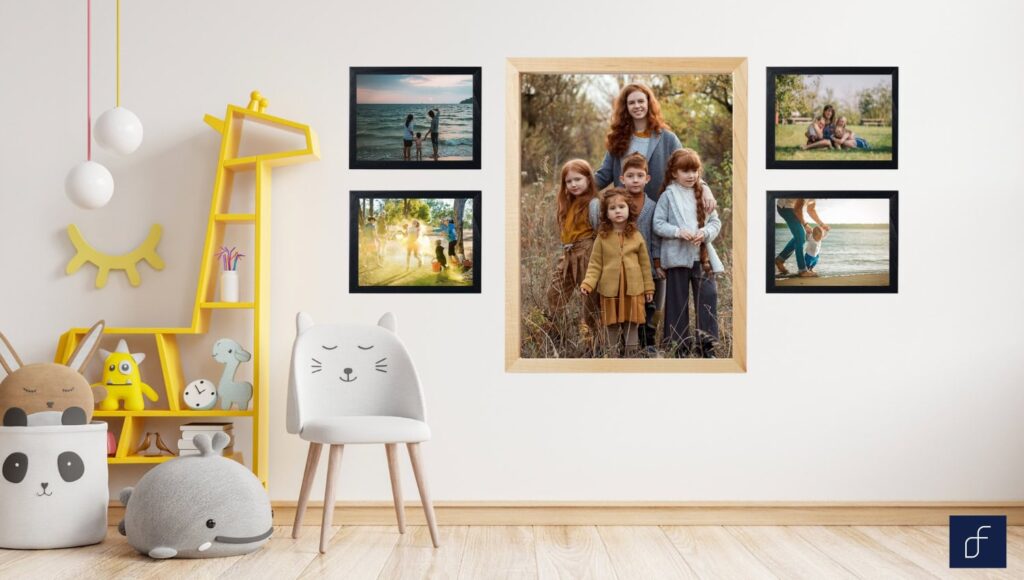
Starting with a bold, attention-grabbing focal piece will anchor your gallery wall and set the tone for the entire arrangement. It could be your favorite photograph or an oversized print that immediately attracts attention. Begin by placing your largest pieces first—they’ll serve as the foundation of your layout. In smaller collections, try positioning the focal piece in one of the outer corners. Placing it slightly off-center for larger displays helps guide the eye across the entire arrangement, creating a dynamic and visually engaging gallery wall.
Position the Next Largest Piece
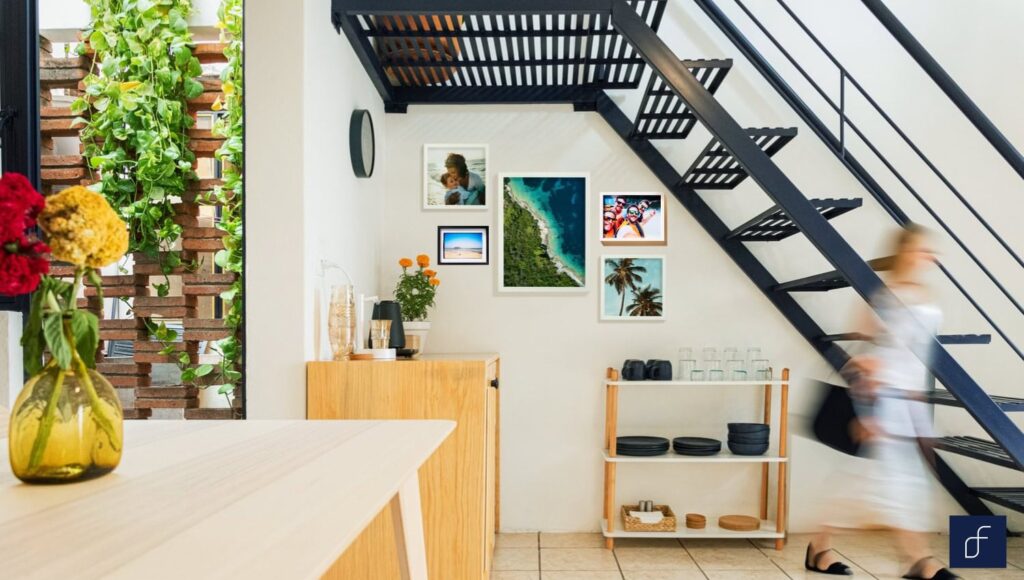
After placing your statement piece, the next step is to position the second largest photo or artwork. This helps create a balanced look, ensuring your gallery wall doesn’t feel too heavy in any area. To achieve this, try placing the second largest piece diagonally from the main artwork—either right next to it or on the opposite side of the wall. The strategic placement sets the stage for a well-organized and visually appealing layout. From there, it’s just a matter of filling in the remaining spaces, and your gallery wall is almost complete!
Combine Horizontal and Vertical Frames
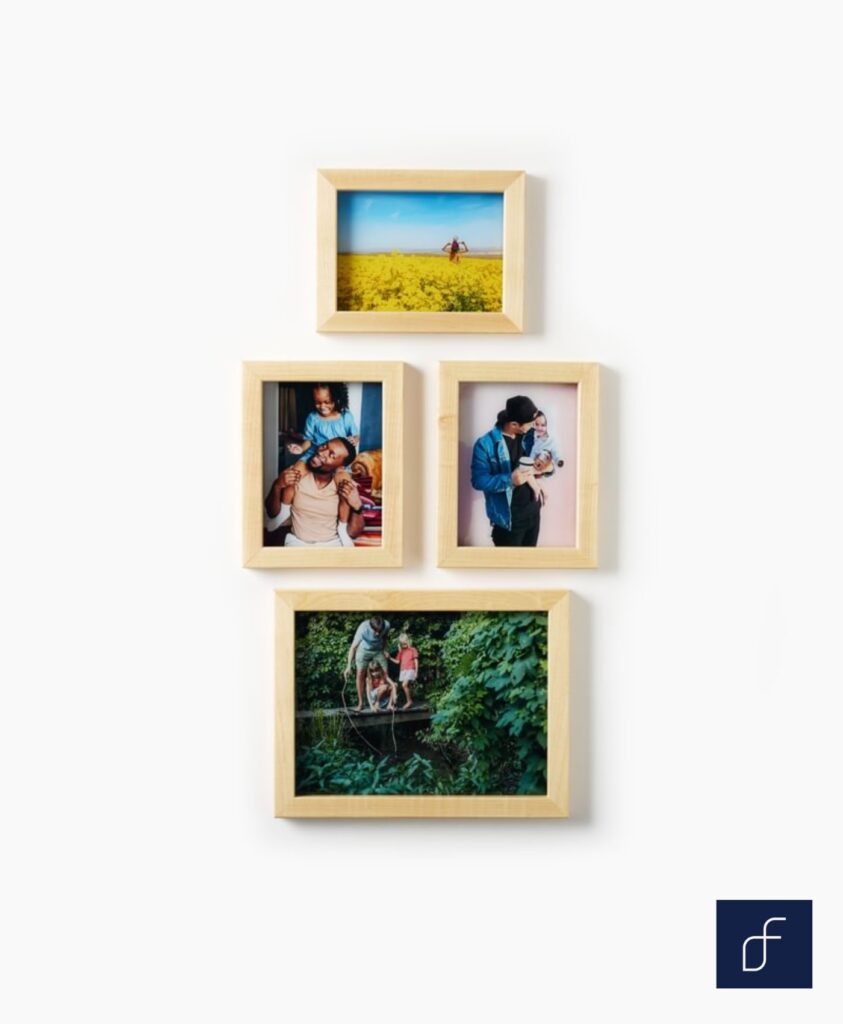
Mixing horizontal and vertical frames on your gallery wall can create a more dynamic and interesting display. The variety in orientation adds depth and keeps the arrangement from feeling monotonous. If you have a large horizontal piece, try placing a smaller vertical piece next to it, either centered or aligned at the bottom. This is a great way to start building your layout, working inward from your larger pieces.
Mix and Match Frame Styles
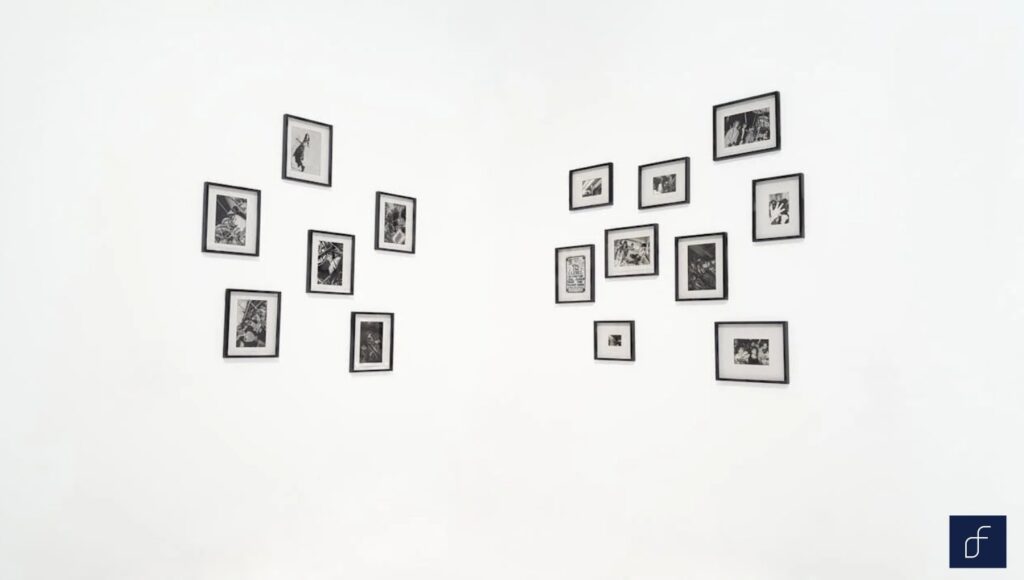
Don’t be afraid to mix different frame styles. Combining various frame designs can add texture and interest to your gallery wall. Whether you prefer sleek and minimalistic frames or ornate and decorative ones, mixing styles can elevate the overall aesthetic of your wall.
Frame Choices for Impact
The choice of frames can significantly impact the overall look of your gallery wall. Consider how different frame materials, colors and thicknesses can change the vibe of your display. For example, wooden frames can add warmth, while metallic ones can give a contemporary feel.
Adding Unique Elements
To make your travel gallery wall even more special, consider incorporating unique elements like travel souvenirs, postcards or maps. These items can add a personal flair and enhance the theme of your wall, making it a true reflection of your journeys.
Choosing the Perfect Spot for Your Gallery Wall
The placement of your gallery wall is just as important as the photos themselves. Consider the room layout and lighting when choosing the ideal spot. A well-lit area, free from direct sunlight, will ensure your photos are displayed beautifully without fading. Whether it’s a hallway, living room or stairwell, choose a location that allows your gallery wall to be a focal point in the space.
The Final Result
After all the careful planning, selection and installation, it’s time to step back and admire the final result. Your travel gallery wall isn’t just a collection of photos—it’s a tribute to your adventures, memories and the stories you’ve collected along the way. Every time you pass by, you’ll be reminded of the incredible places you’ve been and the experiences that have shaped who you are. (And plot twist: you’ll want to snap a picture of your gallery for the ‘Gram.)
To enhance this personal display, consider using a variety of frames that suit your interior decor. Whether you prefer classic wood, sleek metal or minimalist frameless options, the right frames can tie the whole look together and complement your space beautifully. Ready to start curating your travel memories? Get started today.
FAQs on How to Create a Travel Gallery Wall
How do you make a good gallery?
A good gallery begins with a clear theme, high-quality prints and a well-thought-out layout. Consistency in color scheme and the strategic placement of focal pieces are key to creating a cohesive and visually pleasing gallery wall.
How do you arrange travel pictures?
Arrange travel pictures by starting with a focal point and then building around it with smaller or similarly sized pieces. Mix horizontal and vertical frames for variety and ensure balance by positioning larger pieces strategically.
How can I incorporate mixed media elements into my travel gallery wall?
Incorporate mixed media by adding souvenirs, ticket stubs, postcards or maps that complement your photos. Unframed art and objects can also enhance the eclectic feel of your gallery wall.
What are the best materials to use for travel gallery walls?
High-quality photo prints, durable frames and unique elements like canvases or travel mementos are ideal materials for creating a long-lasting and visually stunning travel gallery wall.
How do I build a cheap gallery wall?
To build a budget-friendly gallery wall, consider DIY framing options, using printable artwork or sourcing frames from thrift stores. Mixing framed and unframed pieces can also cut costs while adding visual interest.
How much does it cost to create a travel gallery wall?
The cost of creating a travel gallery wall can vary depending on the number of prints, the type of frames and any additional elements like souvenirs or maps. For a personalized quote, reach out to us and start transforming your travel memories into art today!




Comments