
Everyone knows that feeling: thrilled to print photos, expecting them to look amazing, only to feel bummed when they end up blurry or grainy. No worries! **Here are tips** to prevent that. Manual photo checks and editing tricks can keep pictures clear, especially for glass prints. Find out how to get sharp pictures ready for **print-worthy glass displays**.
Sharpness via focus mode on your camera or smartphone
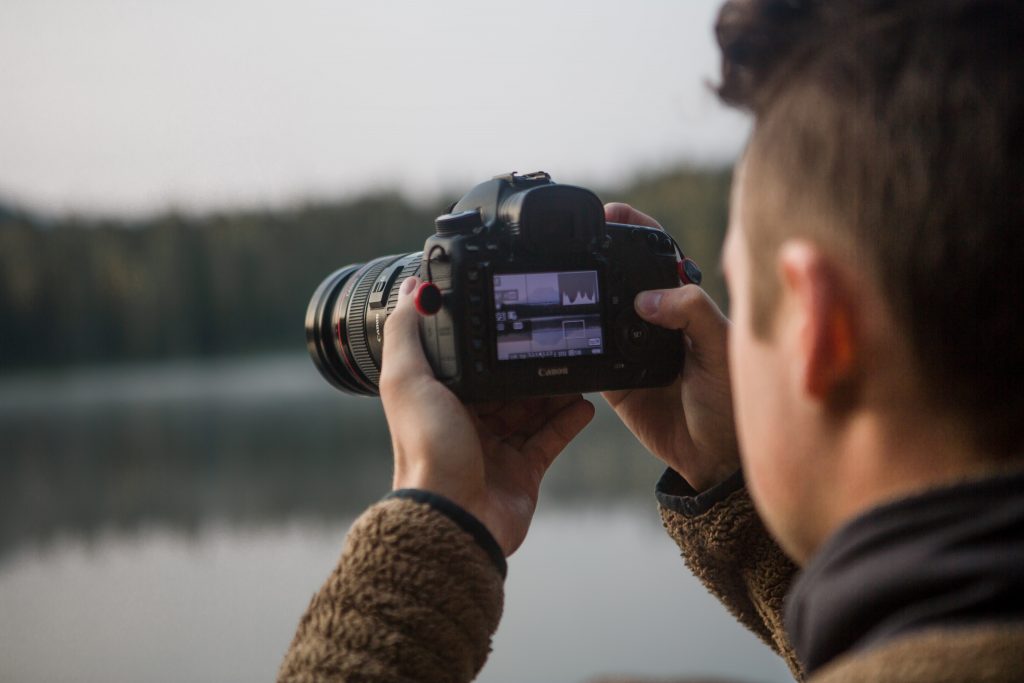
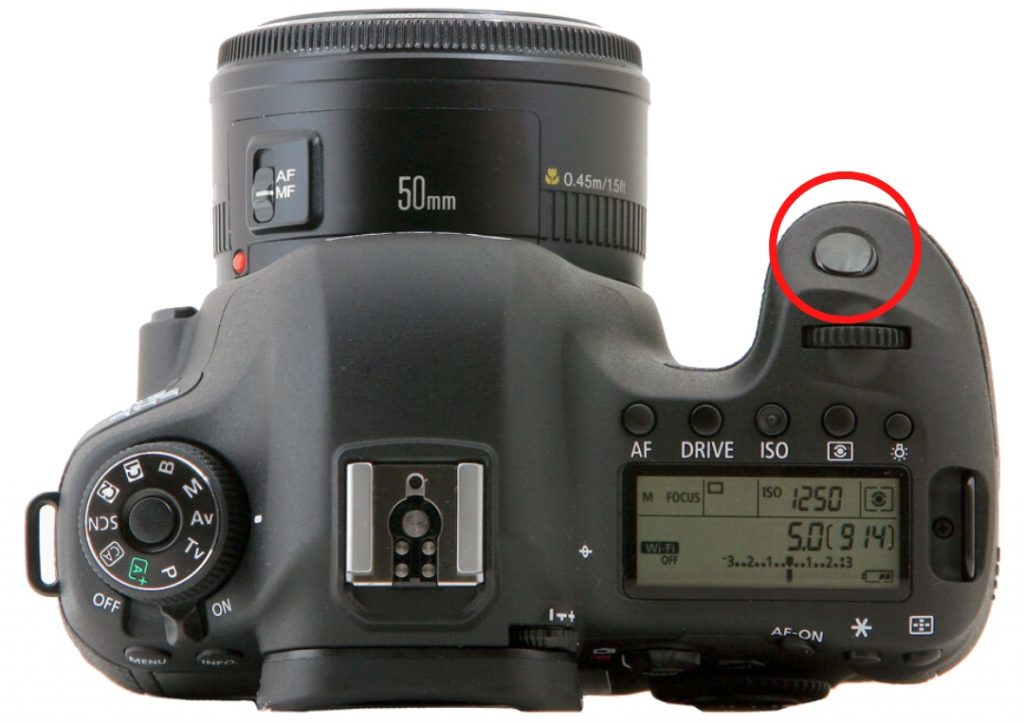
The best thing you can do to make sure your prints aren’t fuzzy is to focus your shots. Seasoned and amateur photographers alike rely on DSLR cameras to capture beautiful, vibrant photos. By and large, focusing on a DSLR is an easy technique to master, as it likely will have a built-in “autofocus” function to create sharp images. A majority of DSLR cameras have this functionality, but for our purposes, we’ll use the Canon EOS 6D as an example. There are three easy steps to focus your camera:
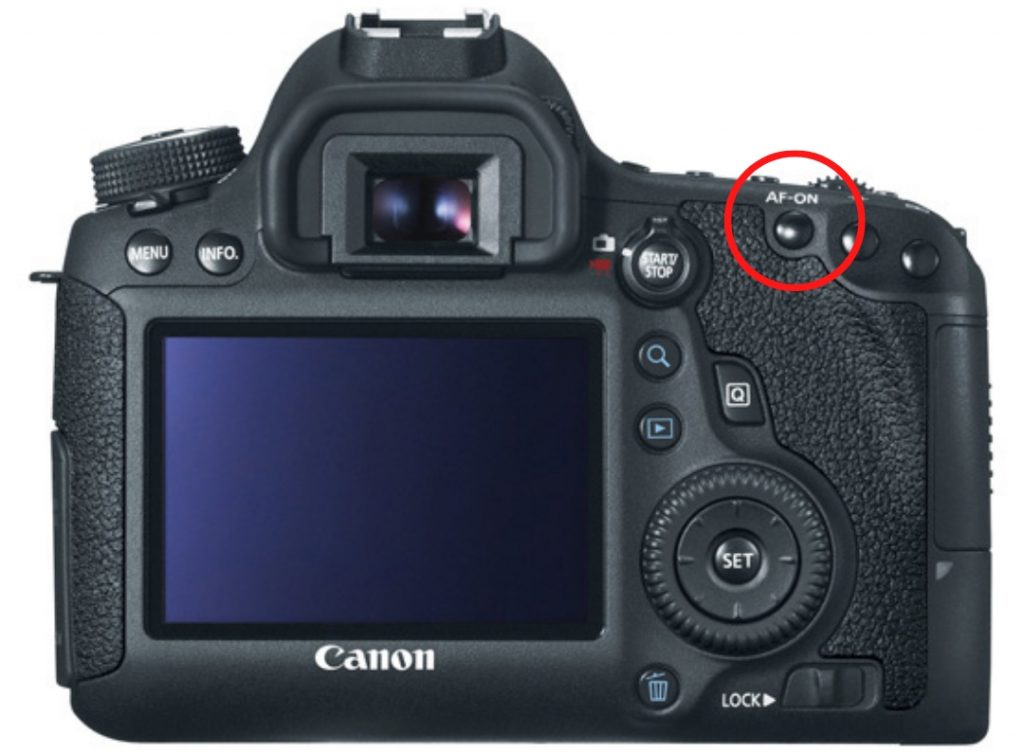
- First, set lens to AF mode (usually found on the lower left-hand side of the screen).
2. Next, switch camera to live view mode and zoom in on your subject.
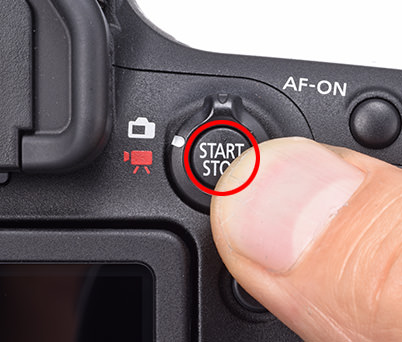
3. Finally, hold the capture button down as the camera autofocuses and then fully press when you line up the shot.
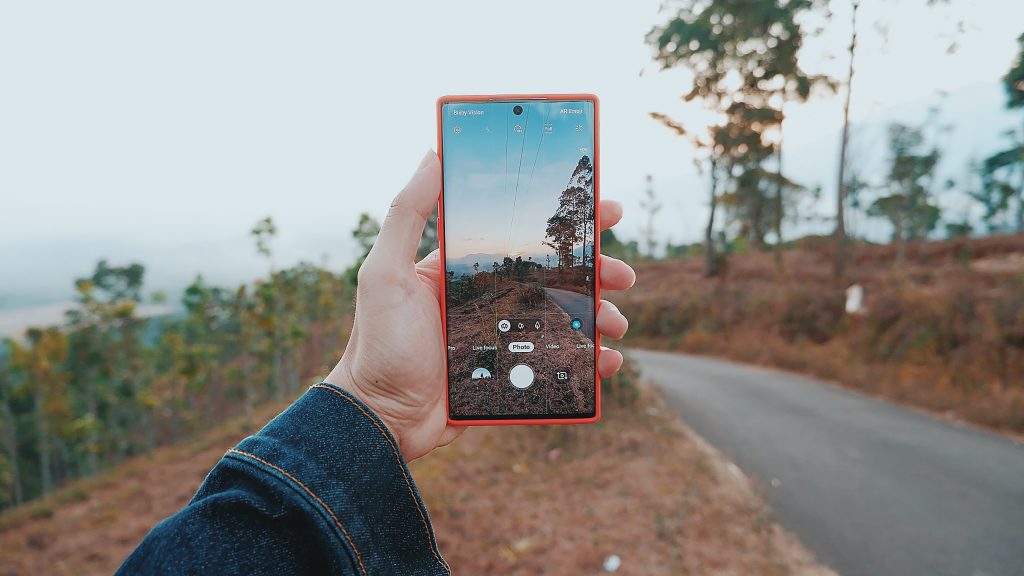
Nowadays, smartphone cameras are just as good and have a very simple focus feature; a tap on the screen causes a focus box or circle to pop up on the screen, depending on if you have an iPhone or Android, respectively. First, move the box or circle around until it centers around the focal point of your picture. Then, once you focus your shot, go ahead and snap the photo.
Choose the optimal lighting for sharp images
The very premise of photography relies on capturing light. With this in mind, a photo that’s very brightly lit all over may print with less detail than anticipated. Likewise, a photo that’s too dimly lit may look grainy once printed.
An easy way to fix the lighting of your photo on a DSLR camera is to adjust the exposure value (the +/- symbol usually found on the camera screen or a button). To illustrate, adjusting the exposure in the negative direction will result in a darker photo. Alternatively, adjusting the exposure in the positive direction will take a lighter photo. Some cameras may also have a feature called Automatic Exposure Bracketing (AEB), which allows you to automatically take three shots at one time, each with a different Exposure Value. With AEB, you can choose and keep the best-looking shot, ultimately improving the overall quality of your photos.
On an iPhone, you can adjust the lighting when lining up your shot by sliding your finger up (lighter) and down (darker) on the sun icon next to the focus box. Alternatively, on an Android camera app, tap “more” and then on the “pro” icon. Next, tap the +/- symbol and slide the bar to your desired brightness. With the right lighting, you’ll have a better chance of printing sharper images.

Edit your photos’ sharpness in Lightroom
Say you’ve already taken your photo, and you find that it needs some adjustments to become clearer. Lightroom (aka your best friend in this situation) is a robust yet easy-to-use editing app you can either download on your phone or use on a desktop. There are various tools within the Lightroom “Detail” tab that can help you sharpen your photos:
Sharpening
The “Sharpening” slider adjusts how much clarity is applied to the whole image. Pro tip: A little sharpening goes a long way when creating sharp images. Oversharpening can bring about poor resolution and harsh, visible lines around objects. But, used correctly, this tool can make your photo pop with beautiful detail.
Radius
Next, the “Radius” slider shows how far from the edge the contrast will be increased. Most of the time, it’s fine to leave this at its default setting of 1.0 pixels. However, if you have a particularly blurry or unfocused image, try increasing the radius to 2.0 pixels.
Detail
The “Detail” slider determines what areas are sharpened in the specified radius around the edges. If the slider is closer to zero, it will affect the larger edges of a photo. On the other hand, closer to 100 will affect the finer edges. You can think of this as sharpening the outside edges of a leaf versus sharpening the more detailed textures of the leaf.
Masking
Lastly, the “Masking” tool allows you to isolate areas within an image and make adjustments specific to that area, without affecting the rest of the image. At zero, the slider applies sharpening to the entire photo. At greater values, the slider sharpens areas with only strong edges. In essence, masking can be helpful in balancing out the effects of the Detail slider, if the image looks too textured.
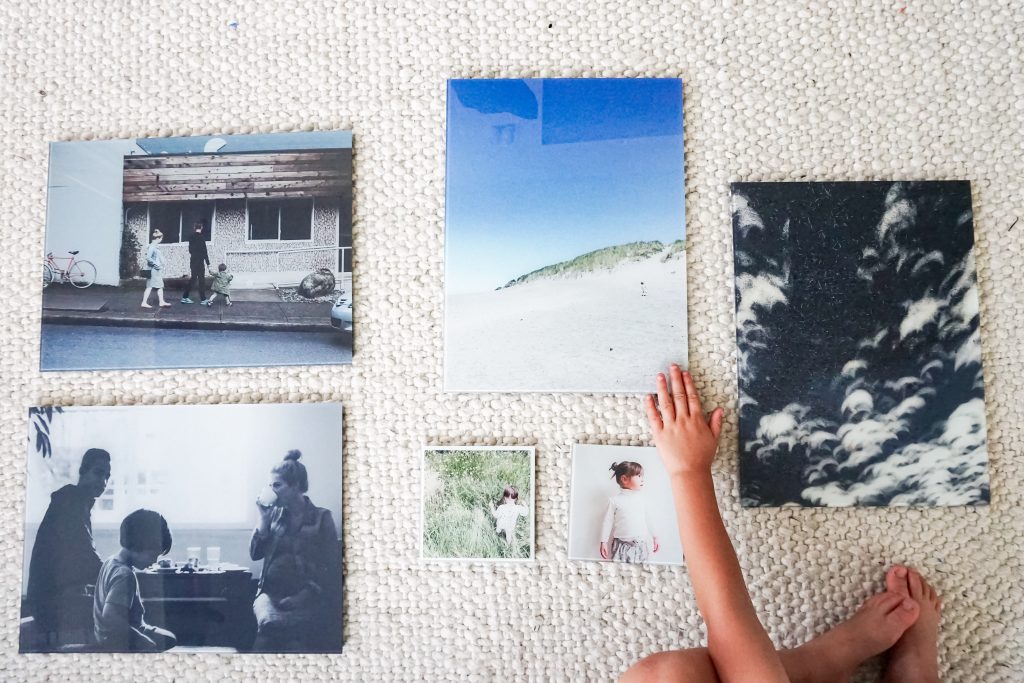
Time to print your images!
When you’re ready to print your photos, you’ll want to choose a trusted brand that’s easy to use and whose prints are professionally done.
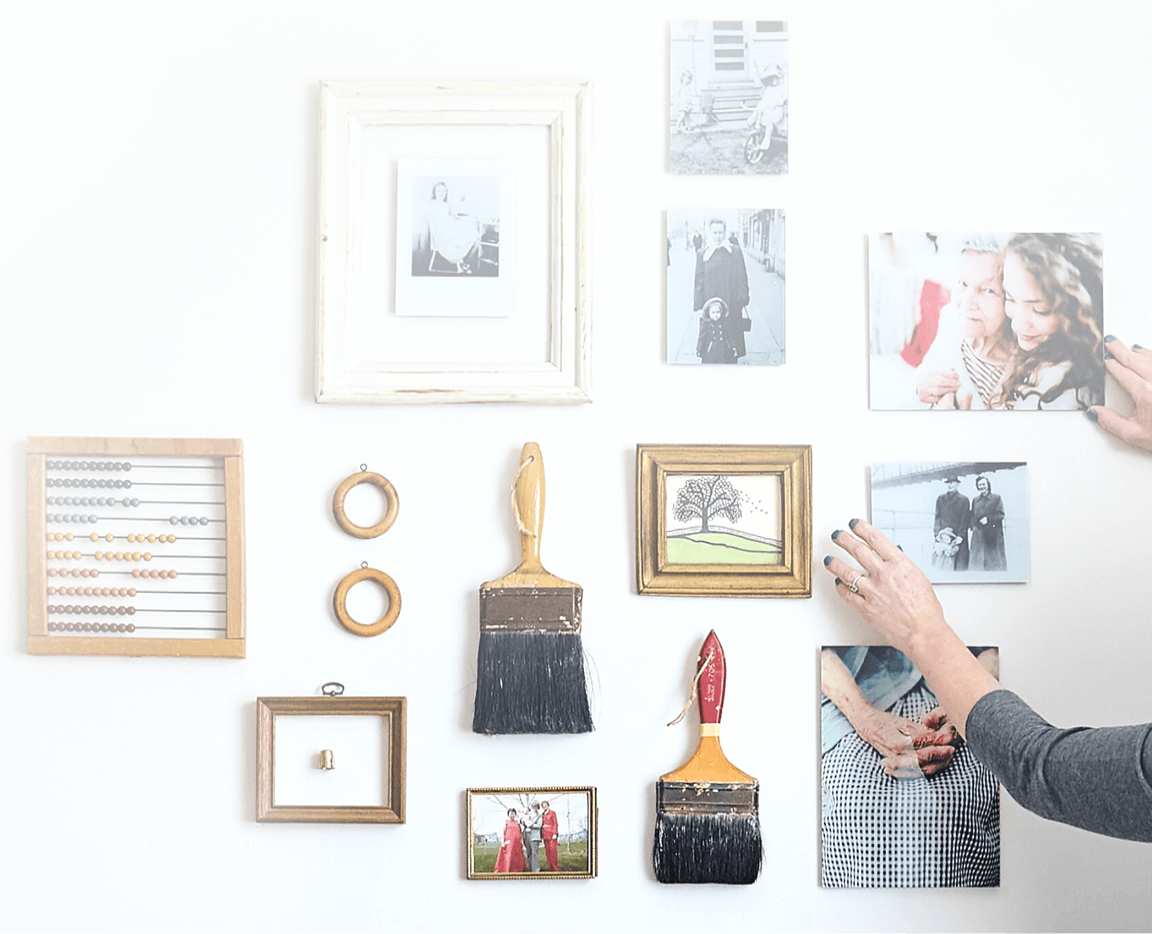
Fracture offers multiple sizes and shapes so that you can create custom layouts — available in single glass prints, a Photo Wall arrangement, or Storyboard — to display your unique moments. Plus, you’ll receive all of the materials you need to hang them on your walls, with options for tabletop display stands.
And if you’re still worried about your photos not turning out super sharp, we’ve got you; when uploading your photo, we’ll automatically tell you if your photo resolution is too low. You’ll be able to go back and edit your picture to your desired clarity for amazing-looking prints.
Let a Fracture glass print be the thing to add a touch of personality to your home.

Comments