
Snapping a photo now feels as simple as blinking. With professional-grade cameras on smartphones everywhere, **capturing any moment** instantly becomes a breeze. Just **look at those** overflowing camera rolls and stuffed backup drives!
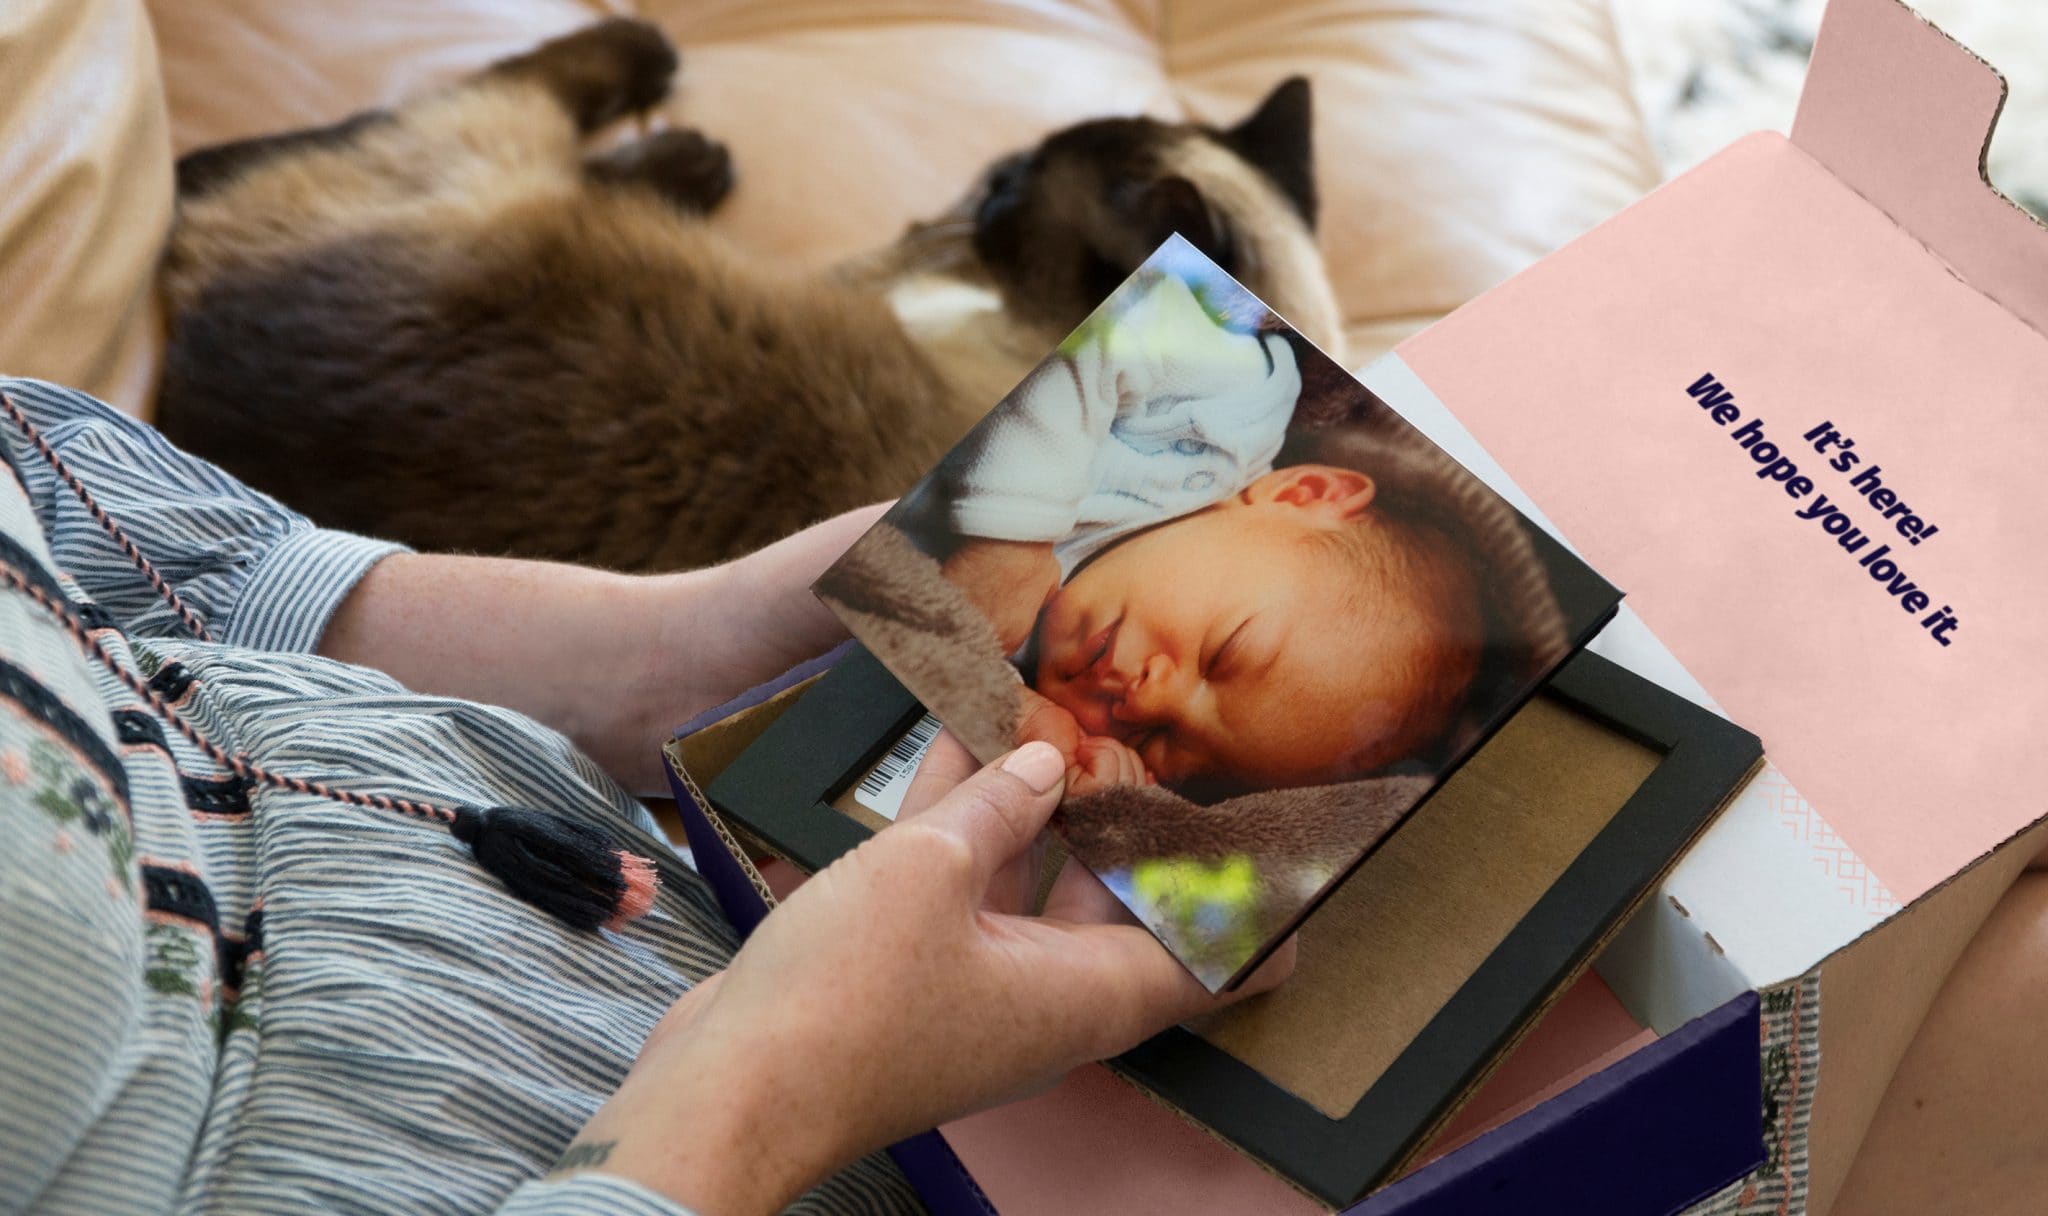
While this ocean of digital imagery is a fantastic thing, there’s still something special about a printed photo. Like the smell of a new paperback or the warm crackle of a vinyl record, a photograph distilled into a physical, tangible format feels more meaningful in this day and age. That is, if we can remember to take the time to get them printed.
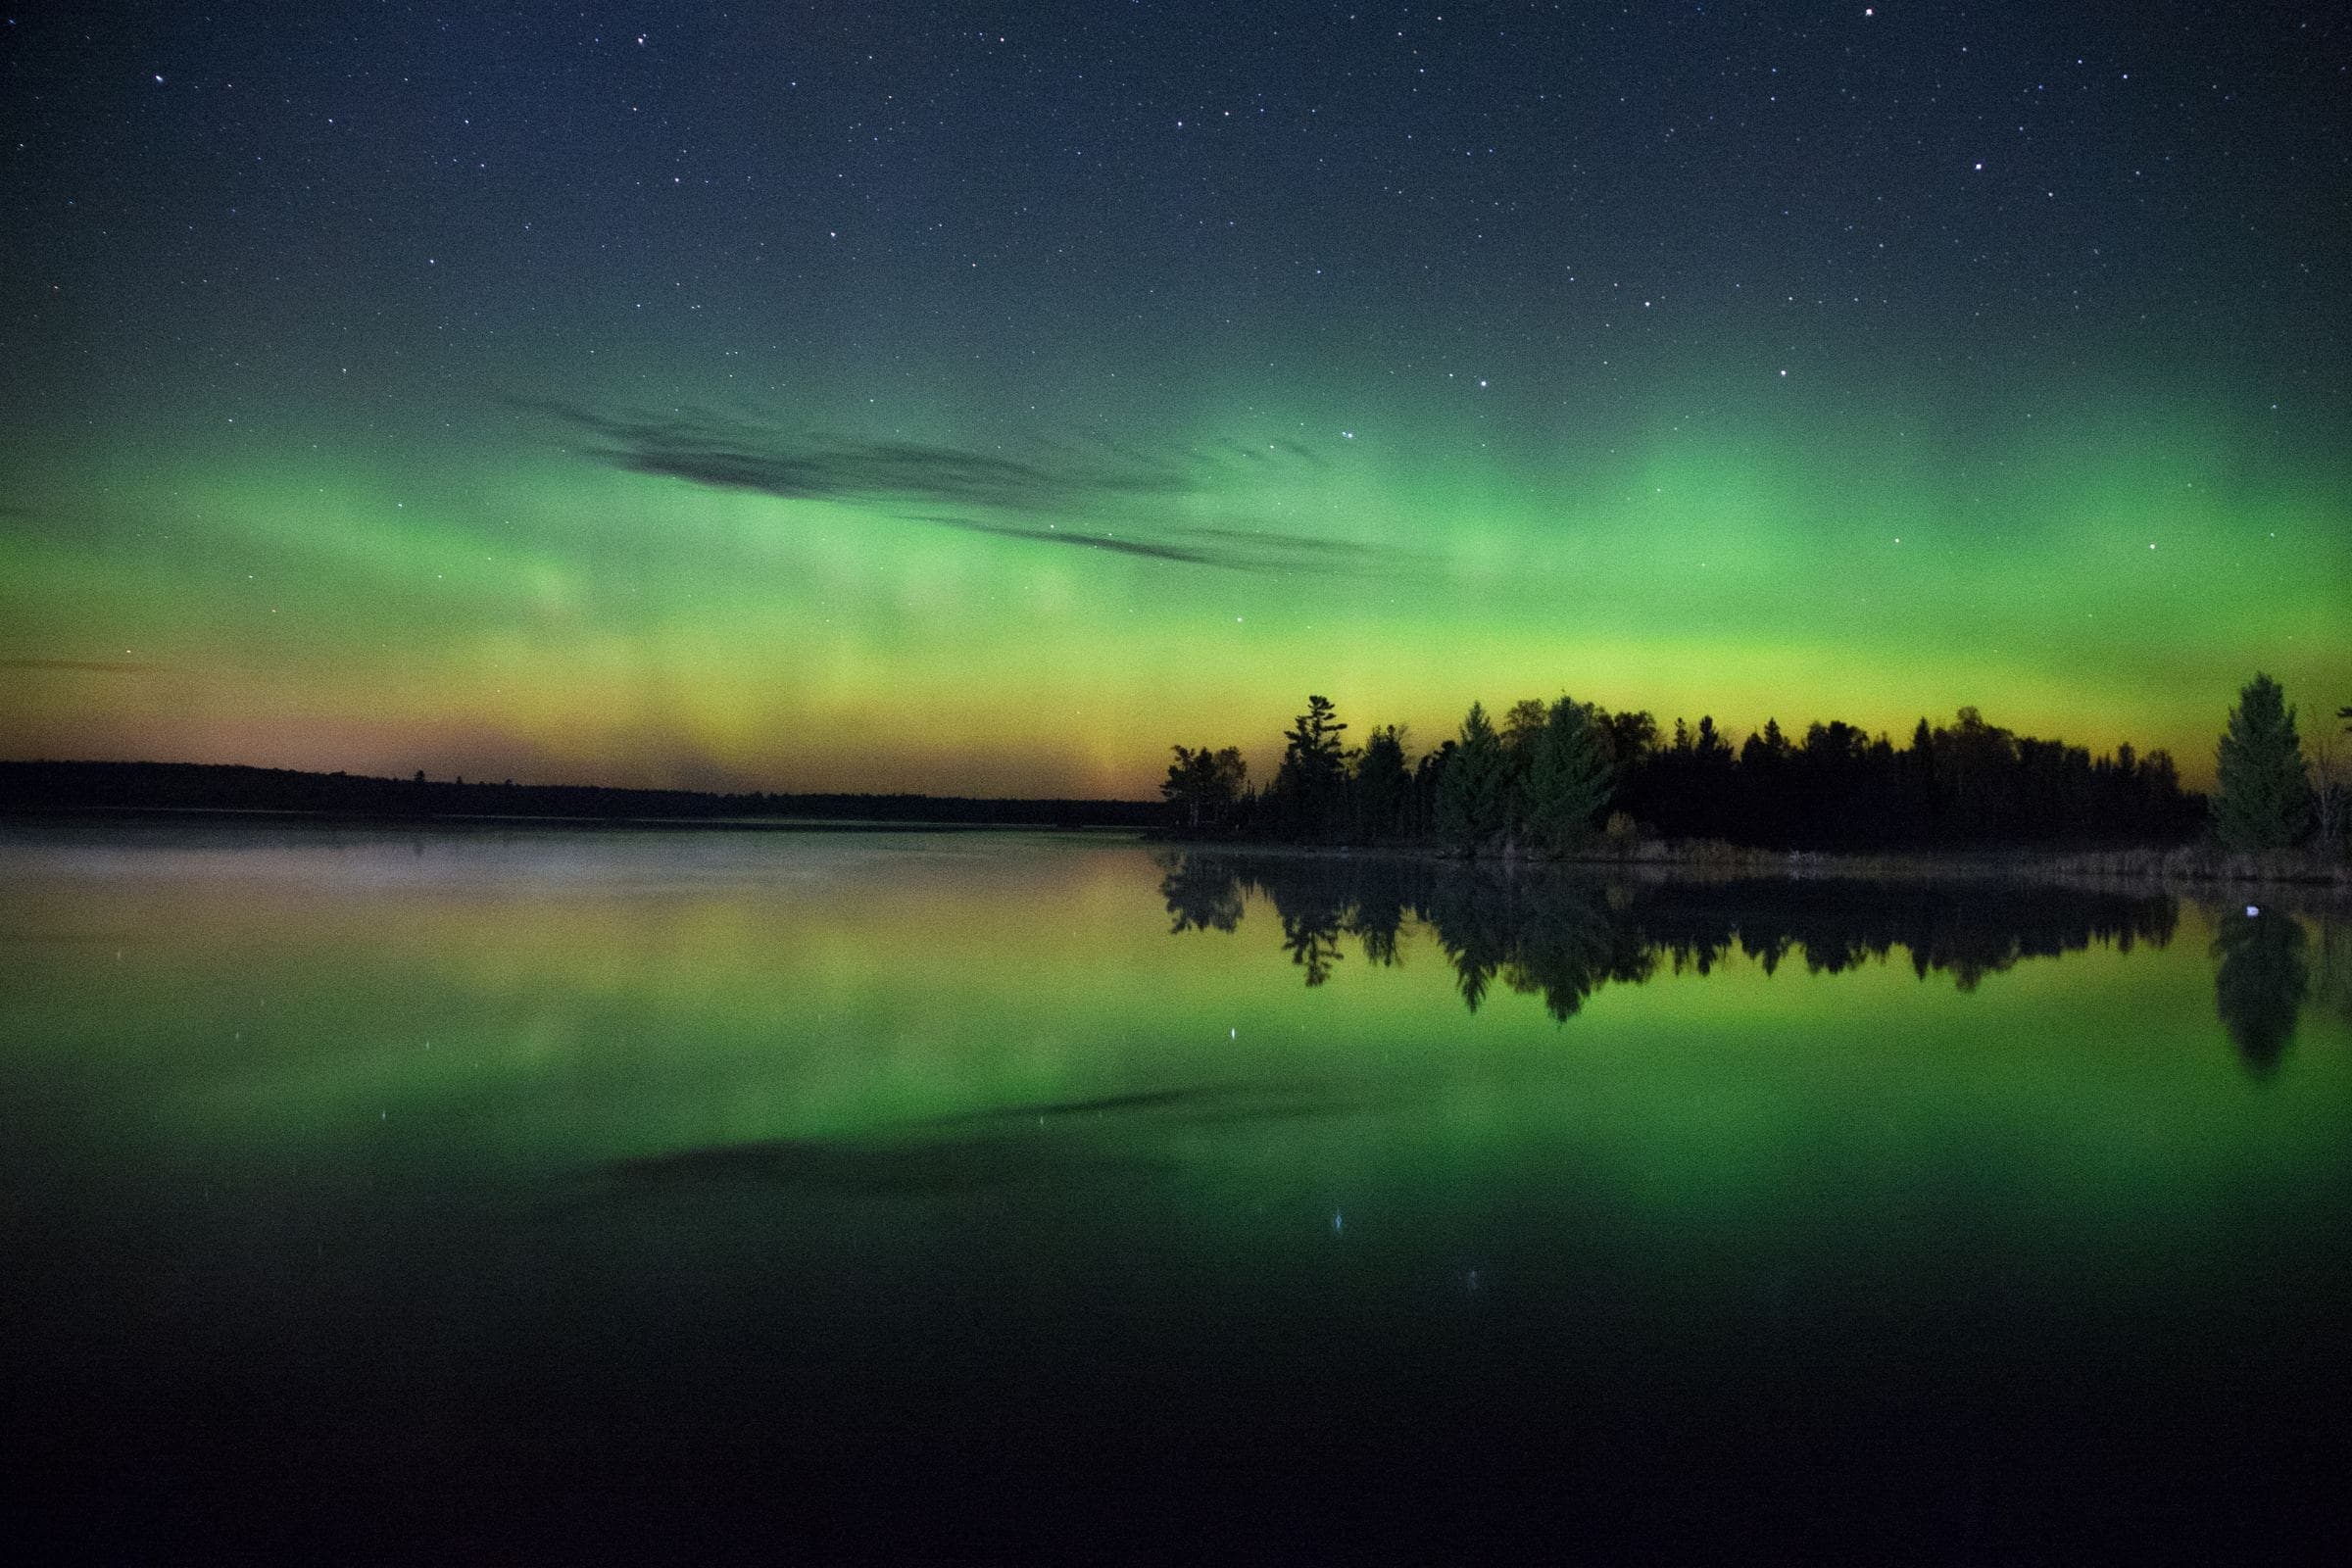
Pinpointing the most print-worthy images can be tricky enough in its own right. That perfectly-timed candid family group shot. The postcard-esque golden hour landscape from last summer’s vacation. Your curled-up cat captured at her cutest angle. Not to mention, whatever else may be buried in the depths of your camera roll or boxes of old family photo slides.
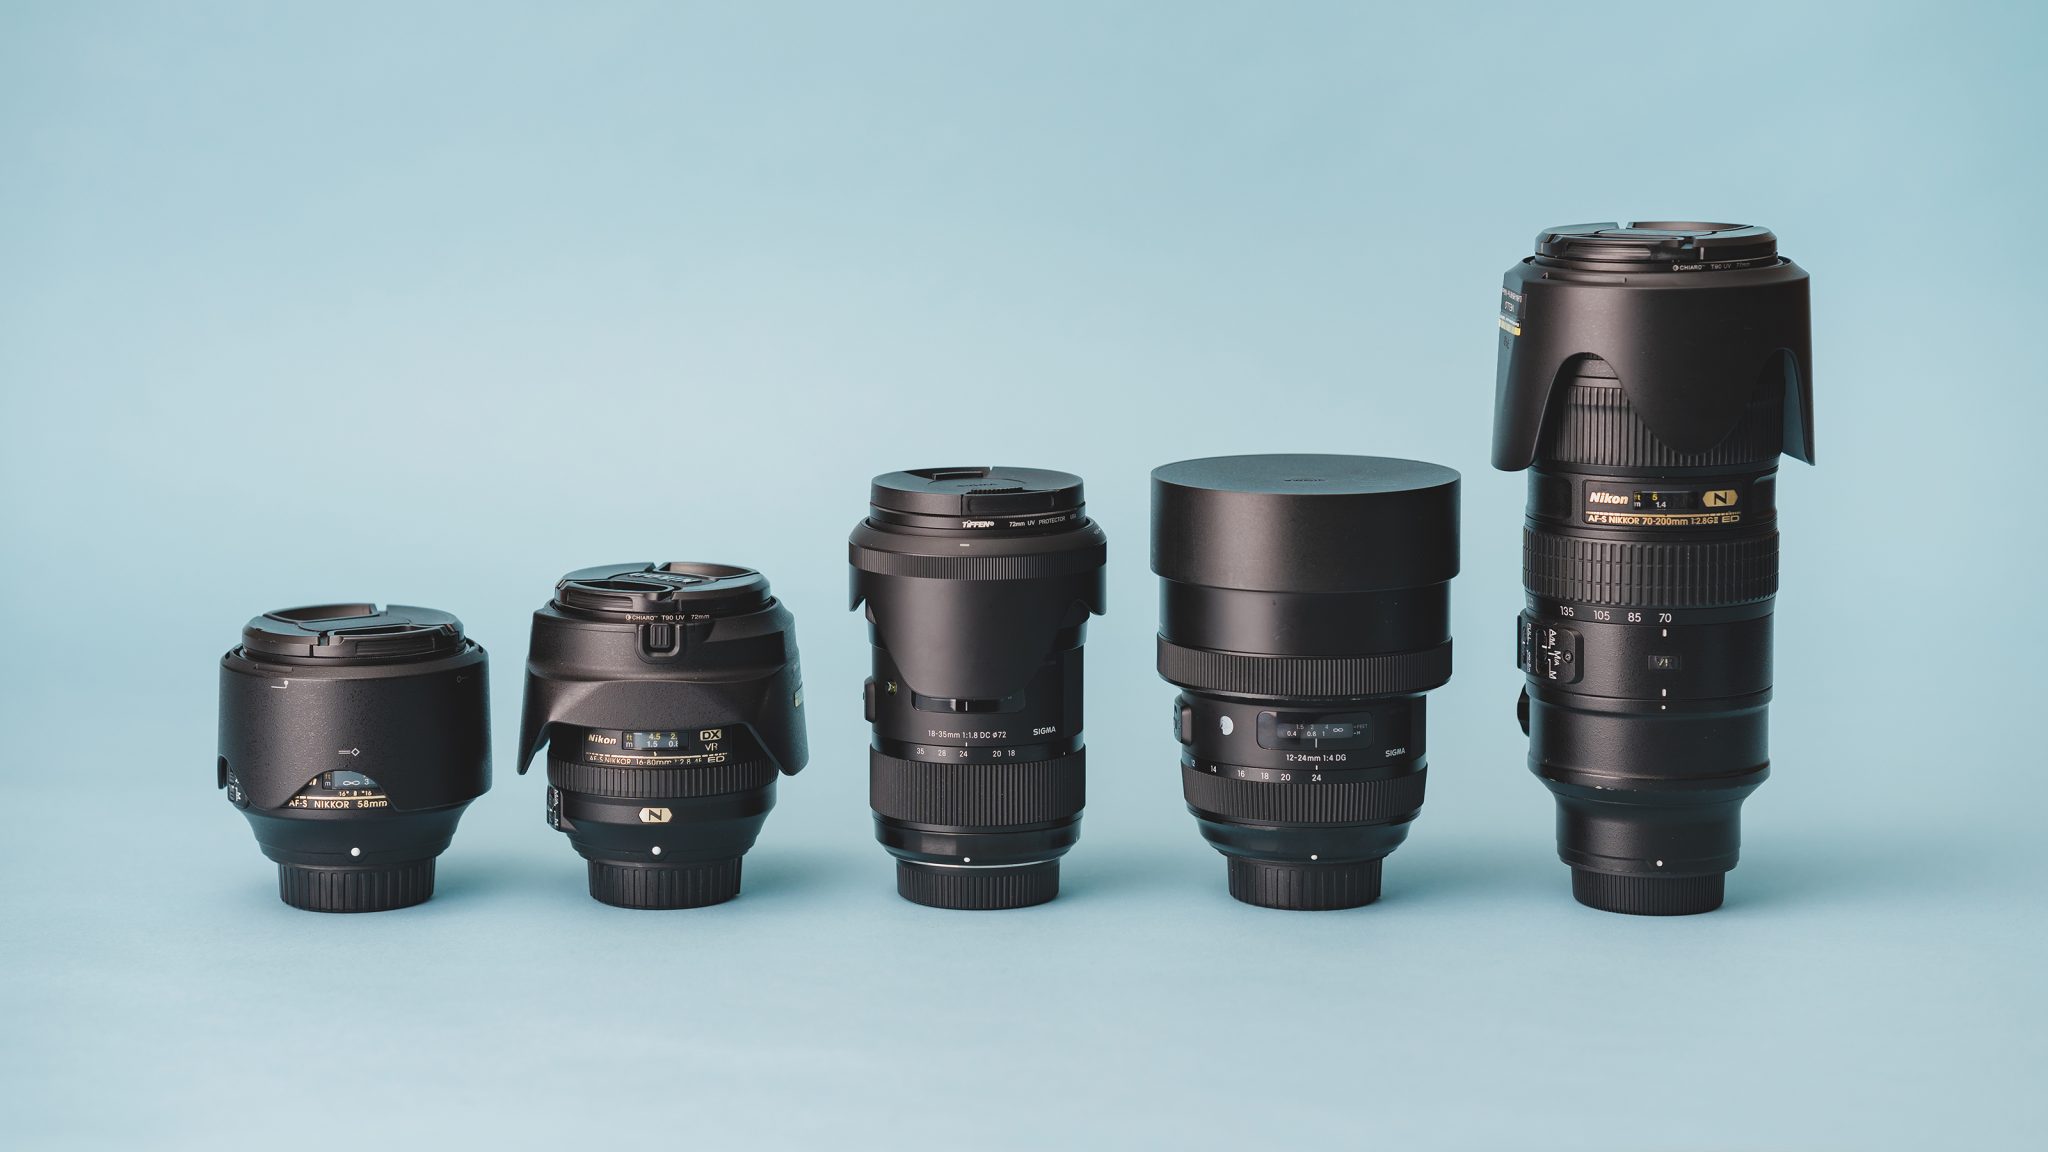
But all photographs are not created equally. Just because an image looks great on a phone screen doesn’t mean it will make a stunning print. Lower resolution images, for instance, can look surprisingly bad once they’re blown up and printed. Things like the composition and lighting are a big deal, but no less critical is the source of the image; did you find it on social media or get the original, high-resolution file from a DSLR camera? Details like this can have a huge impact on the print quality of a photo.
Once you’ve identified the printable highlights from your photo collection, there are a few things you can do to ensure that they’ll make the best possible prints—whether you’re printing them on glass or elsewhere. Looking to get some photos printed? Here’s a handy guide to get started.
The Nitty-Gritty: Image Size, Resolution, And Color Settings
Besides the composition of the image itself, the size and resolution of a digital photo are easily the most critical factors. As a general rule, bigger is better. A higher resolution typically means better print quality, especially for larger print sizes. Something like 300 DPI is a good minimum to aim for, but lower resolutions often work just fine. Again, the source of the image matters here. Whenever possible, try to get your hands on the original, high-resolution photo file.
The pixel dimensions of an image—that is, how wide and tall it is measured in pixels—is another major factor. The exact image size requirements will vary based on your desired print dimensions. Fracture glass prints, for example, come in a variety of standard print sizes, each of which has its own minimum pixel dimension requirements. The photo file doesn’t have to be massive, but we recommend using a photo of at least one megabyte in size. The bigger the image file, the better luck you’ll have turning it into a beautiful print.
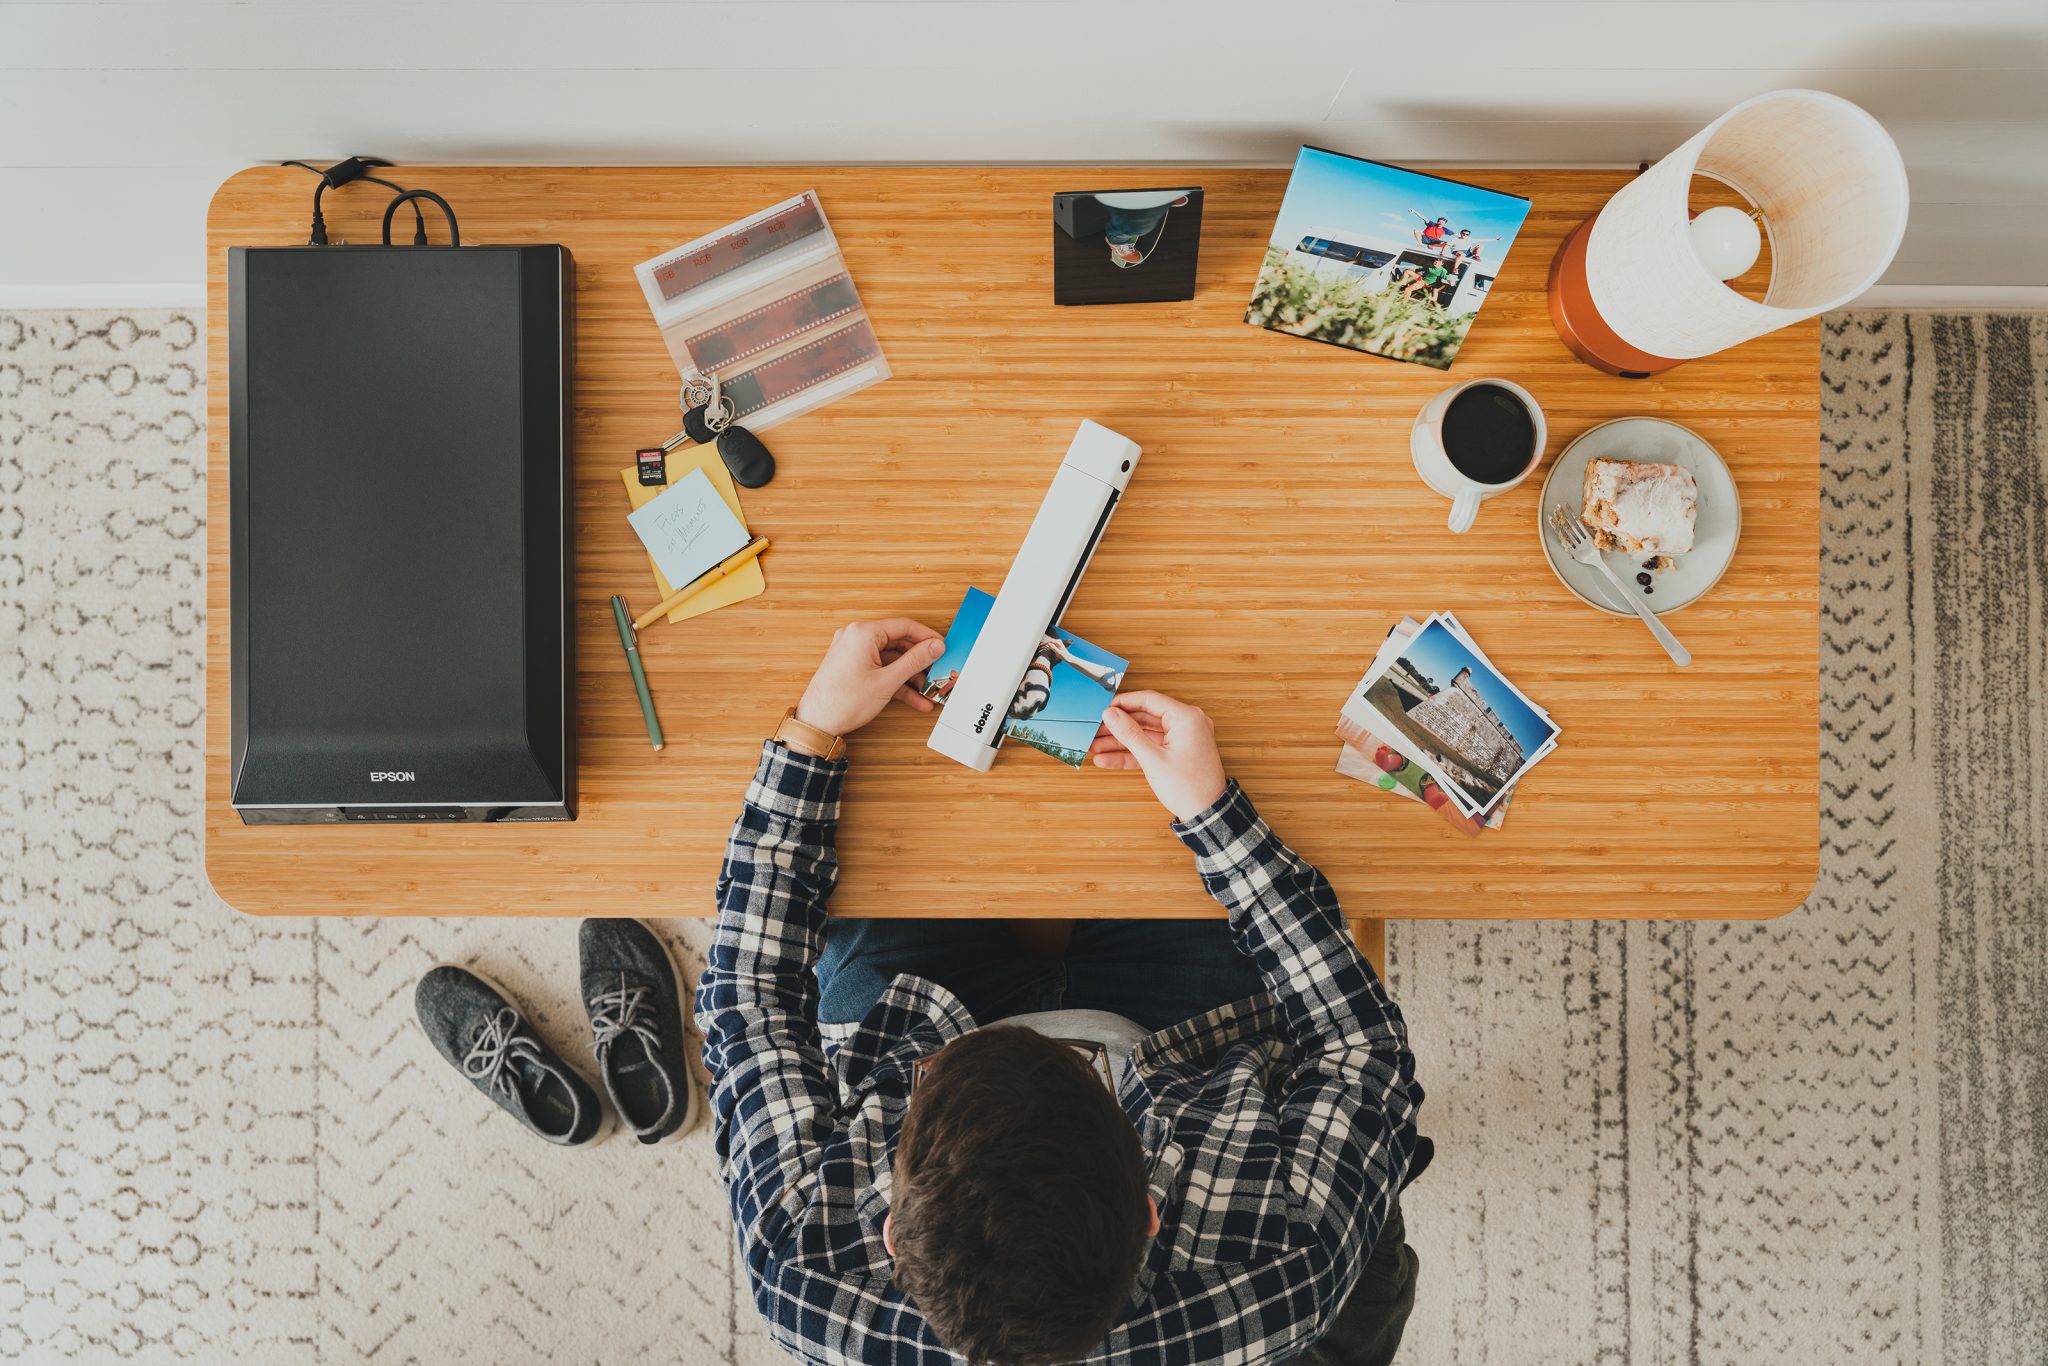
Are you making new prints from a scan of a film photo? Double-check your image resolution and size. If it wasn’t scanned at a print-friendly size, you might need to hunt for the original print or film negatives and rescan it. For more information, check out our handy, comprehensive guide to scanning and digitizing your old photos.
Finally, the color profile of the image file is essential. If this isn’t set correctly, the colors in your final print can look off, regardless of how they looked on your screen. For best results, make sure your photo file is set to RGB or sRGB (instead of CMYK) before you have the photo printed.
Another color pro tip: If you’re a photographer working with images on a computer monitor, you’ll want to make sure your monitor is calibrated properly so you can ensure it’s displaying your photos accurately. Otherwise, the colors in your photo prints may look off or washed out.
Making Photo Edits And Enhancements (If Necessary)
Photos can come from a wide variety of sources. If you’re looking to print wedding photos that were shot and edited by a professional, for instance, chances are they’re already print-ready. But smartphone shots of the family pet—as amazing as those built-in cameras can be—might need a little boost in image sharpness, contrast, or other minor editing touches.
Image sharpening is a standard adjustment made by photographers before they get their photos printed. This technique, easily done in any number of photo-editing apps, can help highlight some of the details of an image and make them look stronger in print. Like any other image adjustment setting slider, you’ll want to use this one modestly and only as necessary—sharpening an image too much can make it look distorted or grainy.
Like those vintage finds in the family archives, older photos can often use a little extra love in the retouching department. Depending on the quality of the images (and how they were scanned), you may need to digitally remove dust particles, creases, and other blemishes to make them look their best. You can even easily colorize black-and-white photographs using clever new AI-based image colorization tools.
Photo-Editing Software Apps And Tools
Hopefully, the images you’re looking to print will require little to no alterations. But if they do need some editing, there are several apps and tools that let you tweak and optimize images with ease. Pixelmator and Google’s Snapseed are two very capable mobile photo-editing apps that offer pro-level editing features in an easy-to-use interface.
If manually adjusting settings and tweaking things by hand isn’t your thing, there are more automated, AI-based photo-editing tools that can analyze images, remove artifacts, and make other simple edits using built-in software smarts. Luminar, PhotoLemur, and InPixio are just a few of the more popular apps in this category.
Of course, Adobe Photoshop—along with its more photography-focused counterpart Lightroom—remains the gold standard in photo editing for most professionals. And while they do offer some of the most sophisticated, pro-level capabilities out there, you don’t have to be a seasoned expert to get the most out of Photoshop and Lightroom.
Adobe Lightroom’s massive library of photo editing presets lets you enhance images with a single click. And while Lightroom presets are an excellent, easy-to-use tool to quickly edit your pictures, they’re just the beginning of what this high-powered photo-editing software can do.
Ready To Print: One Last Spot Check
Once you’ve found—and, if necessary, optimized—the photos you want to print and ensured all the image file specs are printer-friendly, you’re nearly ready to turn those memories into permanent, tangible artifacts.
So, how’s it going to look? Well, if your screen is calibrated and the colorspace settings are set to RGB or sRGB, you should have a pretty realistic idea based on how the image looks on-screen. And assuming your image’s resolution and pixel dimensions are correct, it should print at the desired size with no issues. If you want to double-check, you may want to run a test print on a home or office printer. Keep in mind that the quality will be lower than the final print you get from a photo lab or photo-printing service.
Finally, you’ll want to make sure that your image is saved as the right file type. Of course, different labs and printing services have other requirements, but generally speaking, JPGs are almost always supported, and formats like TIFF and PNG are standard. Fracture, for example, accepts JPGs and PNGs for its glass prints.
Ready to print? You can give Fracture a try and turn your memories into stunning glass prints by uploading them here.
Comments