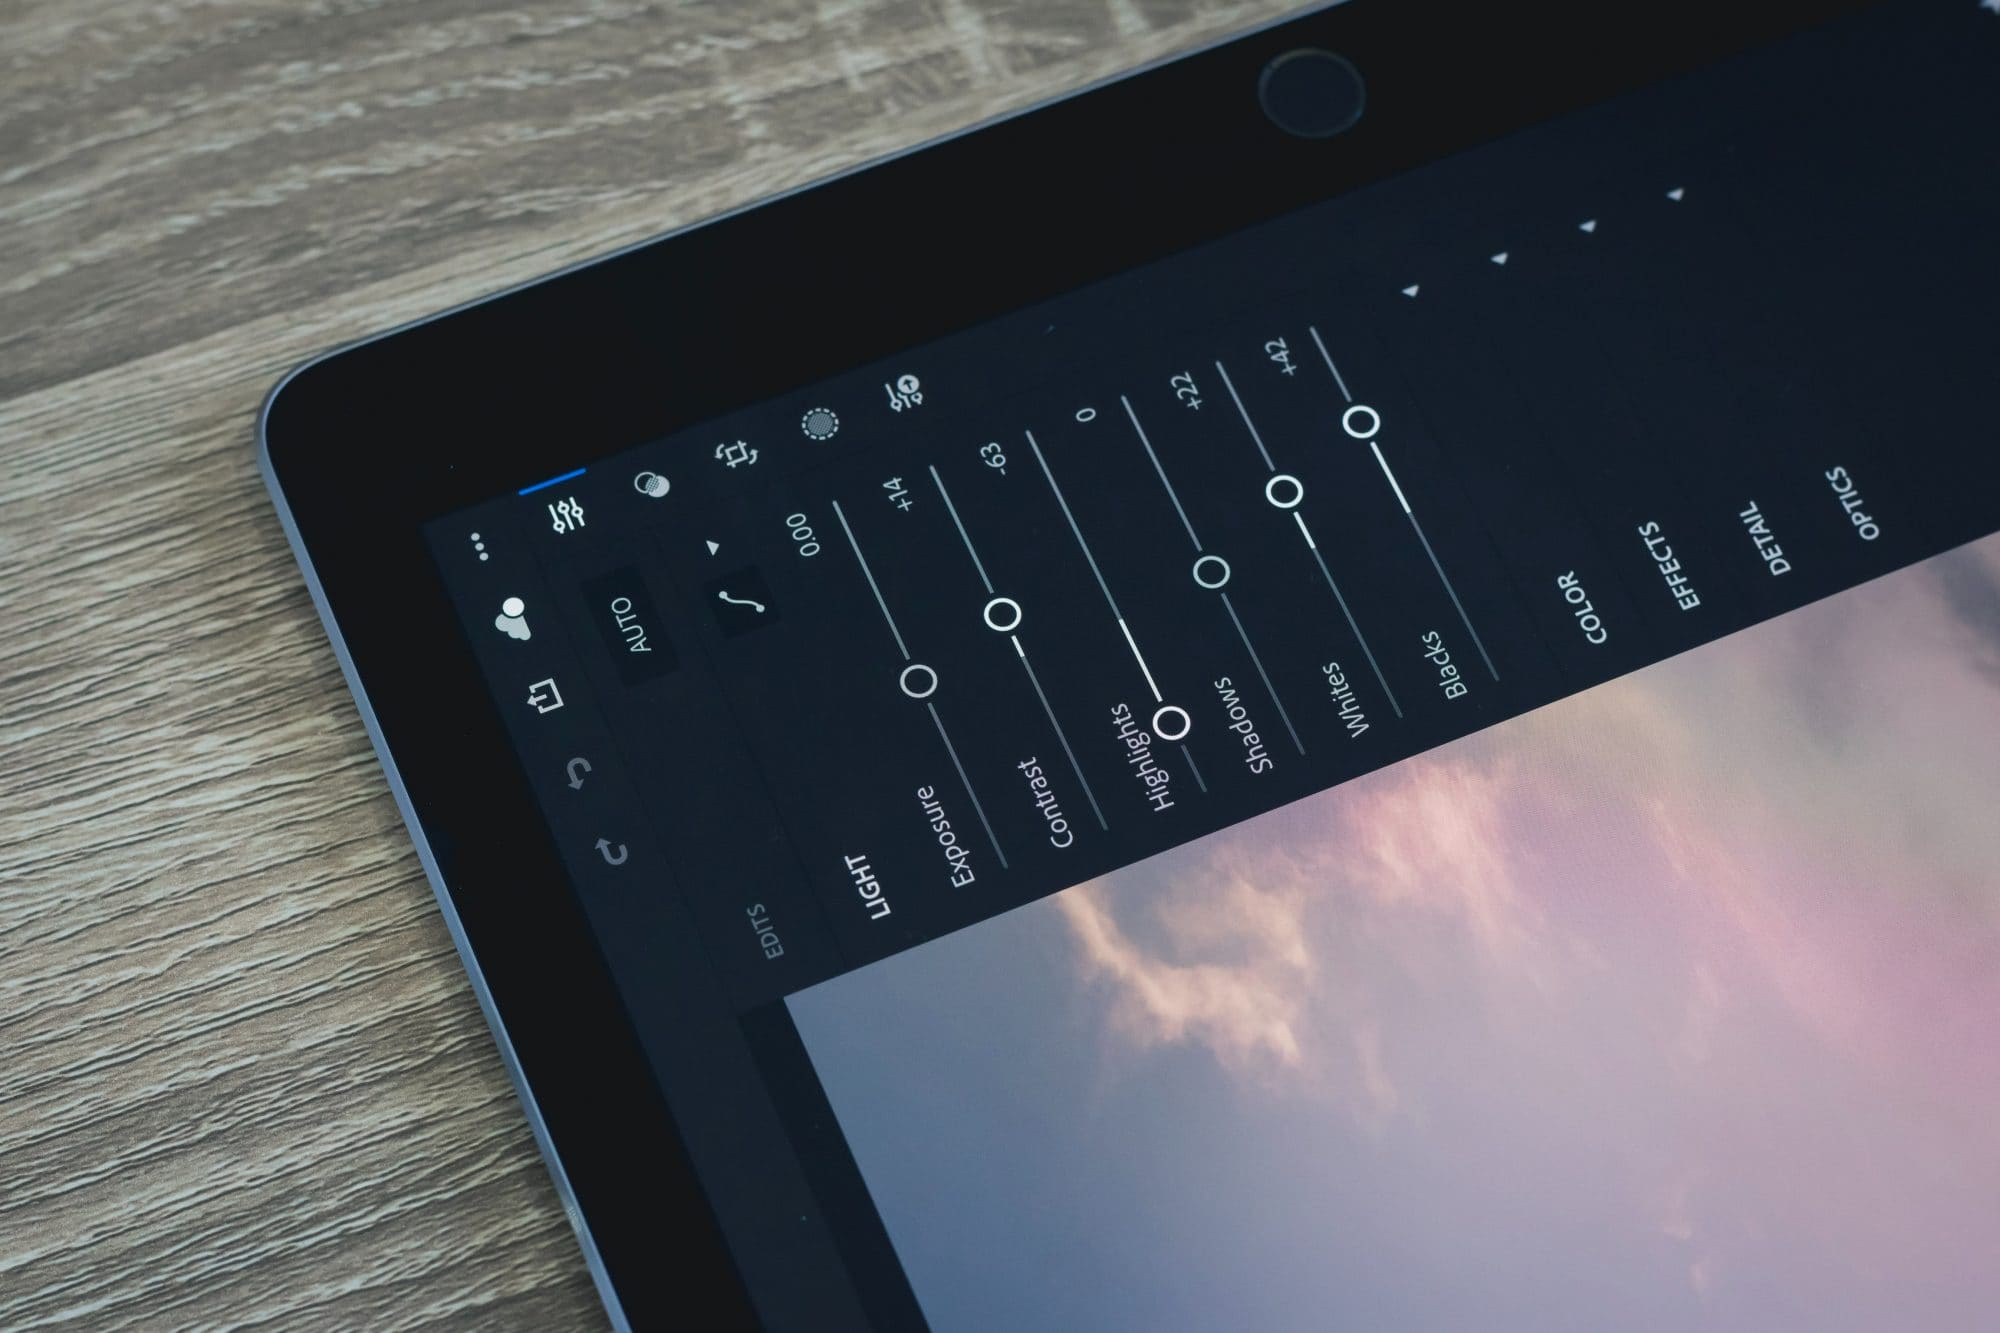
A fantastic print shines because the original picture shines, too. For a print that really grabs eyeballs, make your digital picture dazzle from the get-go! Here’s a handy list of the top 5 Photoshop gadgets to fine-tune your photo for stunning prints. Step into Photoshop and let the magic begin with some easy-to-use tools that quickly boost and spruce up your images. Unlock the secrets for getting the most dynamic prints from your photos, and get ready to impress!
1. Auto Tone, Auto Contrast, and Auto Color
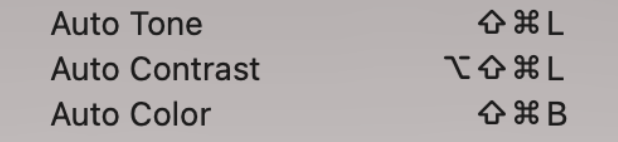
There’s nothing more satisfying than one-click magic! You’ll find these three and their keyboard shortcuts in the Image tab in Photoshop.
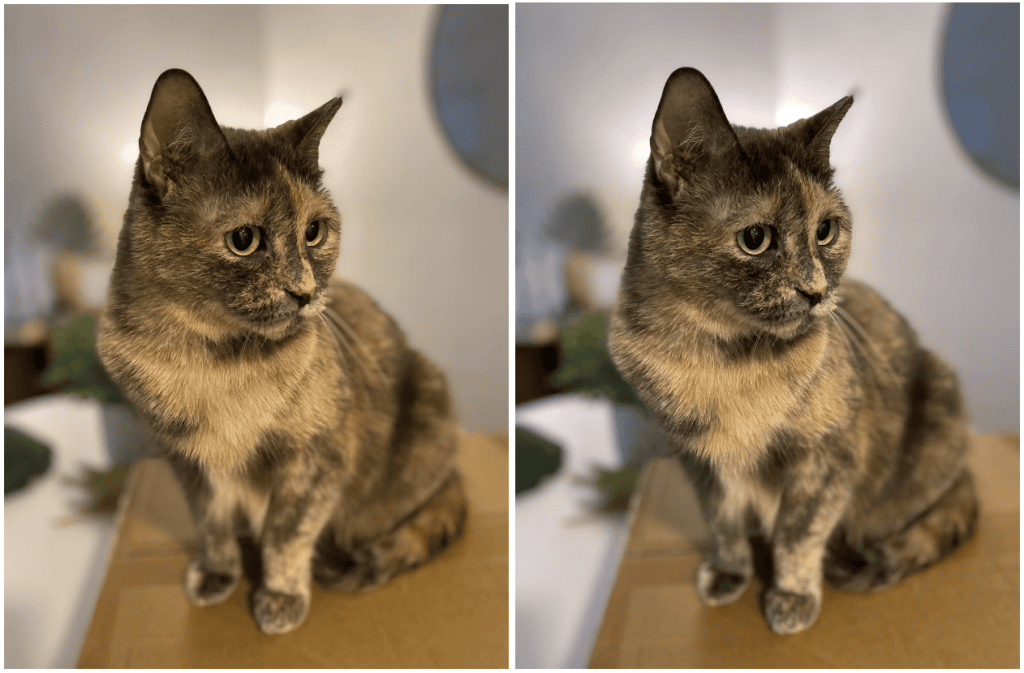
See how the yellow, indoor lighting was balanced back out and made more natural? The cat’s fur looks more defined and distinct as well—all with just a click.
- Use Auto Contrast when you don’t need to color-correct at all
- Use Auto Color when you want to affect primarily the color or temperature, and not contrast or exposure.
- Use Auto Tone when you want to adjust both contrast and color simultaneously.
Since these Photoshop tools take just one click, it’s super easy to undo it if you don’t like the results.
Pro tip: If you like the effect overall but want to reduce the intensity a bit, use Edit > Fade (Shift + Cmd + F) to reduce the strength of the changes you made.
2. Levels
Levels is one of the best tools to refine the lighting and contrast of a specific photo. You can access this panel with the shortcut Cmd + L or find it under Image > Adjustments.
With Levels, you can adjust how dark or light the shadows, midtones, and highlights are. For instance, the changes below had this effect on our bird photo:
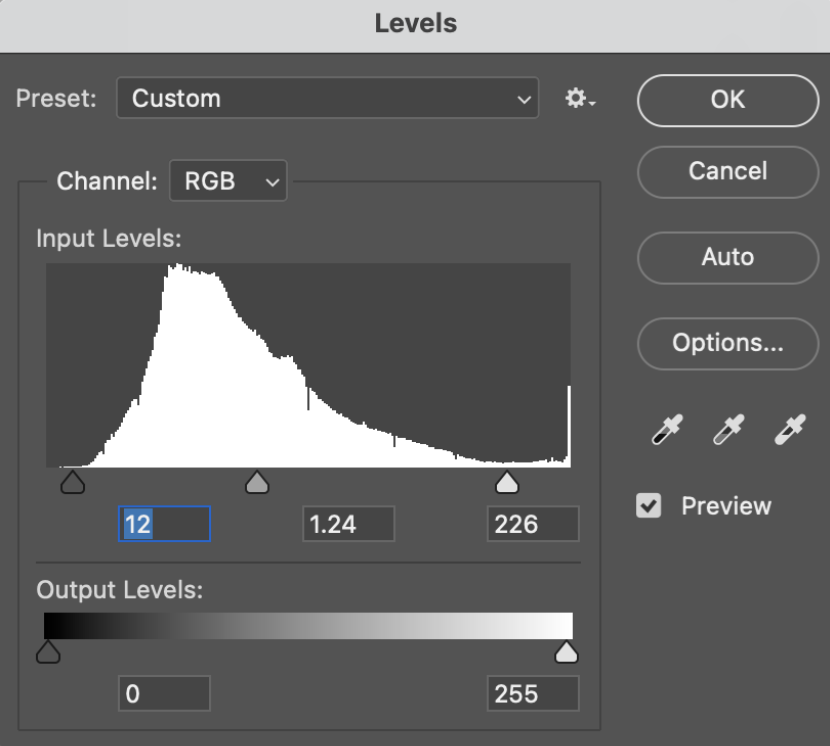
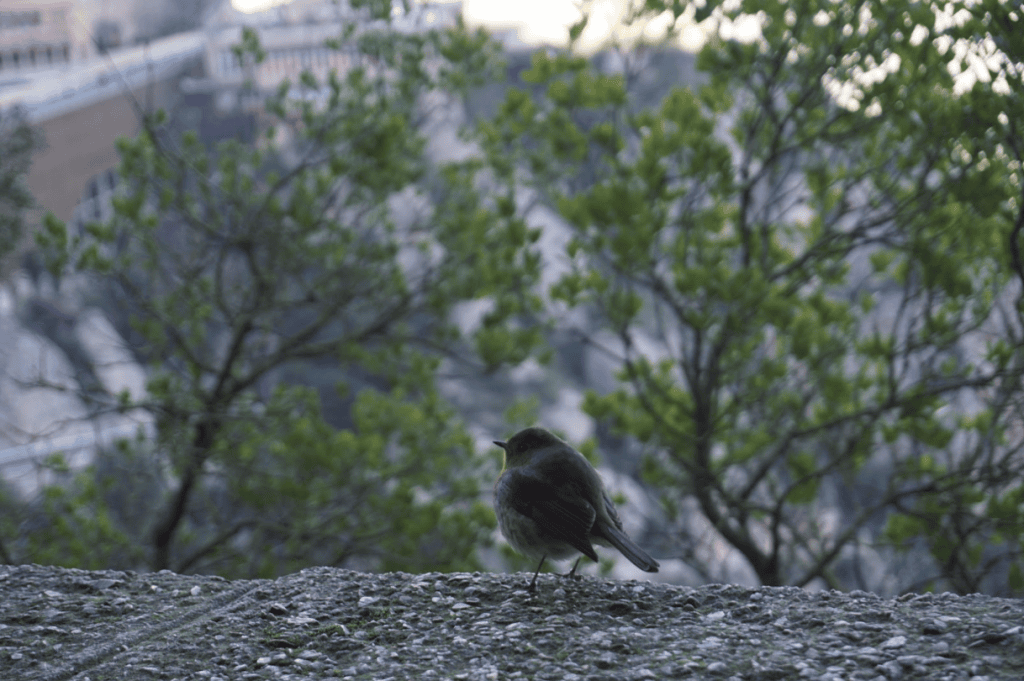
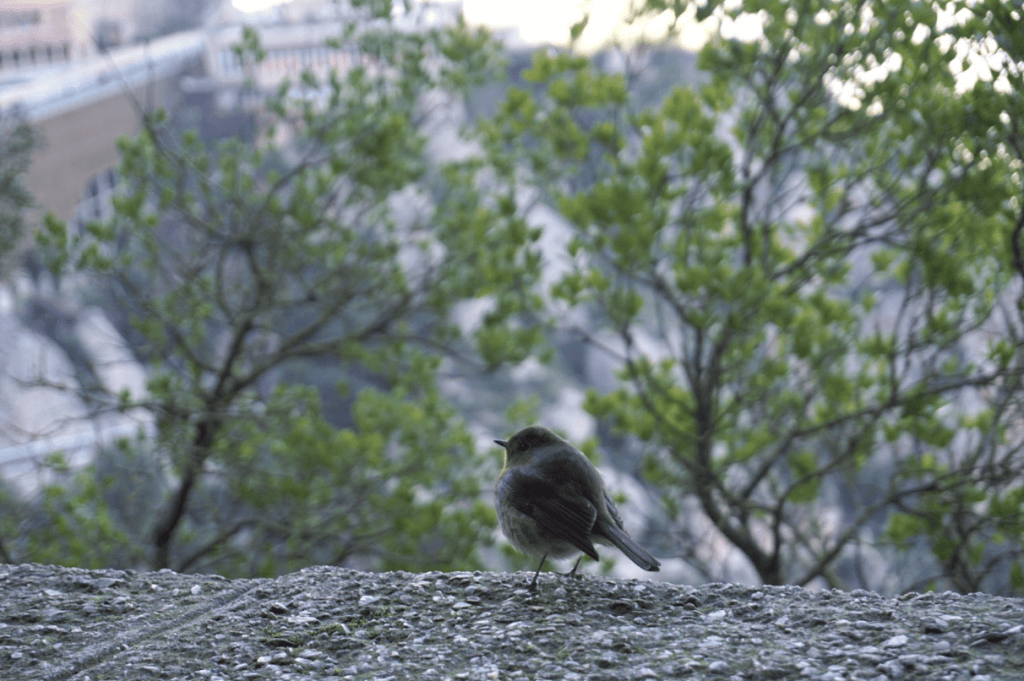
Move the sliders to adjust each value, and experiment to determine what looks the best. While adjusting, keep an eye on your highlights and shadows to make sure you don’t brighten (or darken) the photo so much that you start losing significant detail.
3. Color Balance
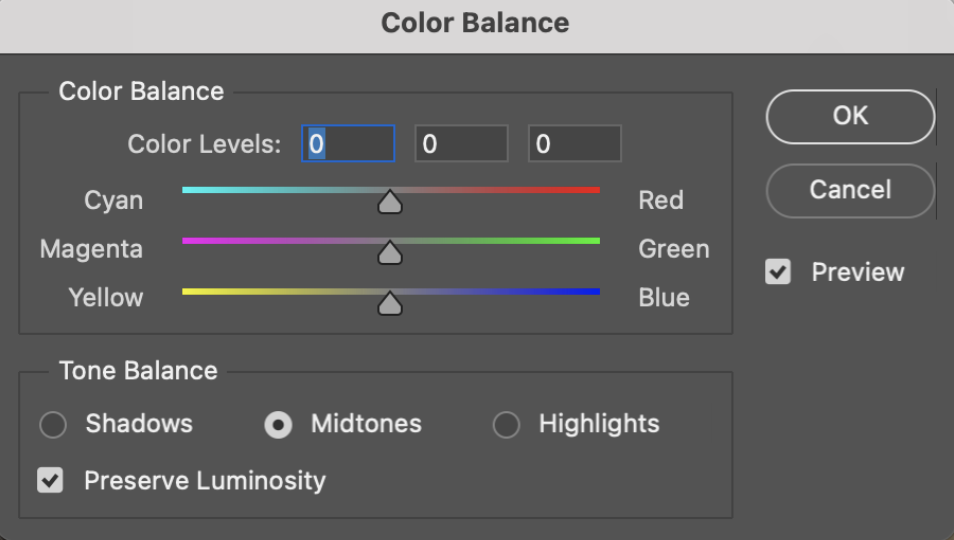
The handy Color Balance panel lets you adjust the color, temperature, and tones in your photo. (Use Cmd + B to quickly access it when editing.) As you can see from each slider, more red reduces cyan tones, more magenta reduces green tones, and more blue reduces yellow tones (and vice versa for each pair of colors).
You can get more specific with your color changes by choosing between shadows, midtones, and highlights in the Tone Balance section. Theses Photoshop tools will affect the color of those regions specifically.

Using Color Balance, you can take the overall temperature of the photo in the direction you prefer—enhancing either the warm or cool tones. In the photo above, shifting things more blue helps make the boats appear brighter white and gives the water and sky a more true-to-life tone.
Pro tip: If faces in a portrait are looking pale or washed out, try adjusting the color balance of the midtones and/or highlights. Also, shift the color more red and slightly more yellow to warm up those lighter areas.
4. Spot Healing Brush
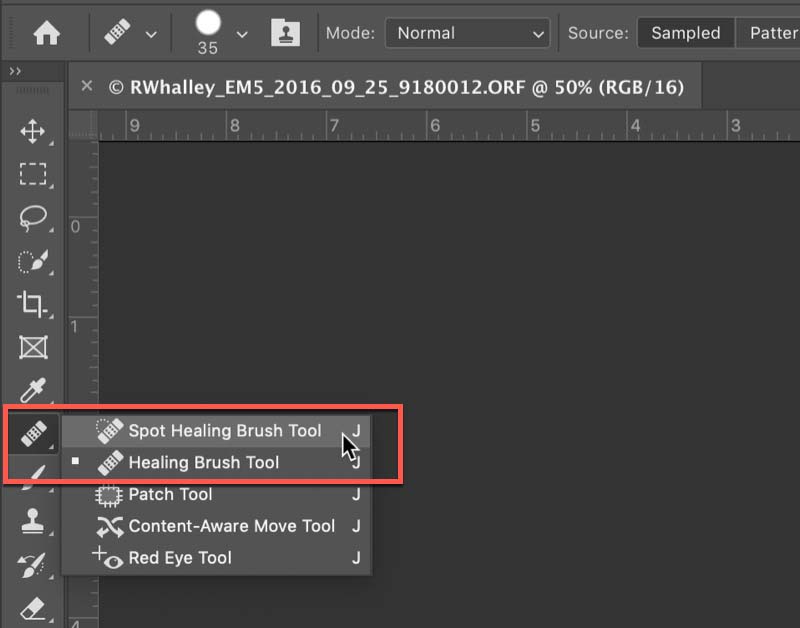
The Spot Healing Brush is one of the most frequently used Photoshop tools. This is your go-to tool for blemish and spot correction on your photo. Similar to the Clone tool, the Spot Healing Brush intelligently fills in the area you click based on the surrounding content.
The more complex the surroundings, the trickier this can be. However, it works particularly well when removing unwanted marks on areas of broad color or uniform texture such as skin, a cloudless sky, or this solid white plate below.

5. Vibrance & Saturation
Nearly every photo, especially if you’re planning on printing it, can benefit from a boost in vibrance and saturation. It sounds like hyperbole, but it really isn’t! Just be careful that your colors don’t start looking unnatural.
Go to Image > Adjustments > Vibrance to get started. Vibrance is pretty forgiving, and you’re usually able to increase it significantly without going overboard. On the other hand, Saturation punches up the color much more quickly, which can also be useful, since you don’t have to change it by much to see the impact. Below is an example of +65 Vibrance and +5 Saturation.
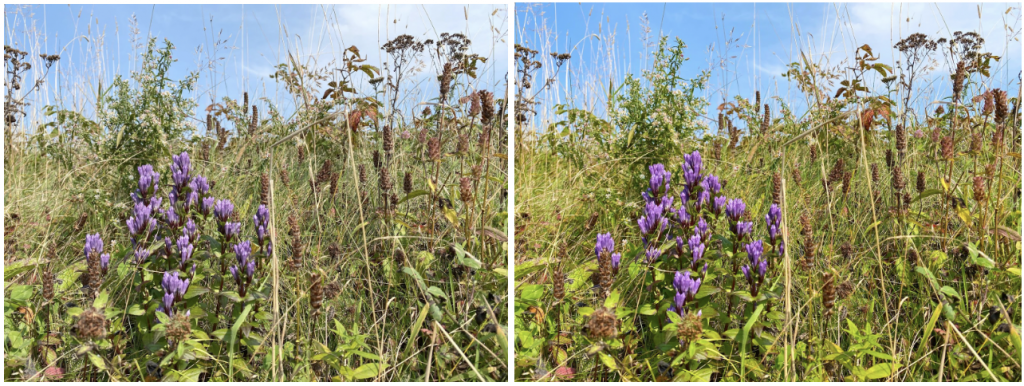
What a difference that makes! These Photoshop tools are incredibly useful.
If you’re a hobby photographer or you plan to invest in prints to decorate your home, it’s a worthy investment to subscribe to Photoshop for full access to the software—especially if you often want to make retouches with features like the Spot Healing Brush or other more advanced manipulations.
Not ready to take the plunge? Check out our recommended photo editing apps for your smartphone. Many are free to download, with premium features or tools that you can subscribe to access.
Once you have your photo ready for printing, try uploading a photo with Fracture—you’ll see a preview of the crop and exactly how your image will print on glass! Our Support Team is also always ready to help, and we’ll make sure your photos print perfectly, so you end up with wall-worthy prints every time.

Comments