Hey folks, you’ll love this amazing post by our buddy Rai Zapata, filled with super cool ways to wrap your treasured Fracture prints. Dive in and have fun! – Drew
There’s something so special about giving a beautifully wrapped gift, no matter the time of year. The suspense, surprise and joy you see on the recipient’s face make me feel all warm and fuzzy inside. Just love the art of “wrapping” I guess you can say. I brainstormed some unique and creative ways that I’m gift-wrapping my Fracture prints for anniversaries, birthdays and every little moment in between. With anything I do, my inspiration draws from every day experiences with my kids and family. This is ultimately where my creativity starts.
Masculine touch with feminine balance
I love wrapping gifts up for the men in our family. This style uses a masculine touch with a dark wrapping base, a rugged twine with a soft ribbon, and a deep colored bush other than a flower. Which is always my usual choice but hey always nice to change things up.
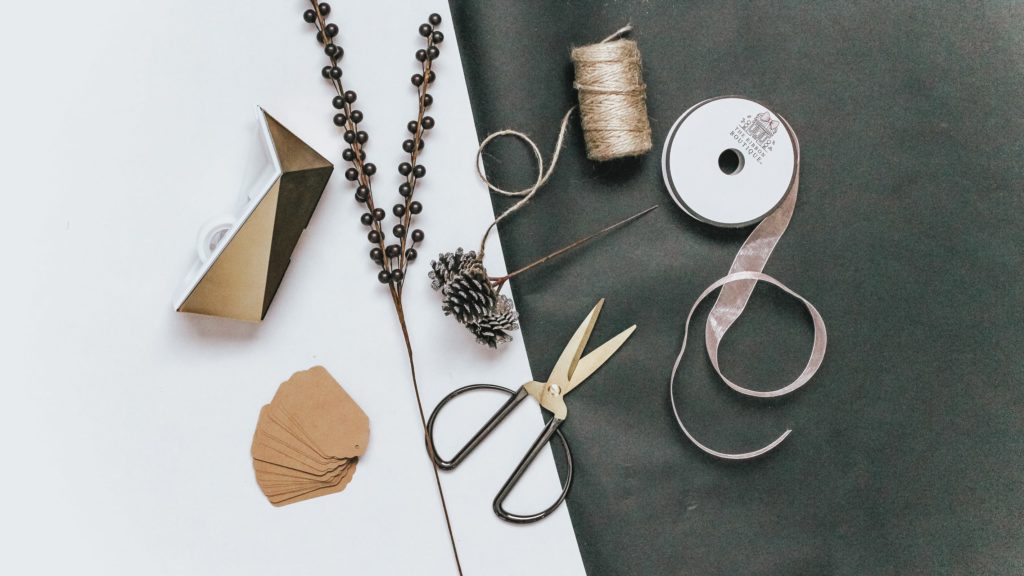
Materials
- Black Kraft paper
- Translucent Ribbon + Velvet Ribbon + Hemp Twine
- Artificial Dark Berry bush
- Scissors
- Plain Gift Box
- Name Tag
- Giftwrap + Double Sided Tape
How To:
- First I wrapped my gift box with the black Kraft paper. I’m a messy cutter and prefer to fold the edge over a little bit and secure it with a little gift wrap tape.
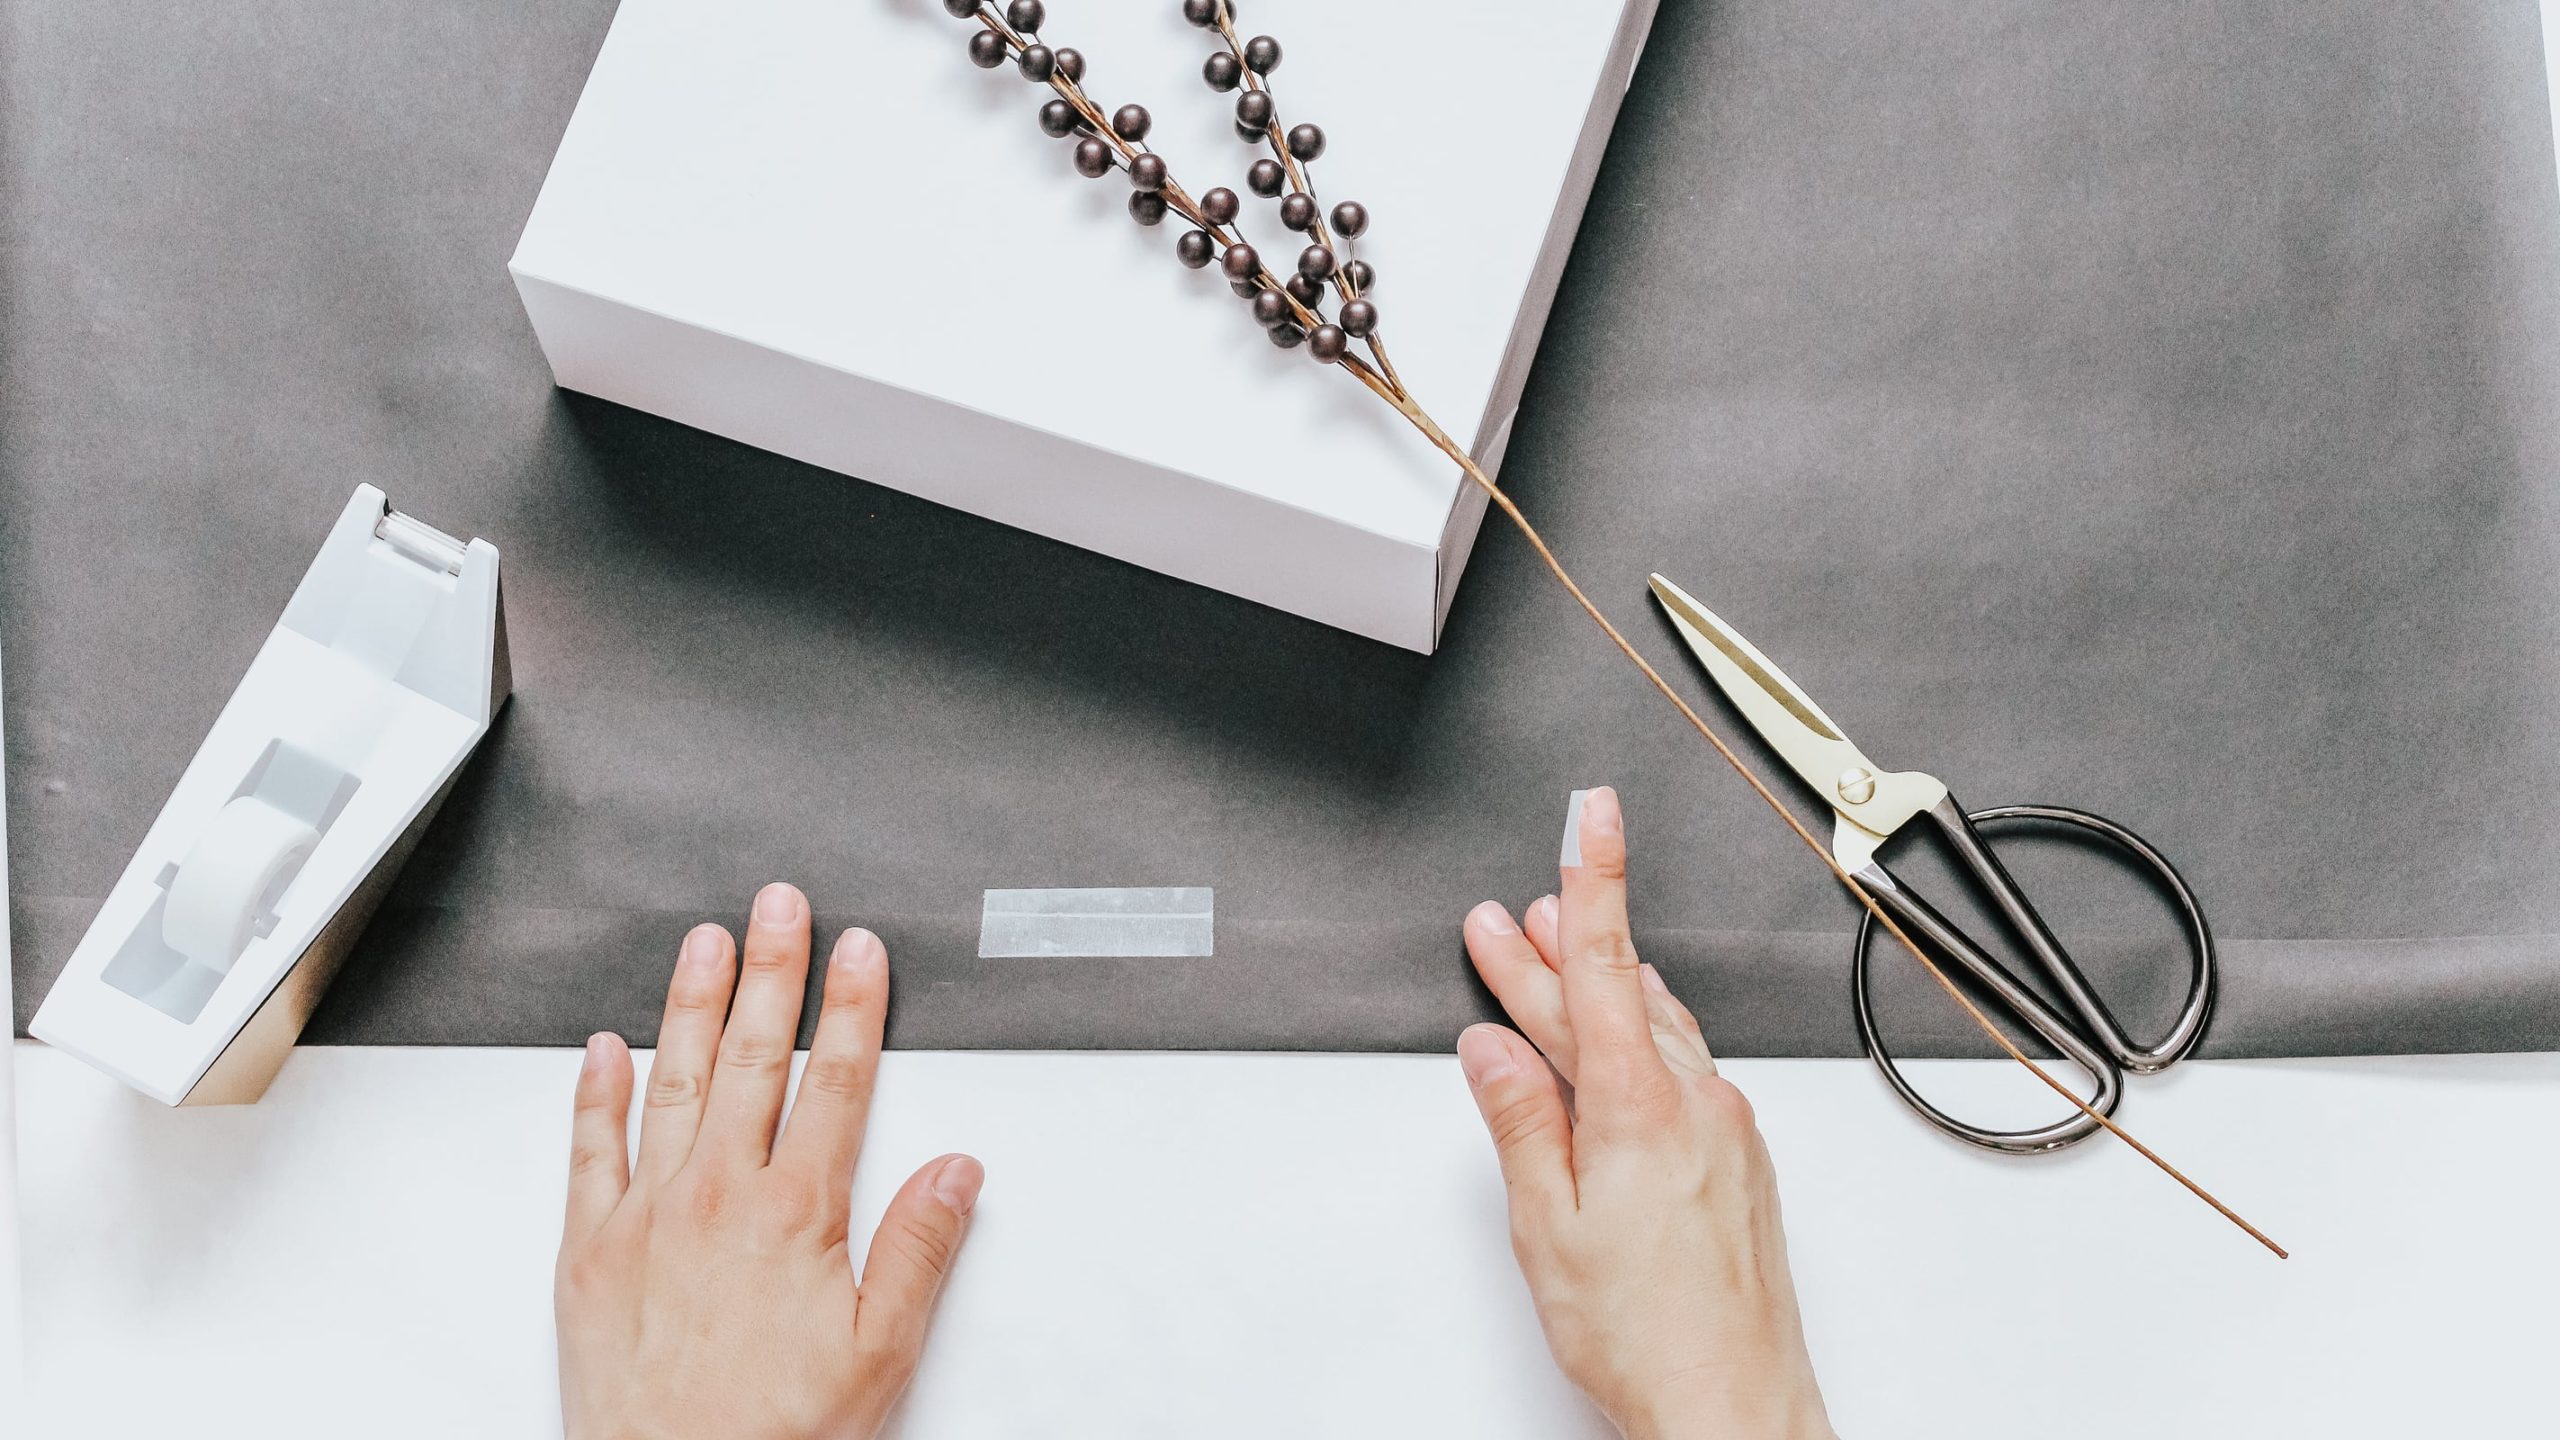
- From there, I cut one stripe of each of my translucent and velvet ribbon along with my hemp twine.
- Next, I wrapped both my translucent and velvet ribbons around the box, about 1 1 ½ ” from the left side and overlapped them slightly. Using my double-sided tape I secured onto the box at each side.
- Using my hemp strip, I wrapped around the box about ½” from the left of the ribbons.
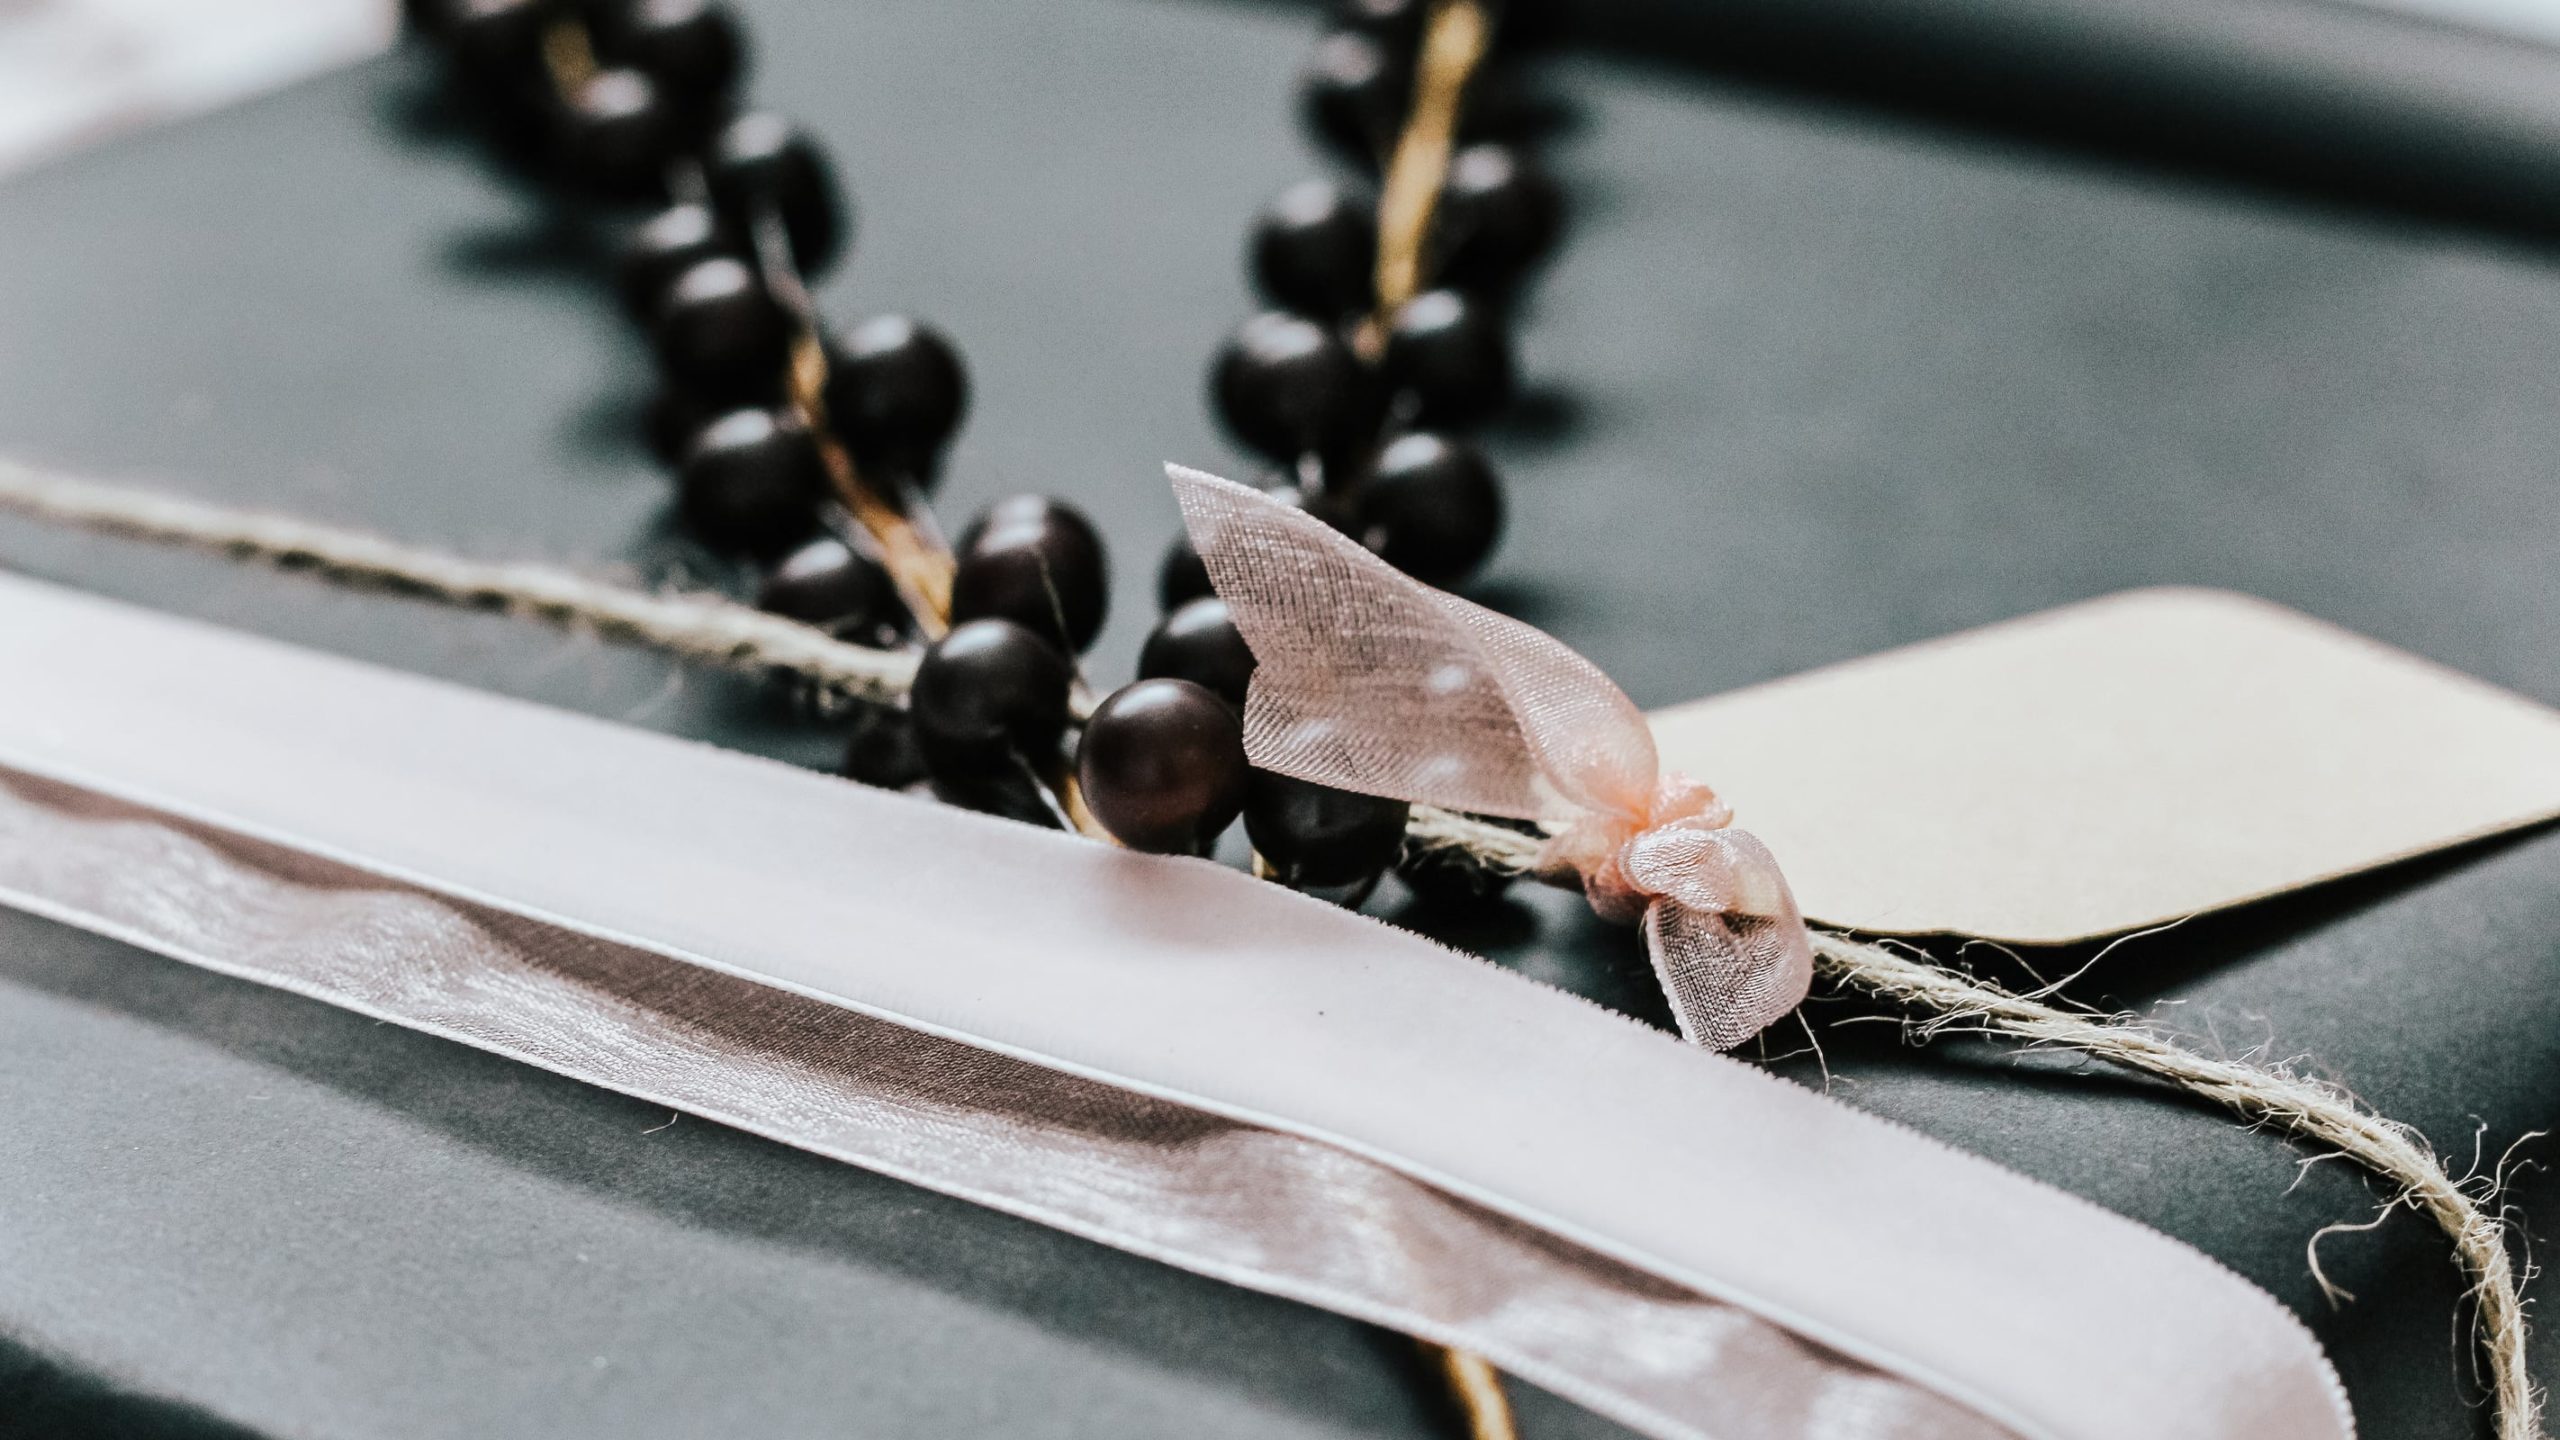
- Then I place my artificial berry bush and laid it about a 45-degree angle on top. Afterwards, thread the ends underneath the ribbon and secure the berries with double sided tape.
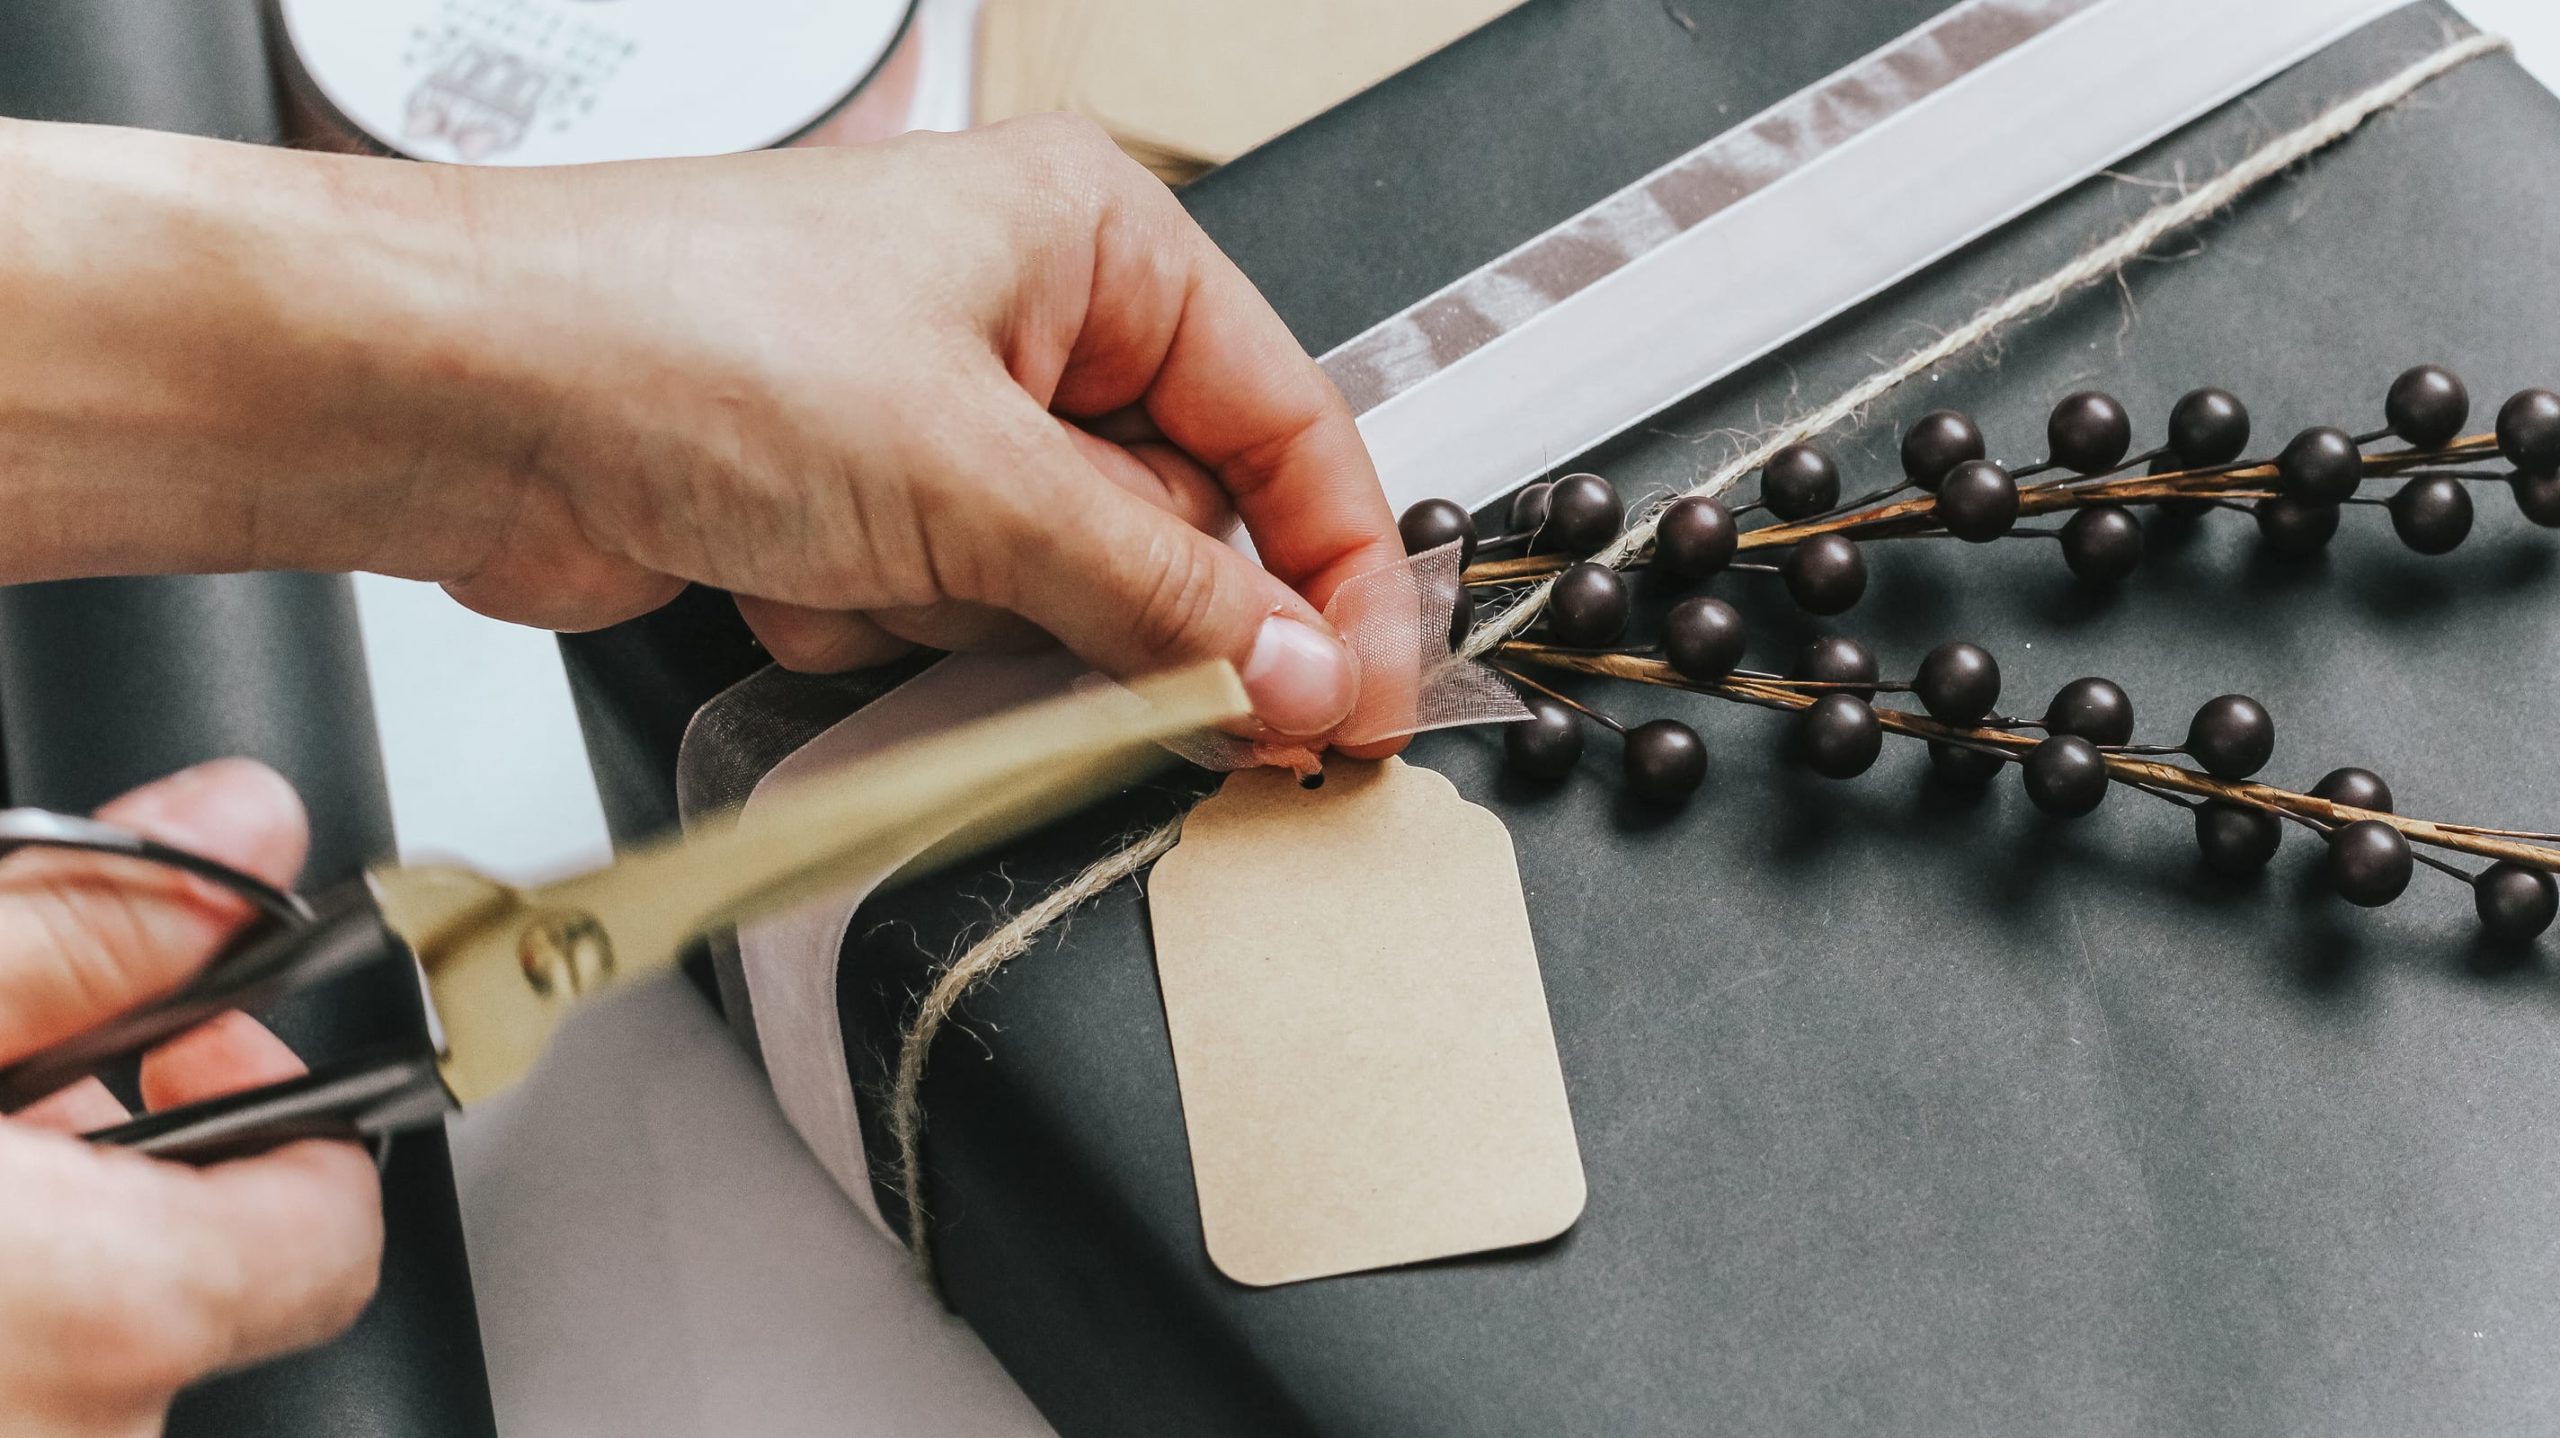
- Once that’s done, I cut a 1 ½”of translucent ribbon, thread through the hole of my name tag and tie onto the hemp twine tightly with a double knot to secure.
- Next, I needed to trim those ribbon tips in a V-Shape that is securing the name tag. Using my scissors, fold the ribbon lengthwise, and starting from the folded side cut upwards at a 45-degree angle.
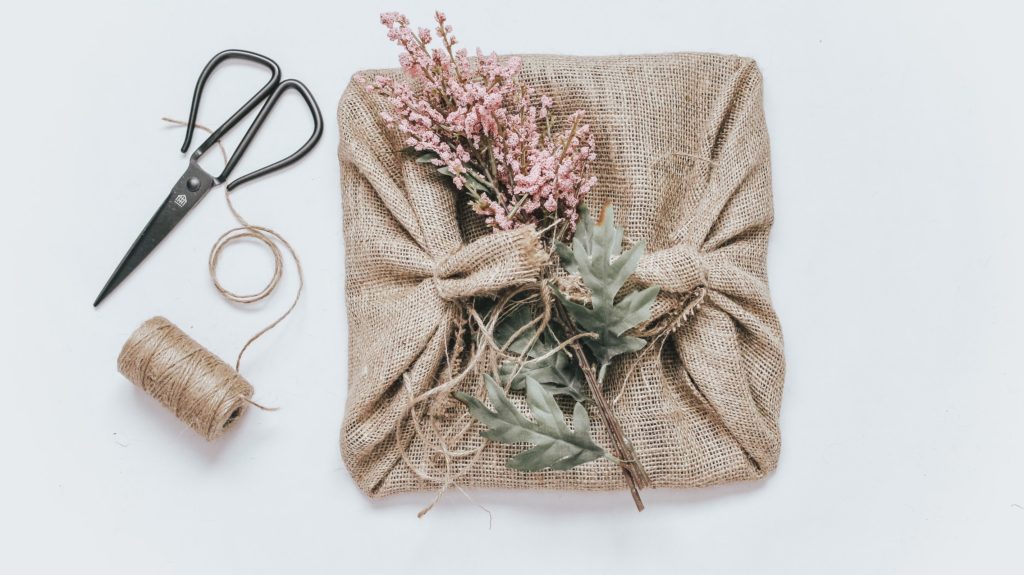
The Burlap Wrap
I love the earthliness of burlap and it’s so affordable to get a yard or two from any fabric store. They also usually are always wide in width. There are so many uses for it, and with any leftovers I use it to go beyond wrapping.
Materials
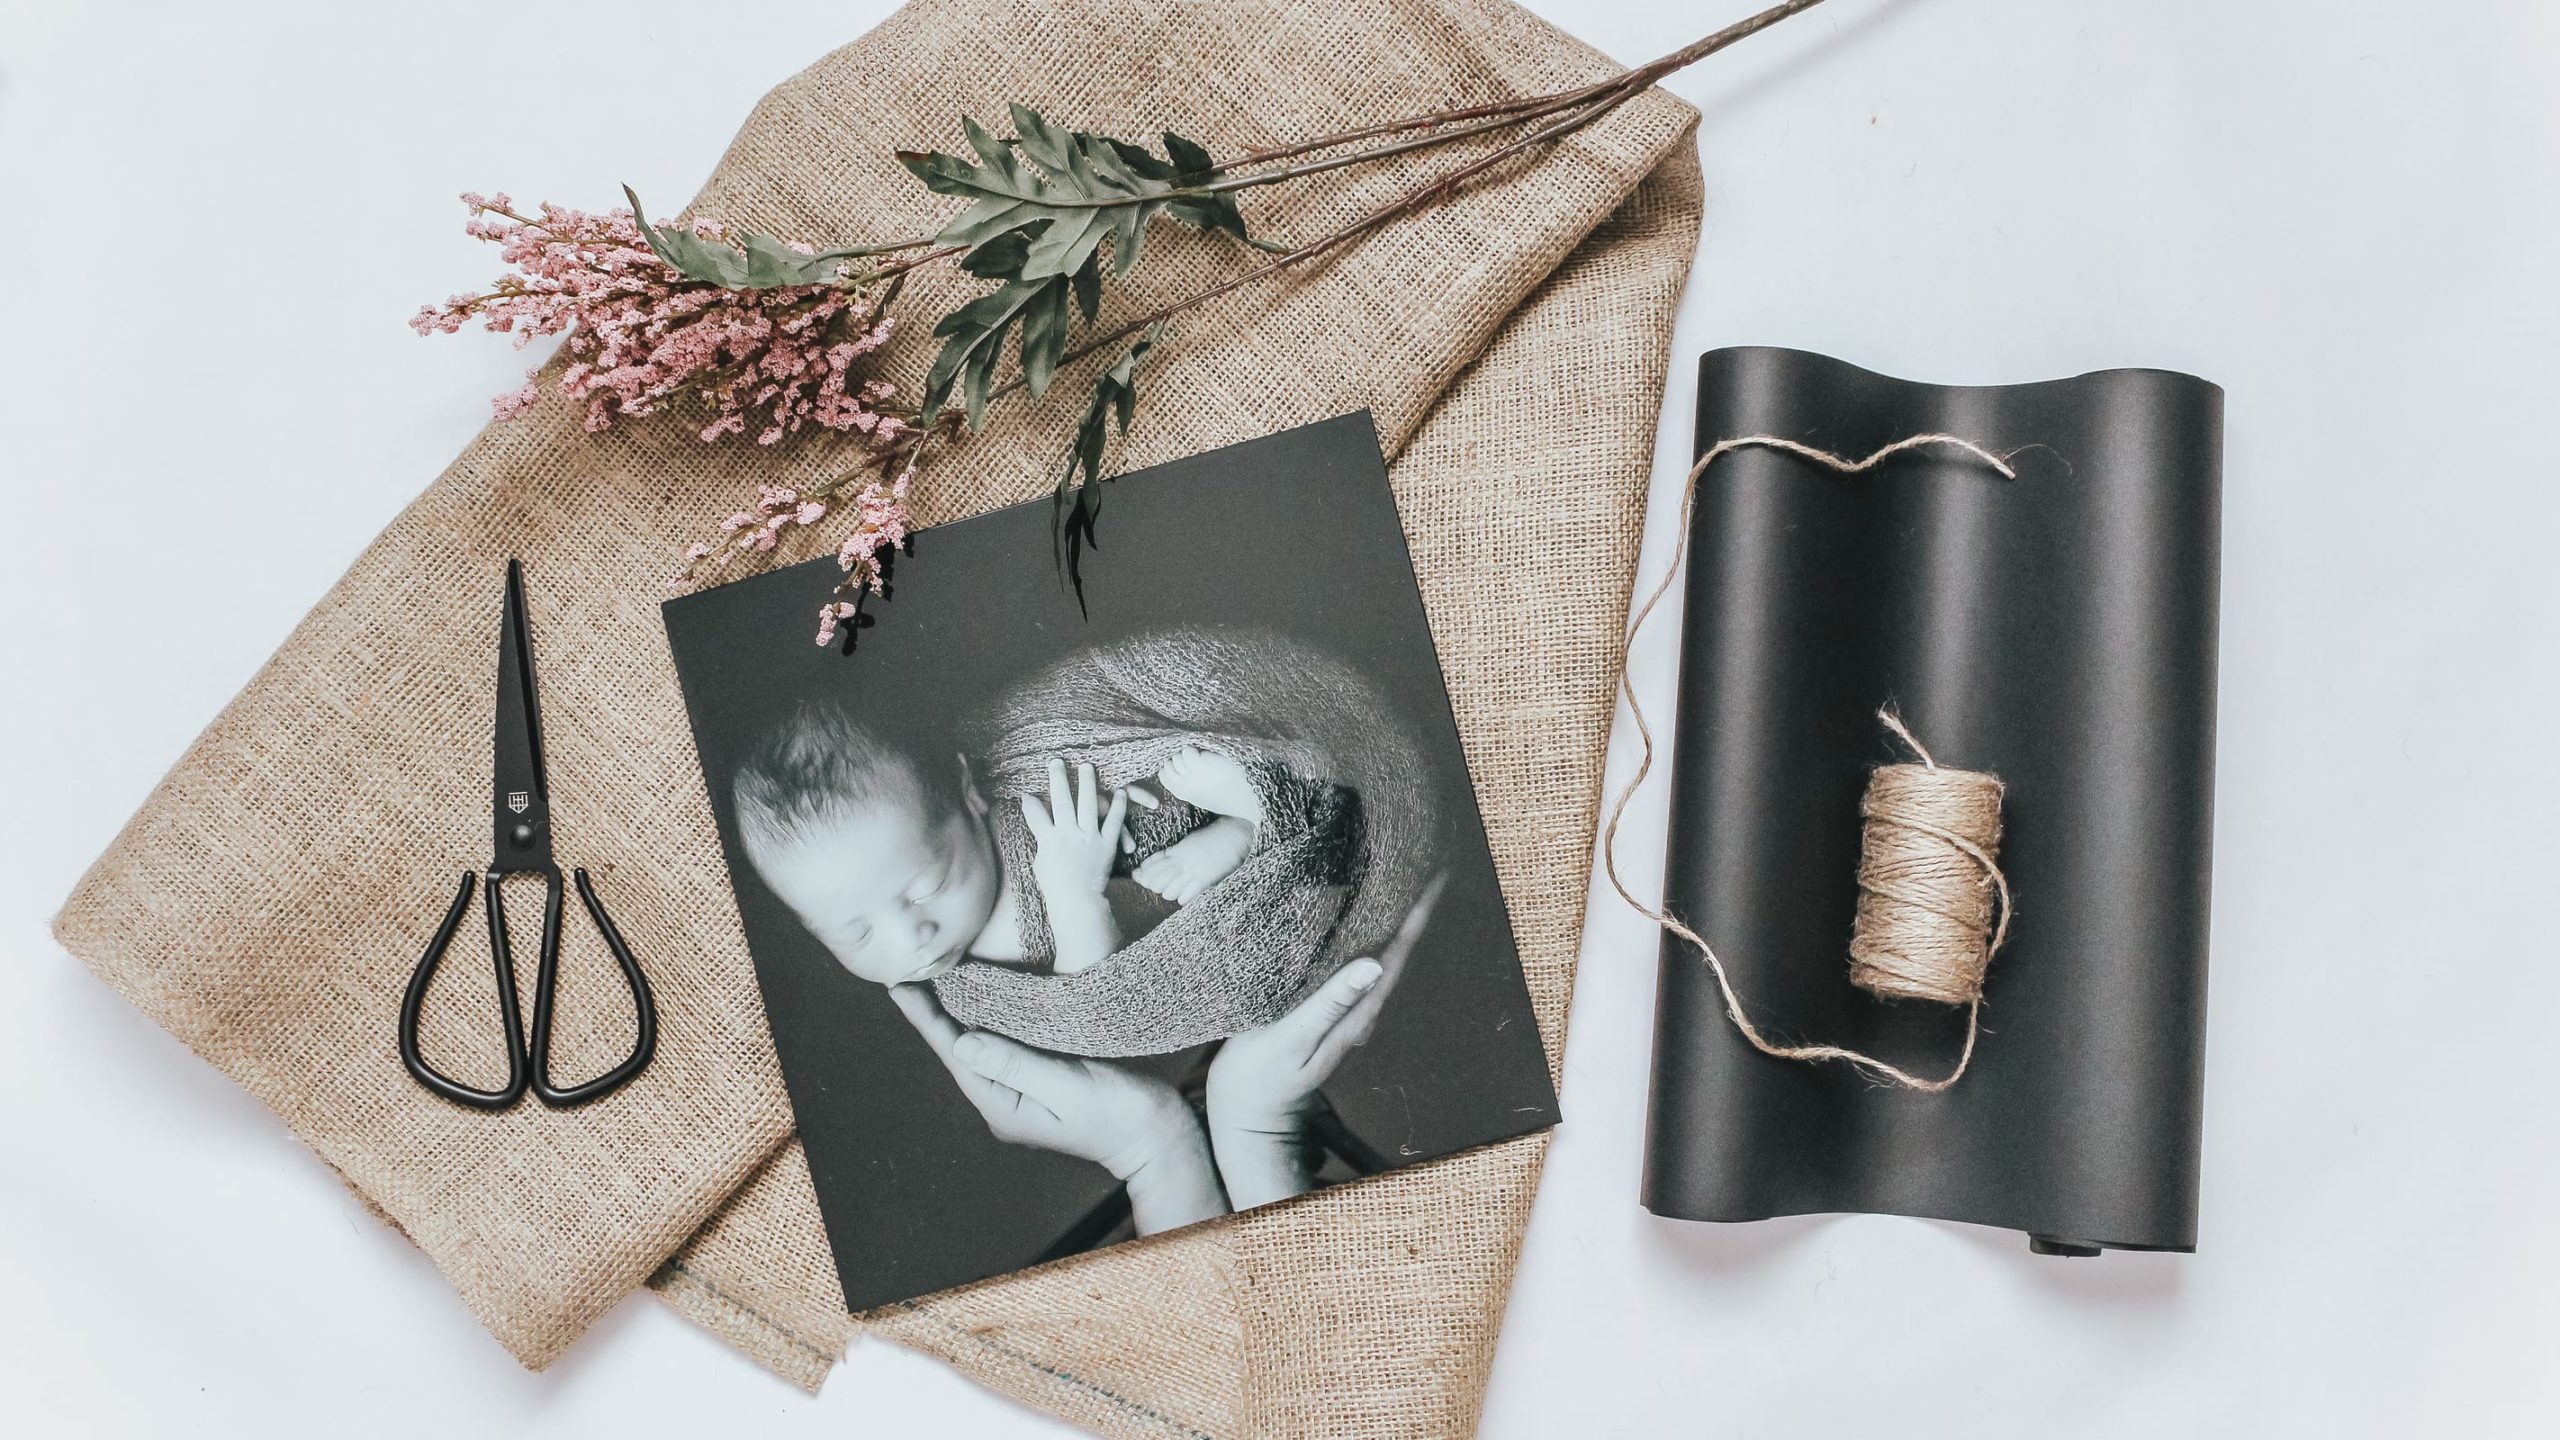
- ½ a yard of burlap – natural
- Black Kraft paper
- Hemp Twine
- Artificial Bunch Delicate Flowers – Soft Color
- Giftwrap + Fabric Tape
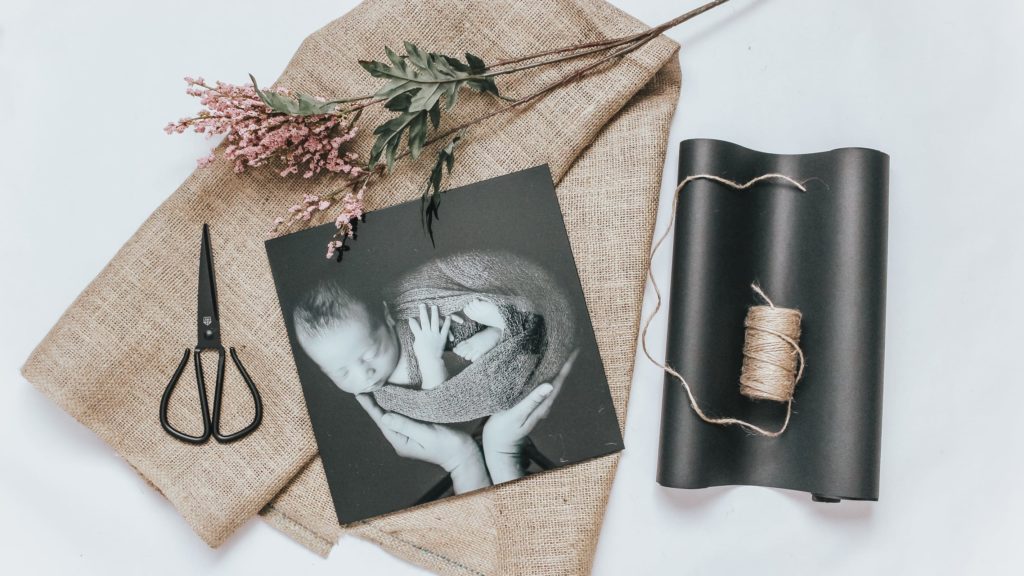
How To
- First, I wrapped my Fracture print with black Kraft paper, so the glass doesn’t get scratched from the burlap and secured it with gift wrap tape.
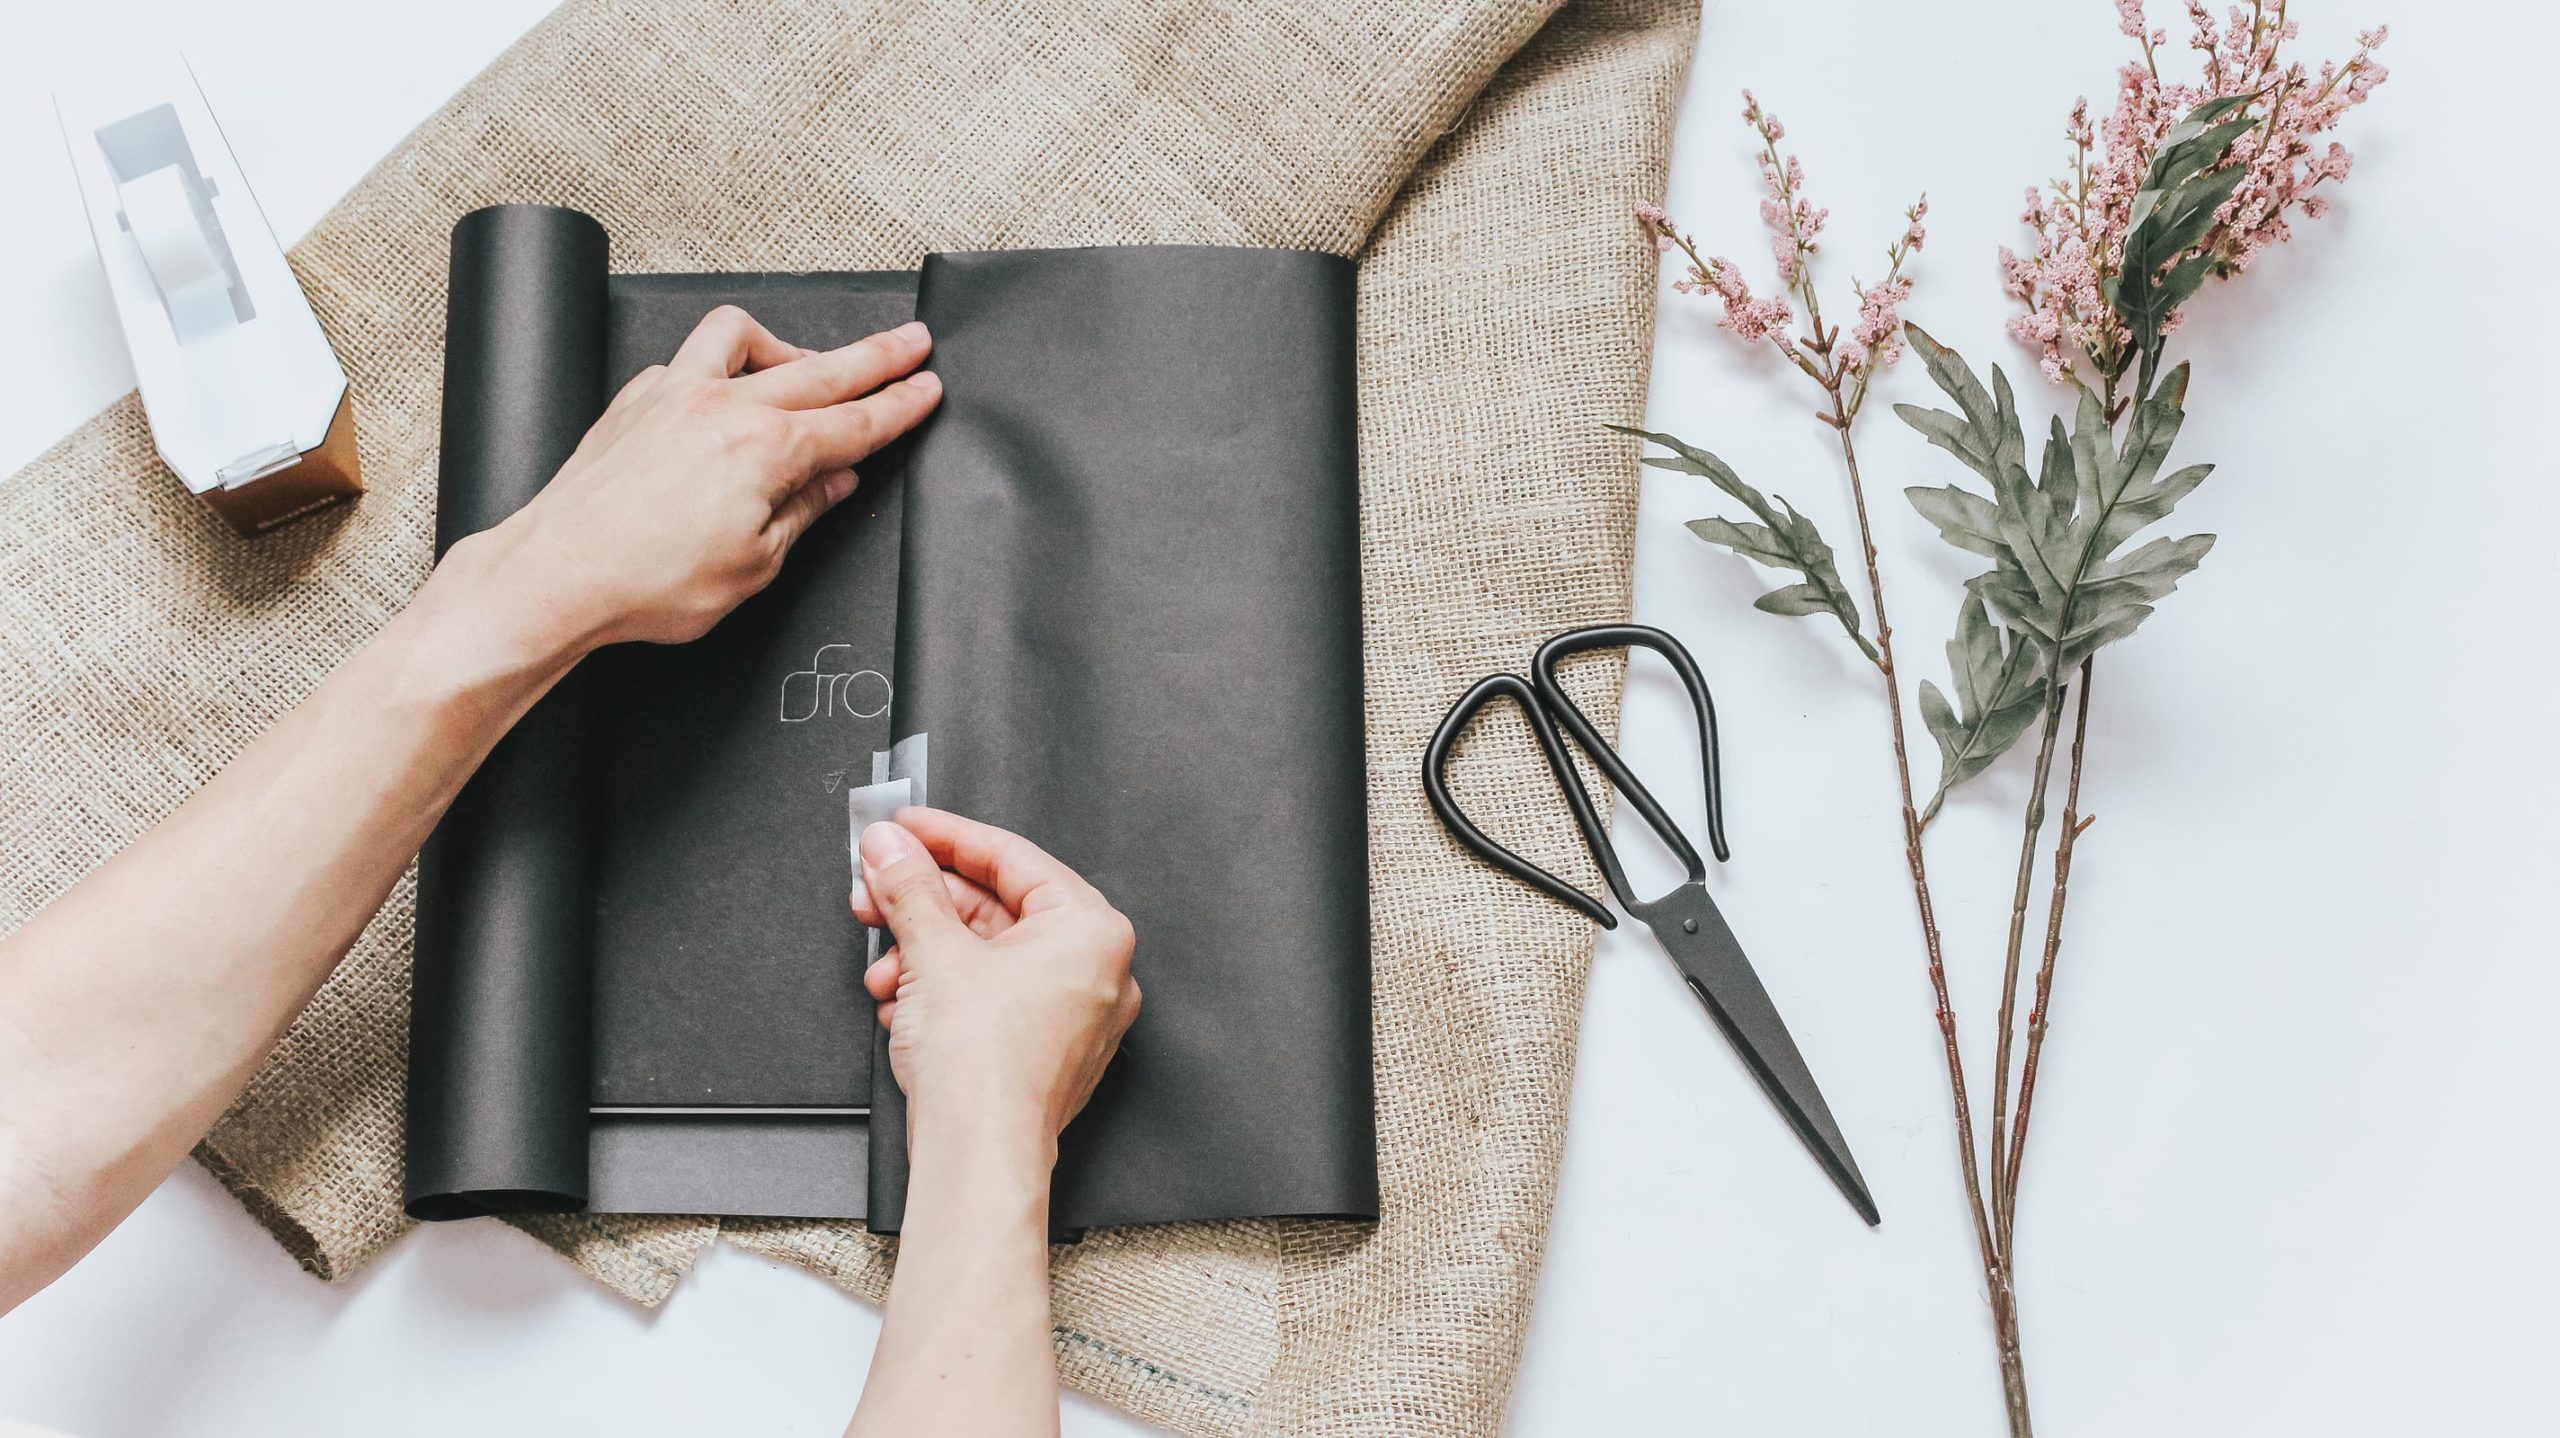
- Then I laid my wrapped piece onto my burlap fabric.
- Next, I folded up my bottom panel and secure with some fabric tape. I repeated this step with my top panel. These two pieces overlapped about an inch.
- With my right panel, I folded that a little over from the center.
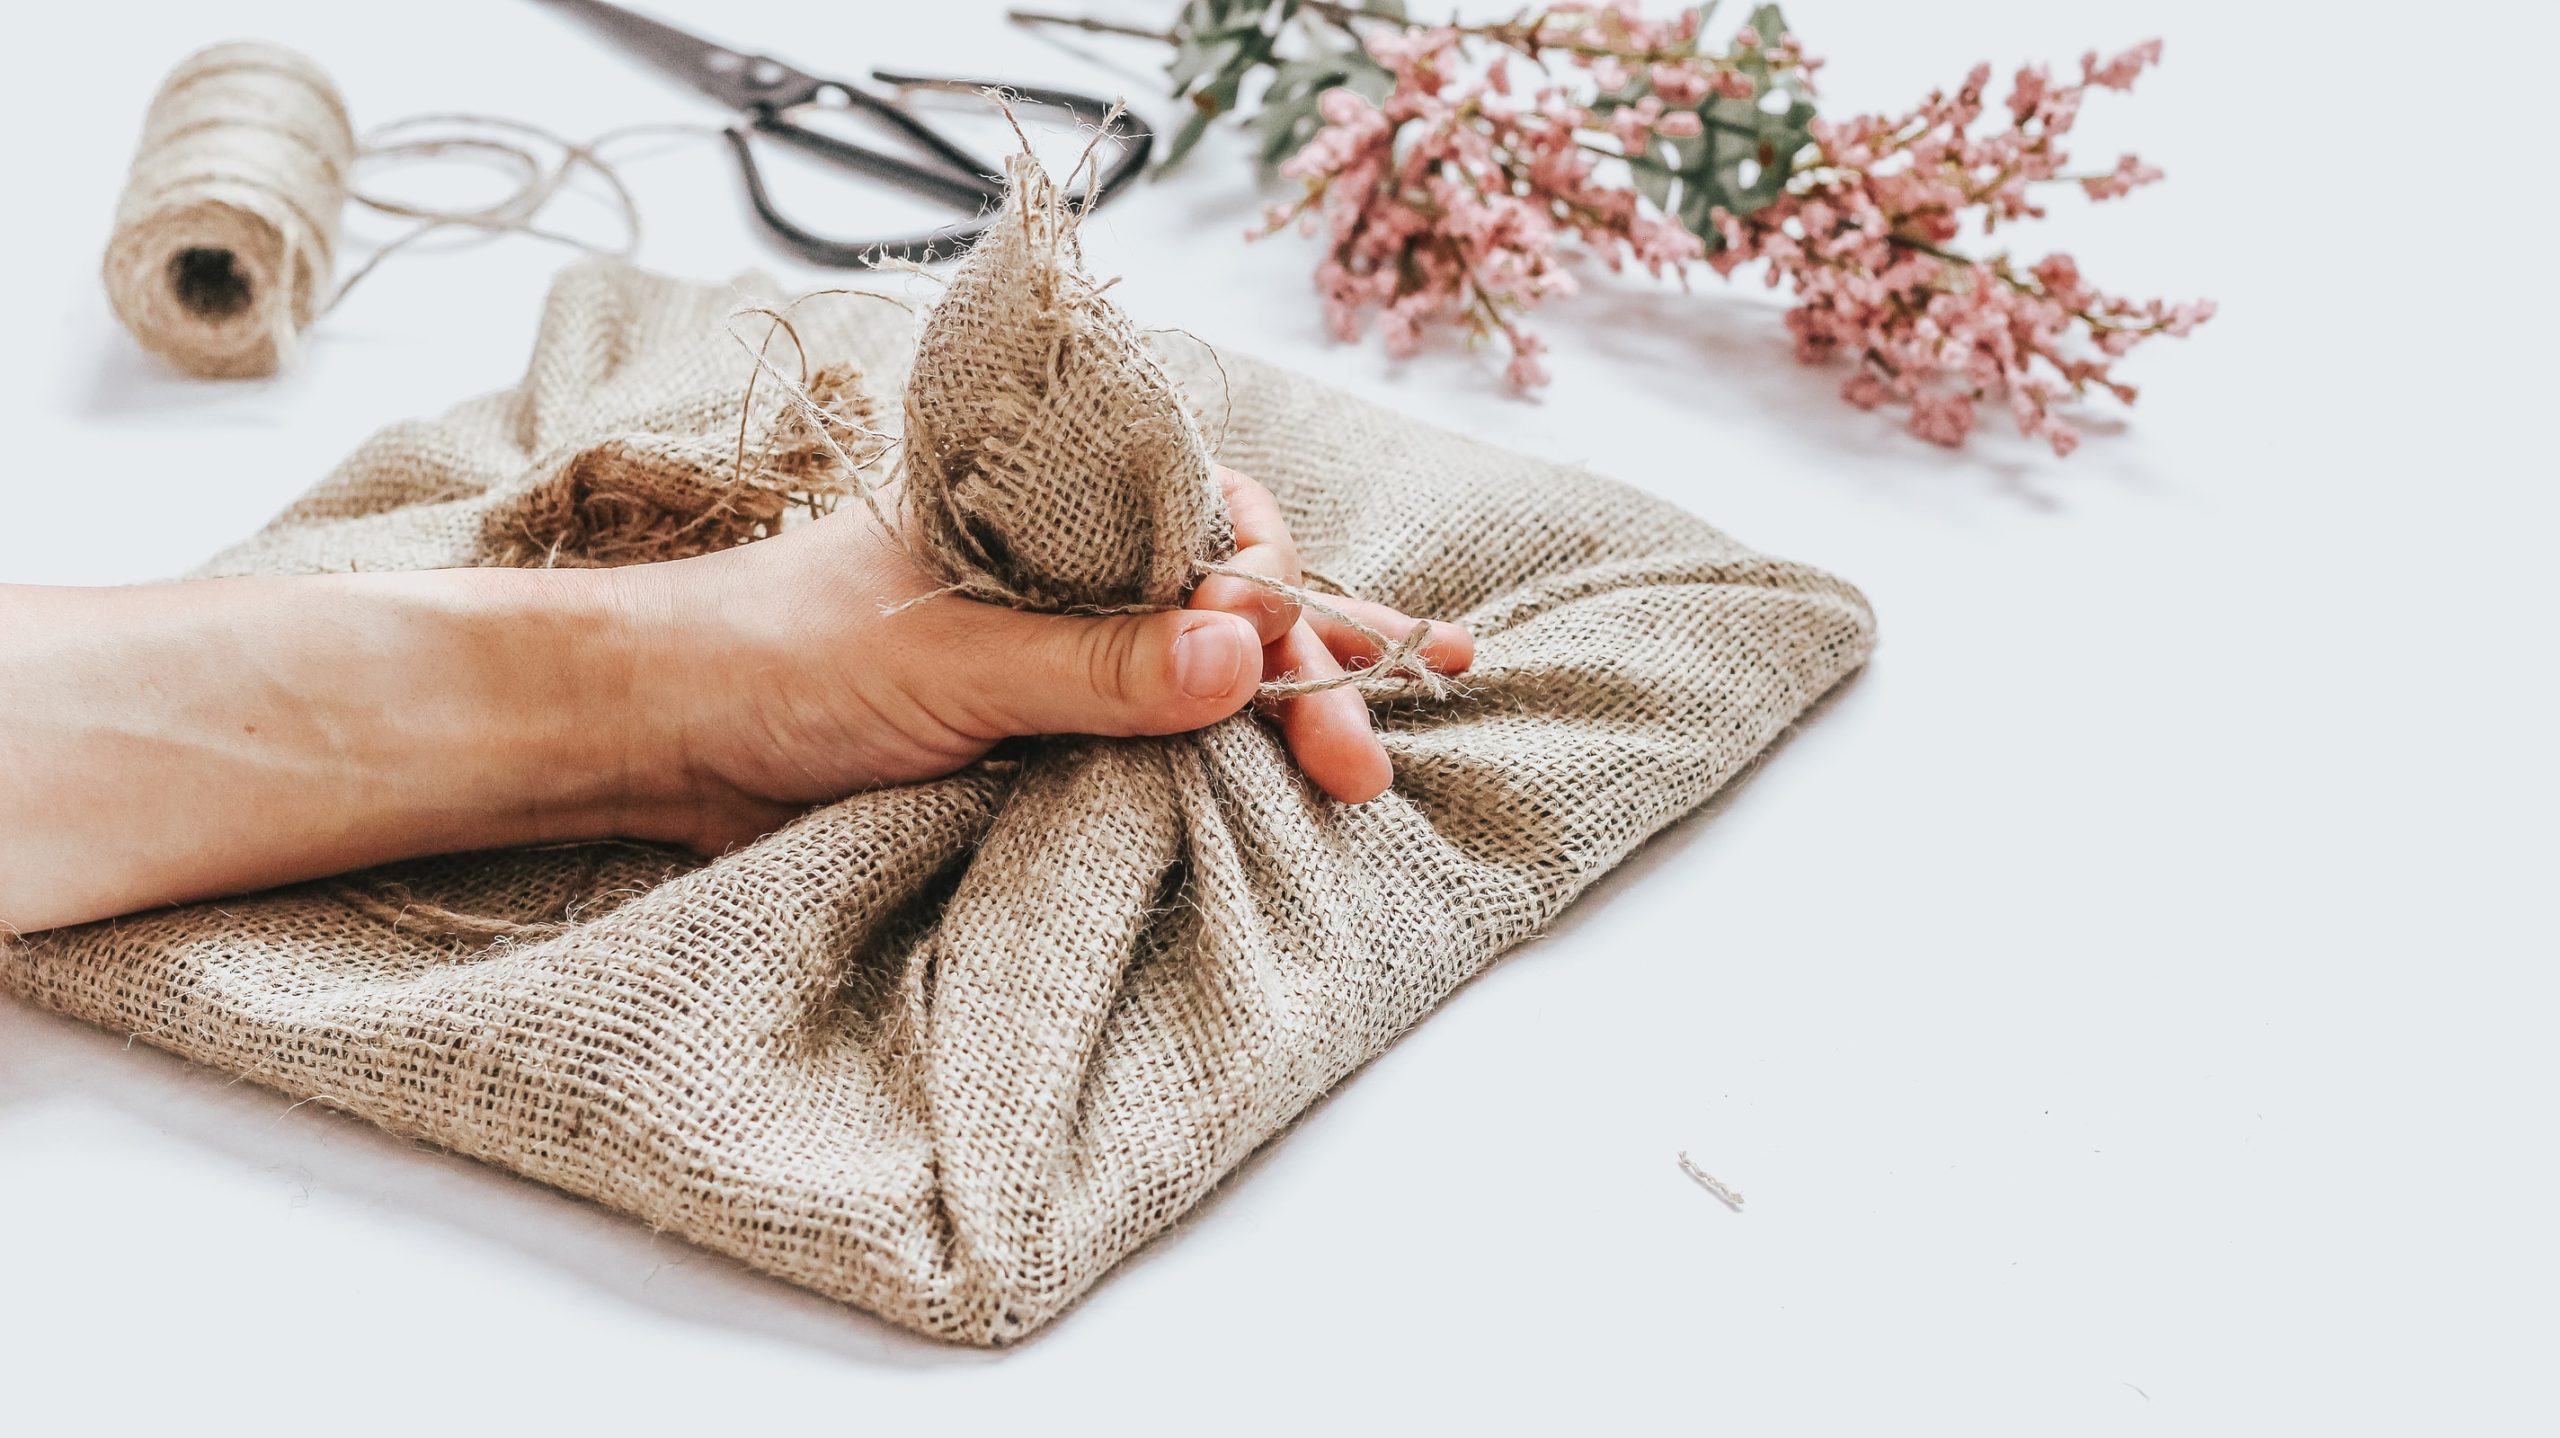
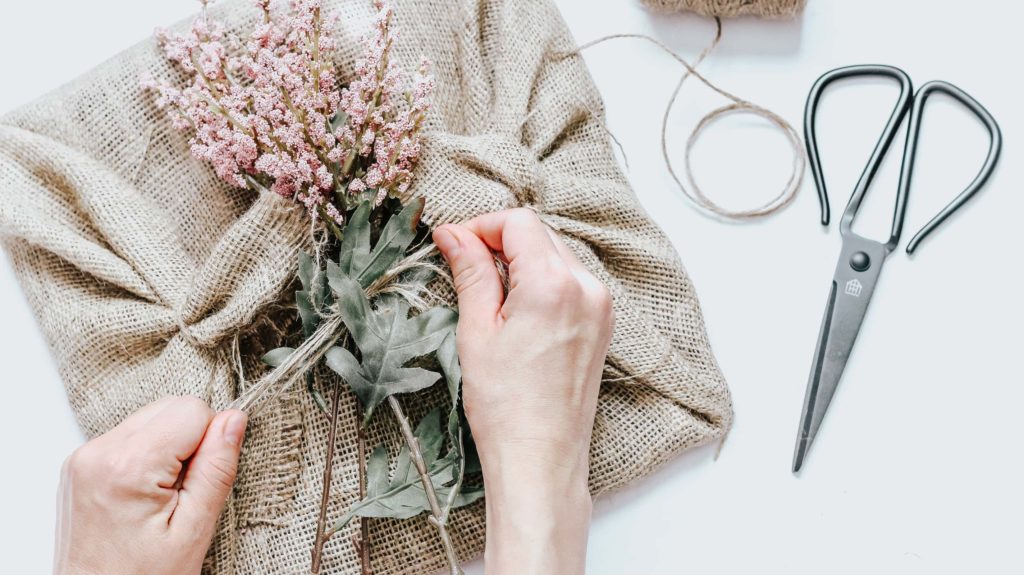
- Then with my hand I bunched up my right panel and secure it by tying the end with hemp twine. Left about 6” of loose stands to drape over. I repeated this step for the left side as well.
- Afterwards, I laid my artificial flowers right in the middle. Using both of my loose strands I was able to secure those flowers down.
Newspaper Wrap
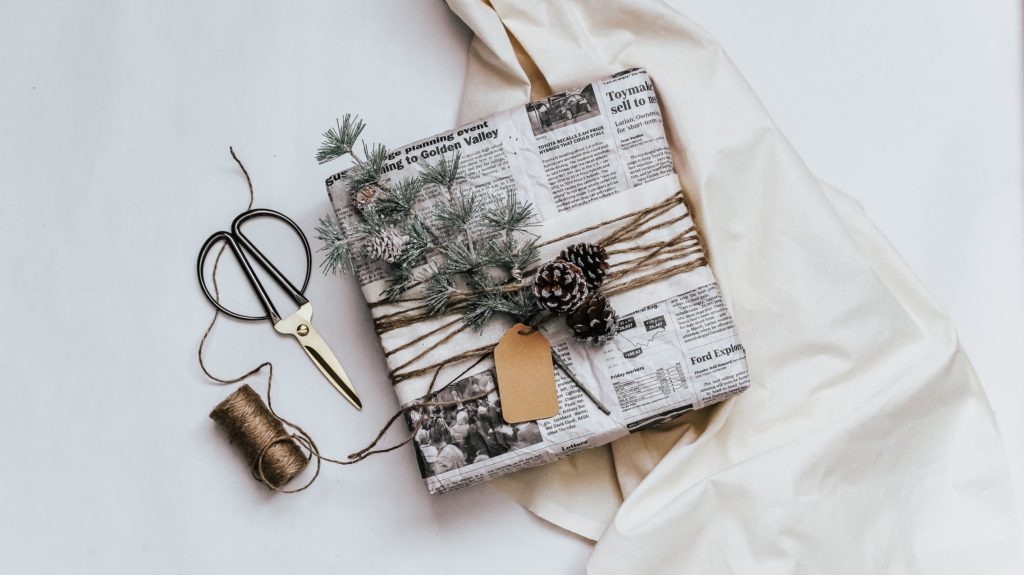
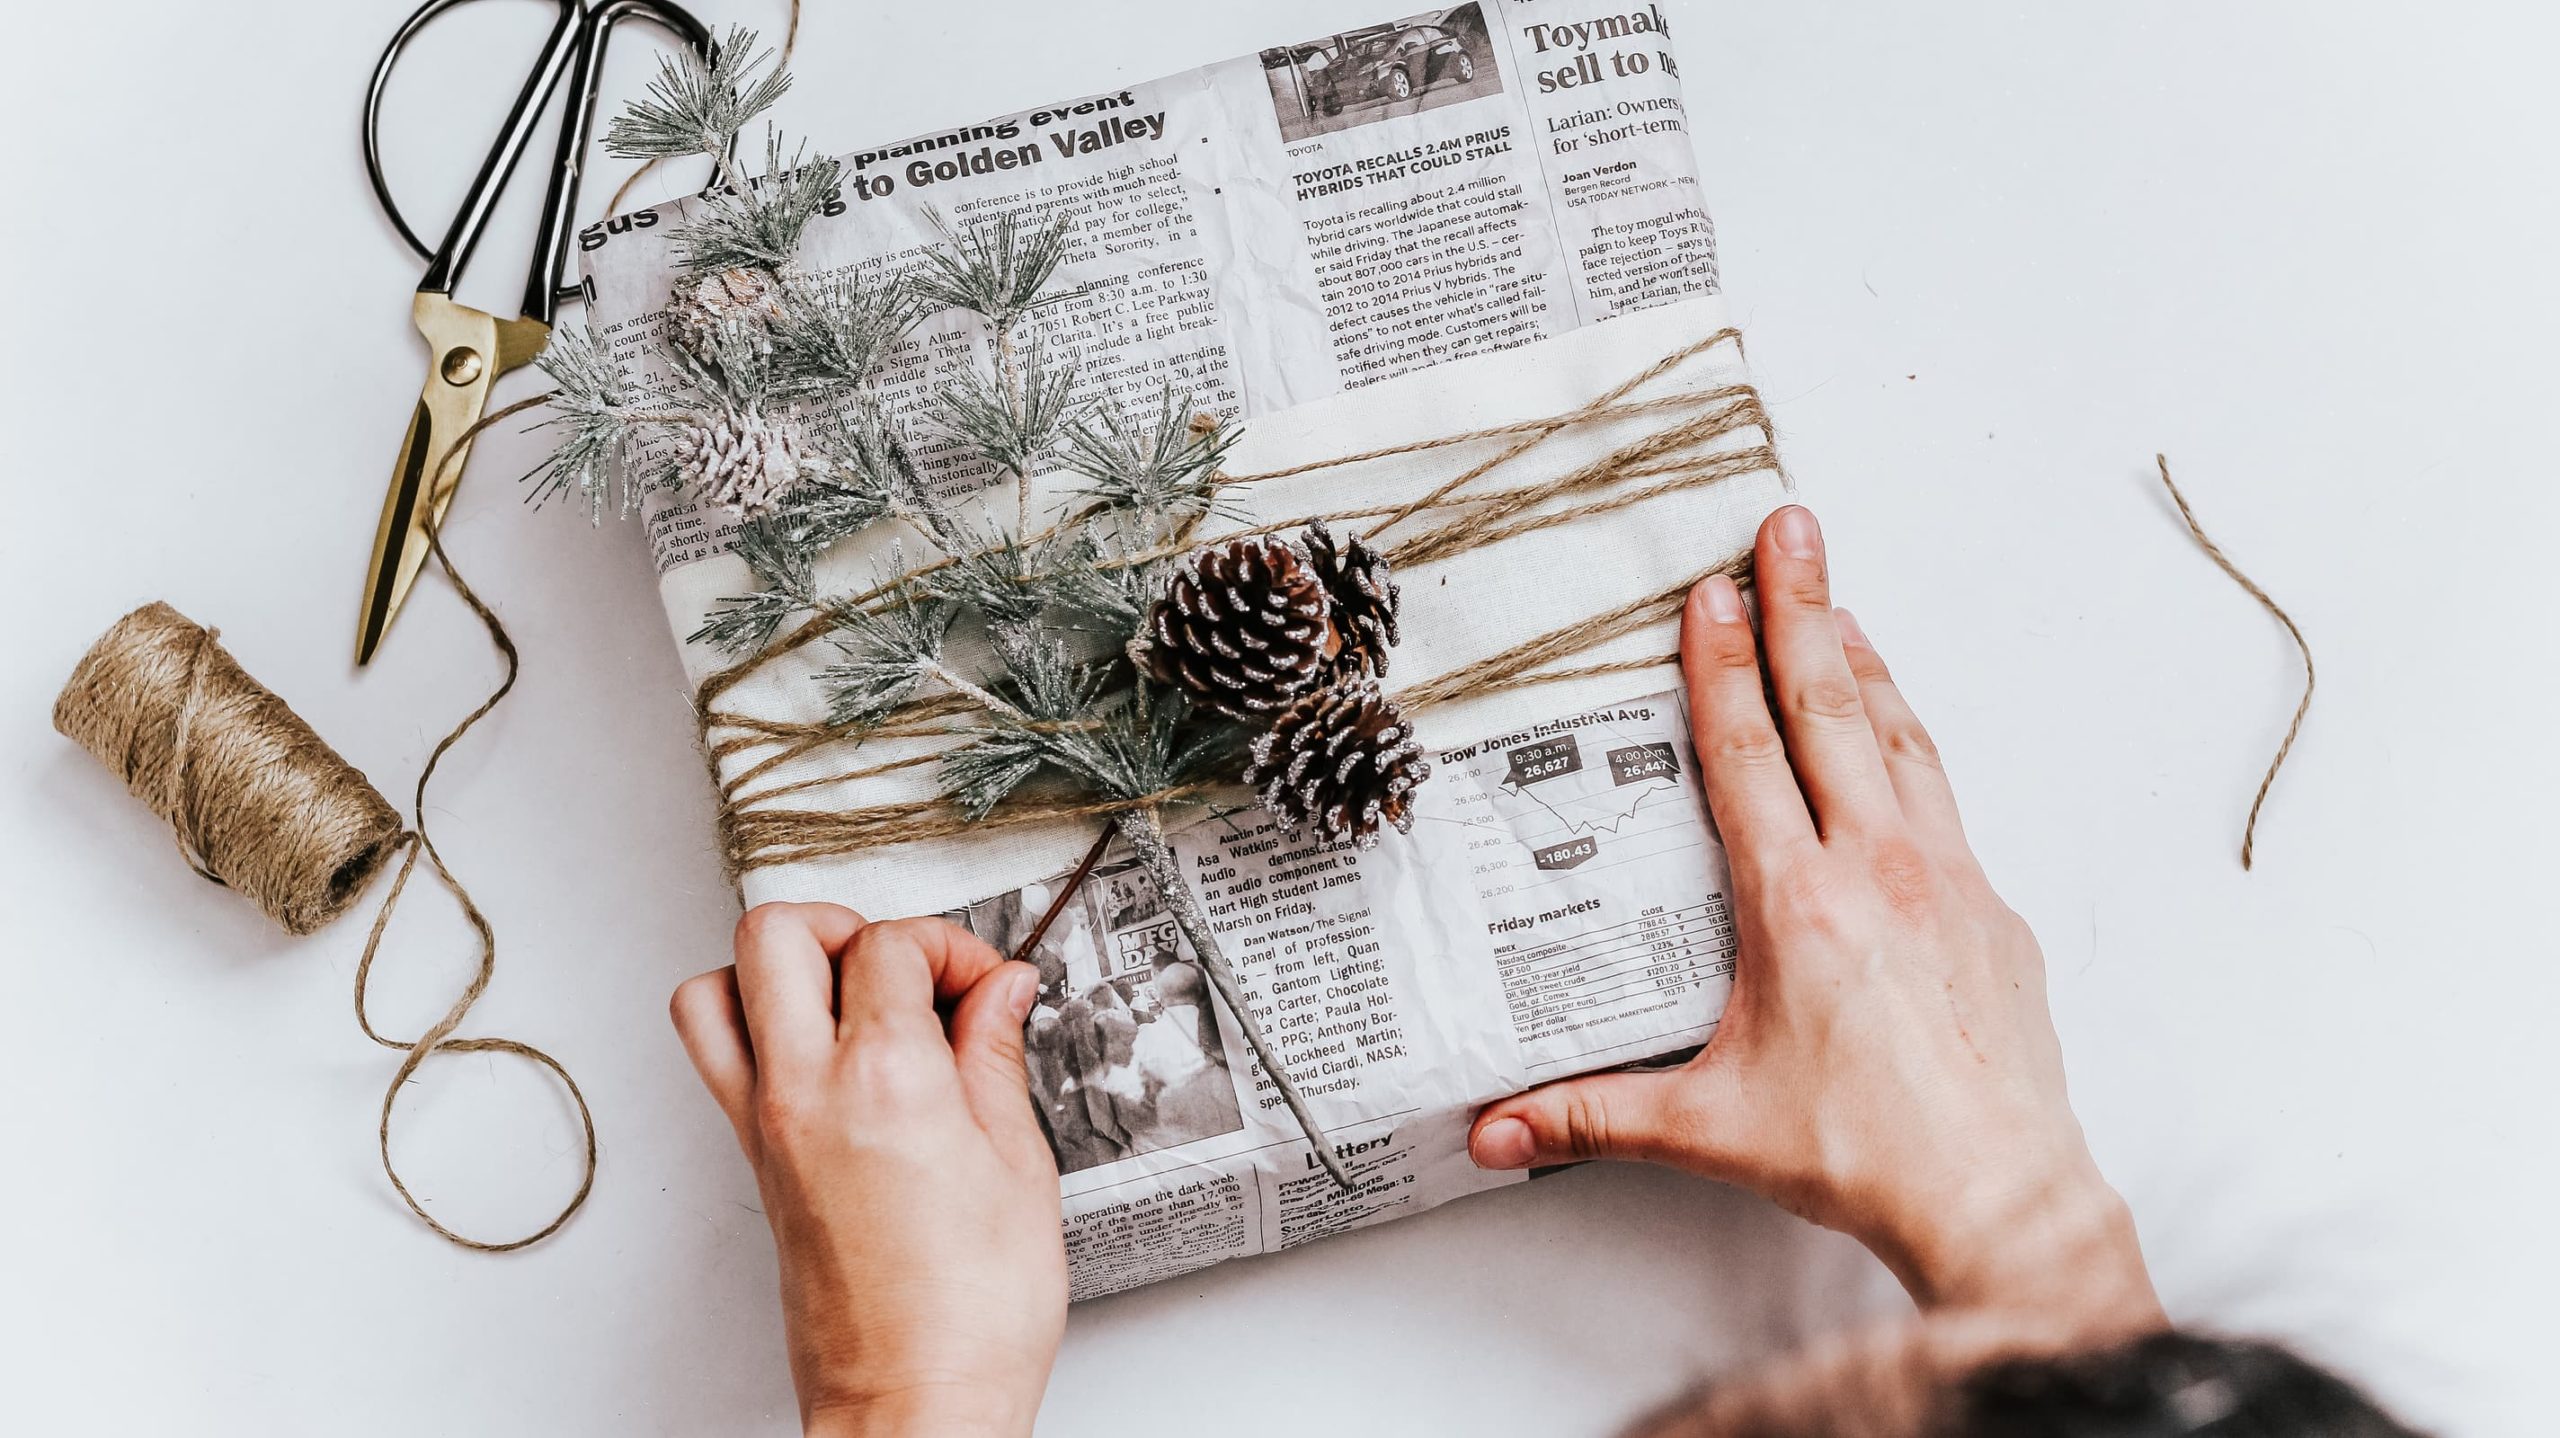
Every Sunday my daughter picks up flowers from our local farmers market. The florist typically wraps the base of them with newspaper prints, gives it that feel of a farmers market for some reason. So I figured why not reuse them.
Materials
- x3 black and white newspaper pages
- Muslin Fabric – Natural
- Hemp Twine
- Artificial Douglas Fir and Pinecones
- Giftwrap + Double-sided Tape
How To
- With my saved newspaper pages I scrunched them into a ball, to achieve the wrinkled look.
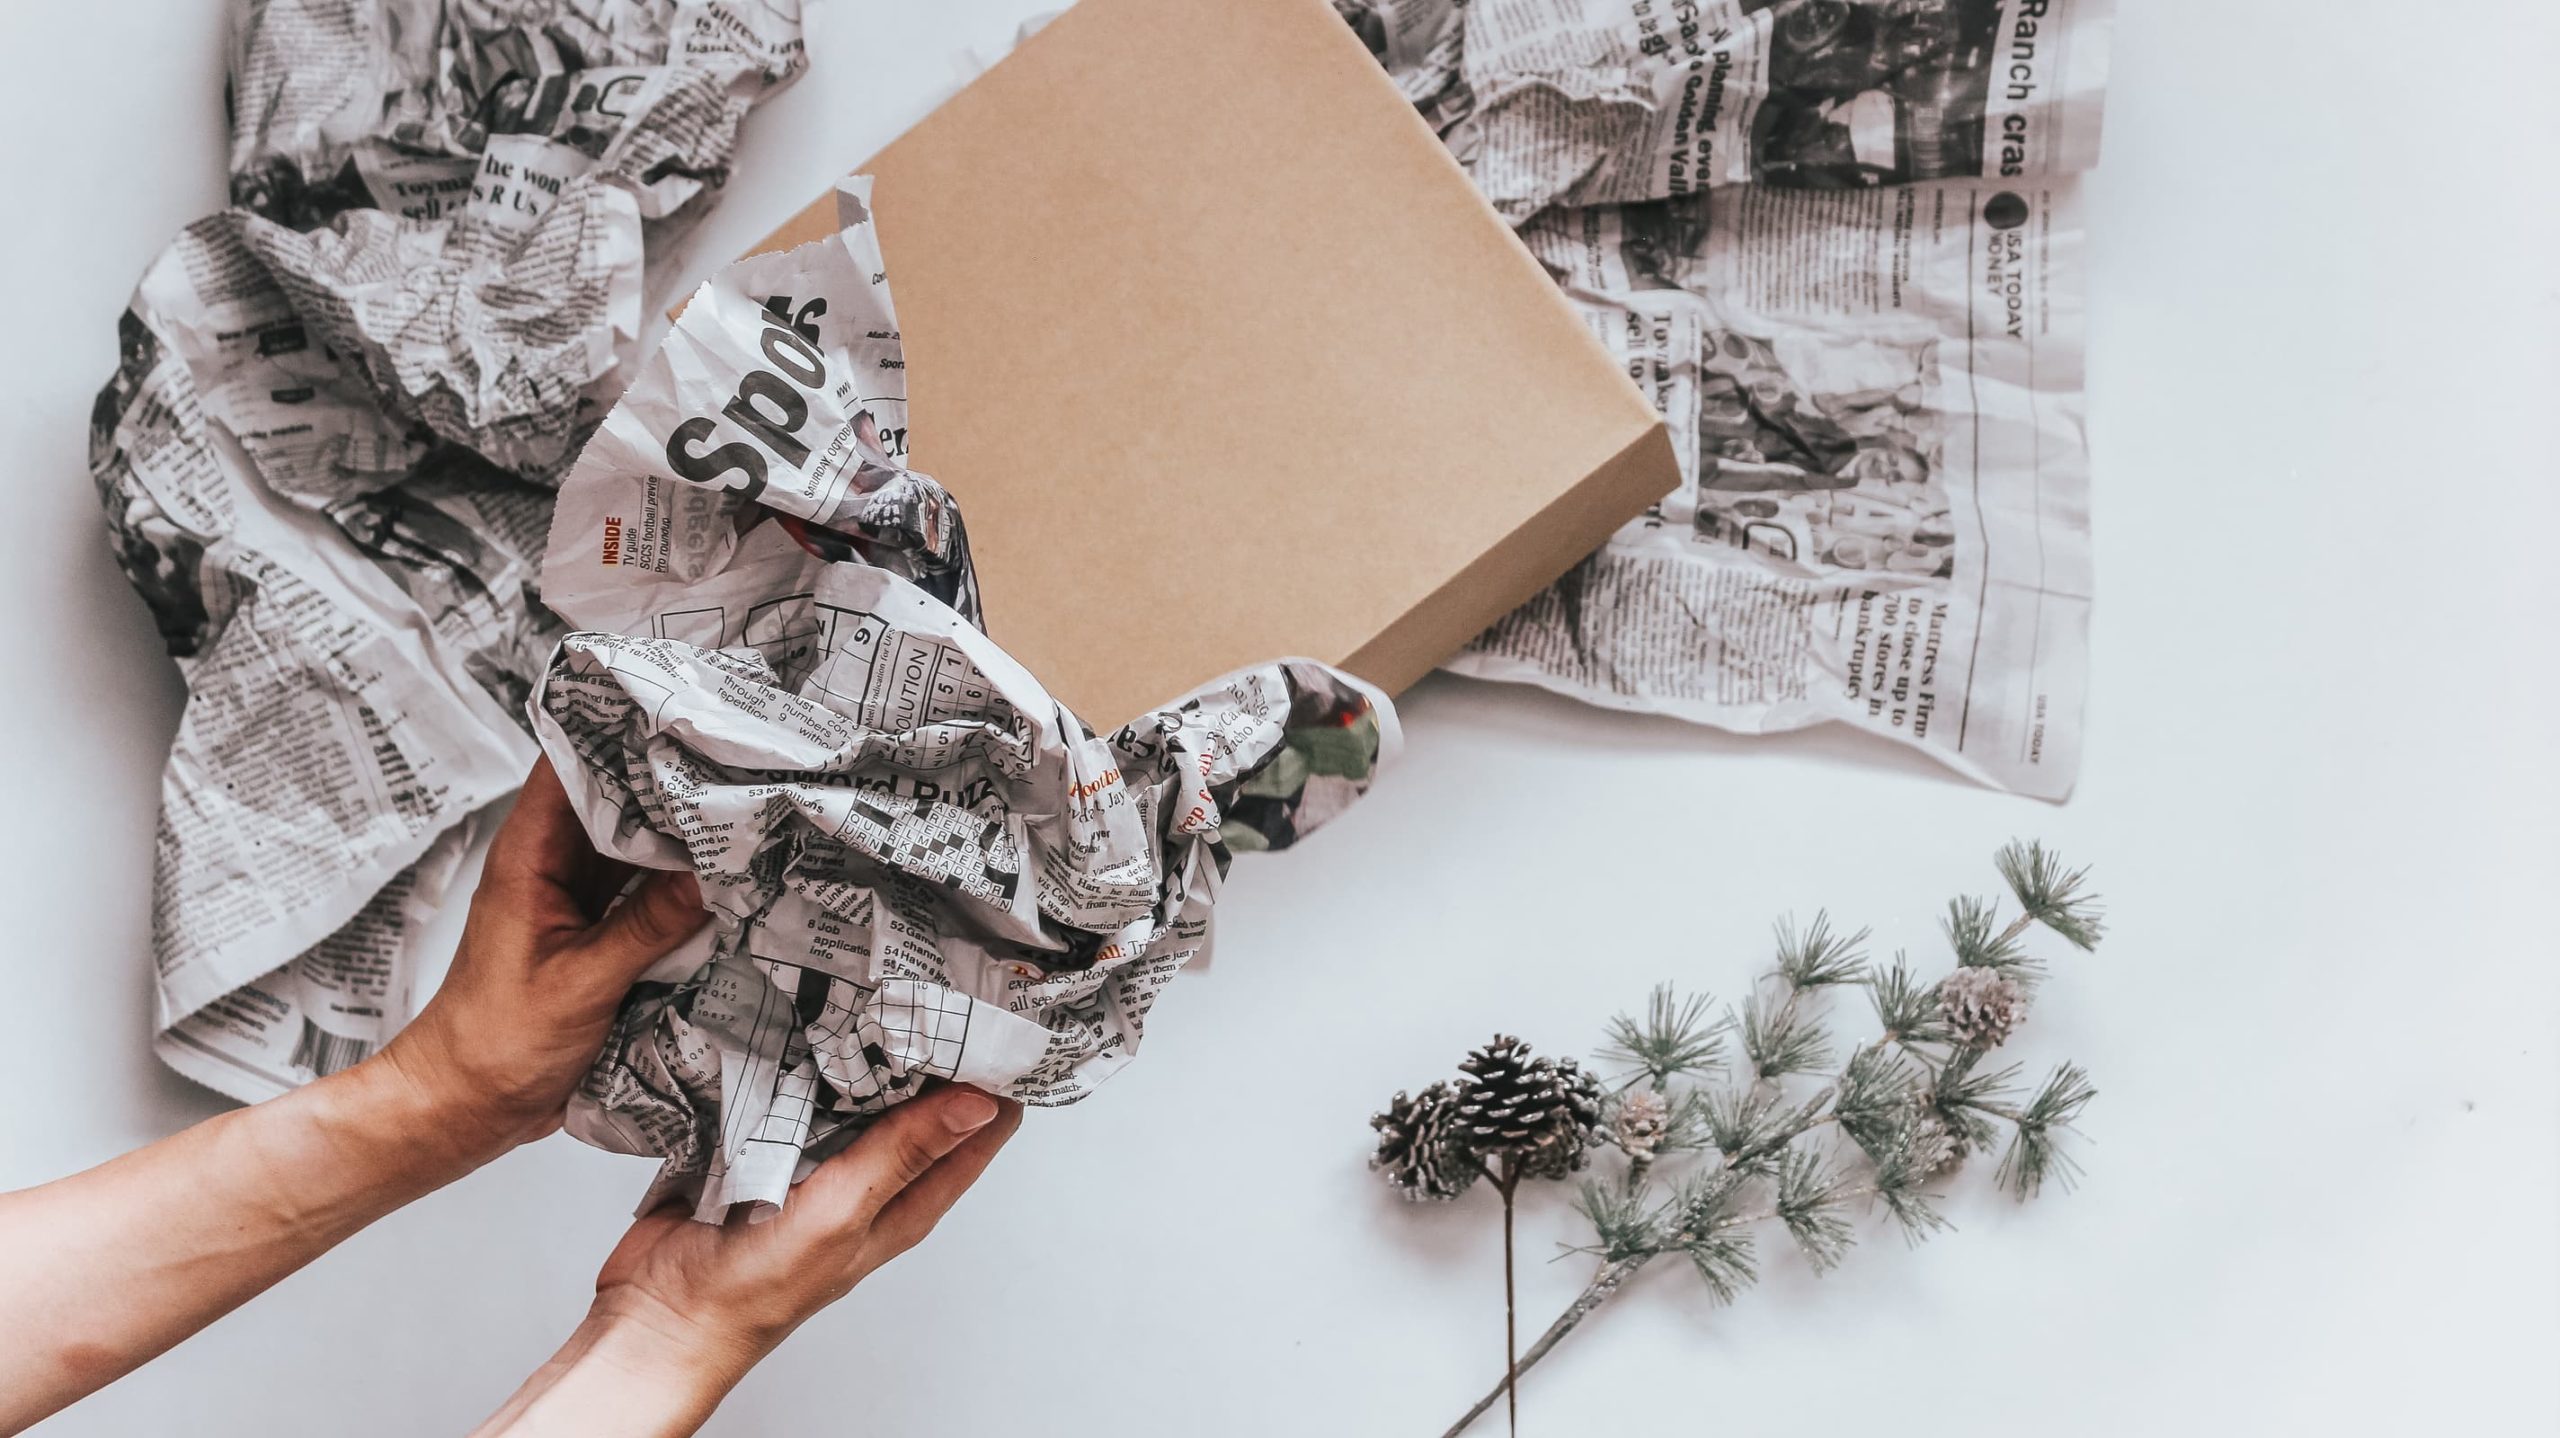
- Then, I laid a newspaper panel on the bottom side of my gift box and folded the ends over and secured with my gift wrap tape.
- With my other newspaper page, I laid one on the topside of my gift box and wrapped as I normally would.
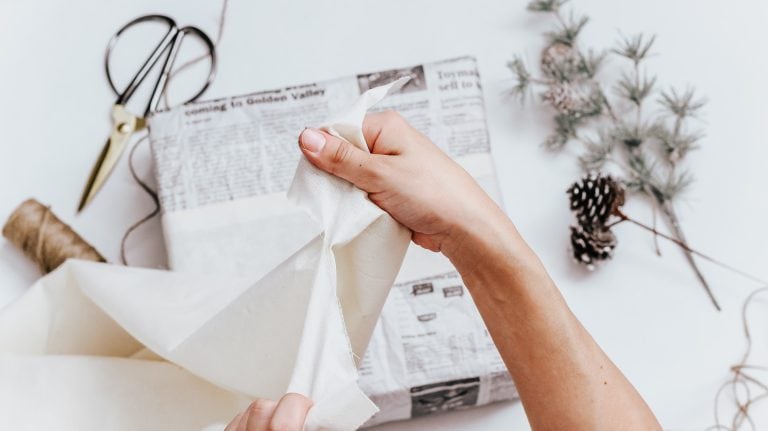
- I tore a strip of muslin fabric at about 3 ½” thick and wrapped it around the center of my box. Then I easily secured it with double-sided tape.
- On to my hemp twin, I unraveled quite a bit of it. Then I wrapped it arbitrarily around the box to the width of my muslin fabric and double knotted tightly in the back.
- Lastly, I bundled together my artificial Douglas fir and pinecones. Then I thread it in between the hemp twine I had wrapped around the box.
The Classic White Wrap
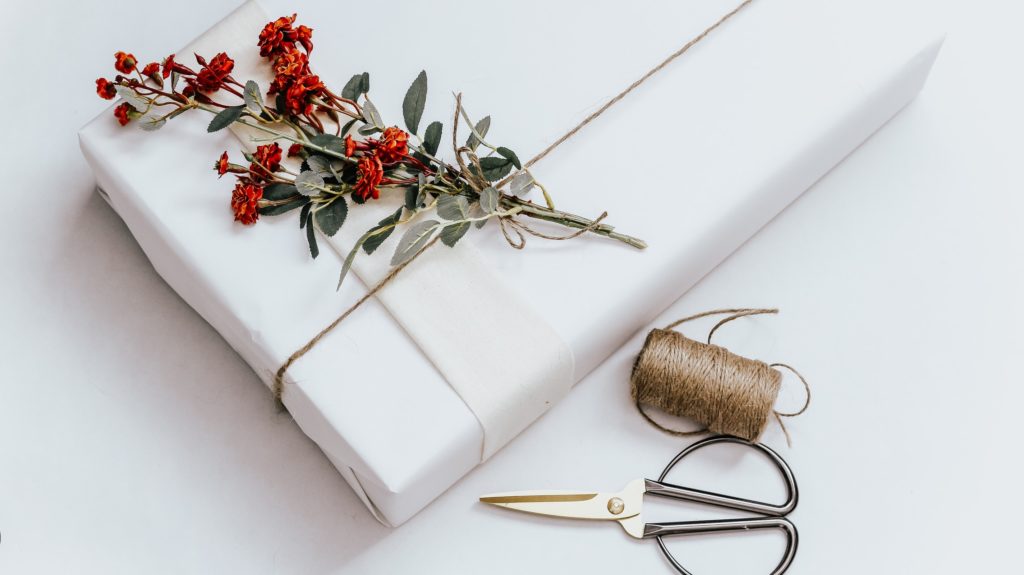
There is something to say when less is more. I always have love for minimal gift wrap. You can’t beat a clean simple gift wrap with a delicate bunch of flowers.
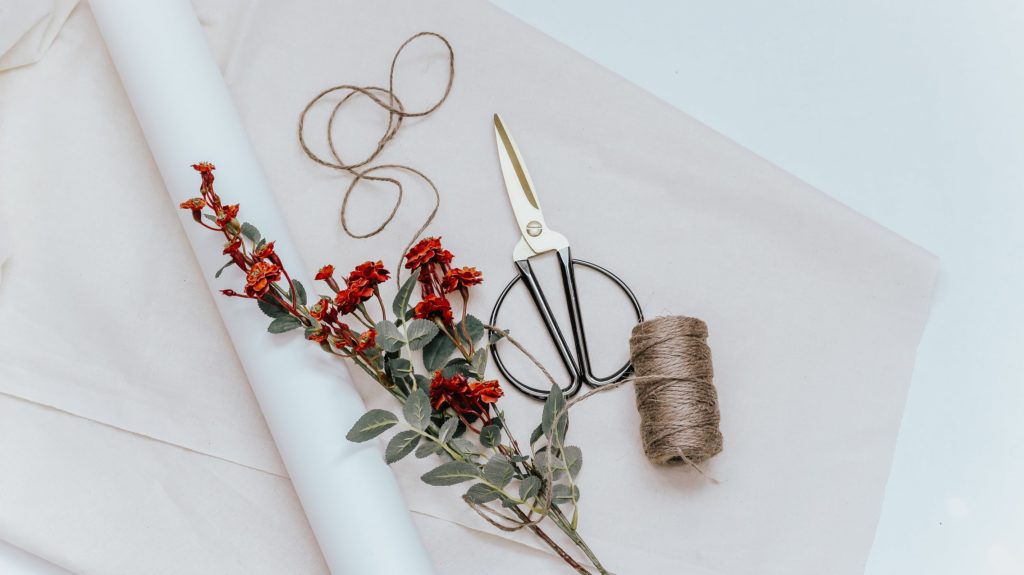
Materials
- White Kraft Paper
- Muslin Fabric – Natural
- Hemp Twine
- Artificial Bunch of Delicate Flowers – Pop of Color
- Giftwrap + Double-sided Tape
How To
- I wrapped my gift box with white Kraft paper. Again, I’m messy cutter so I naturally fold the edge over a little bit and secure it with a little gift wrap tape.
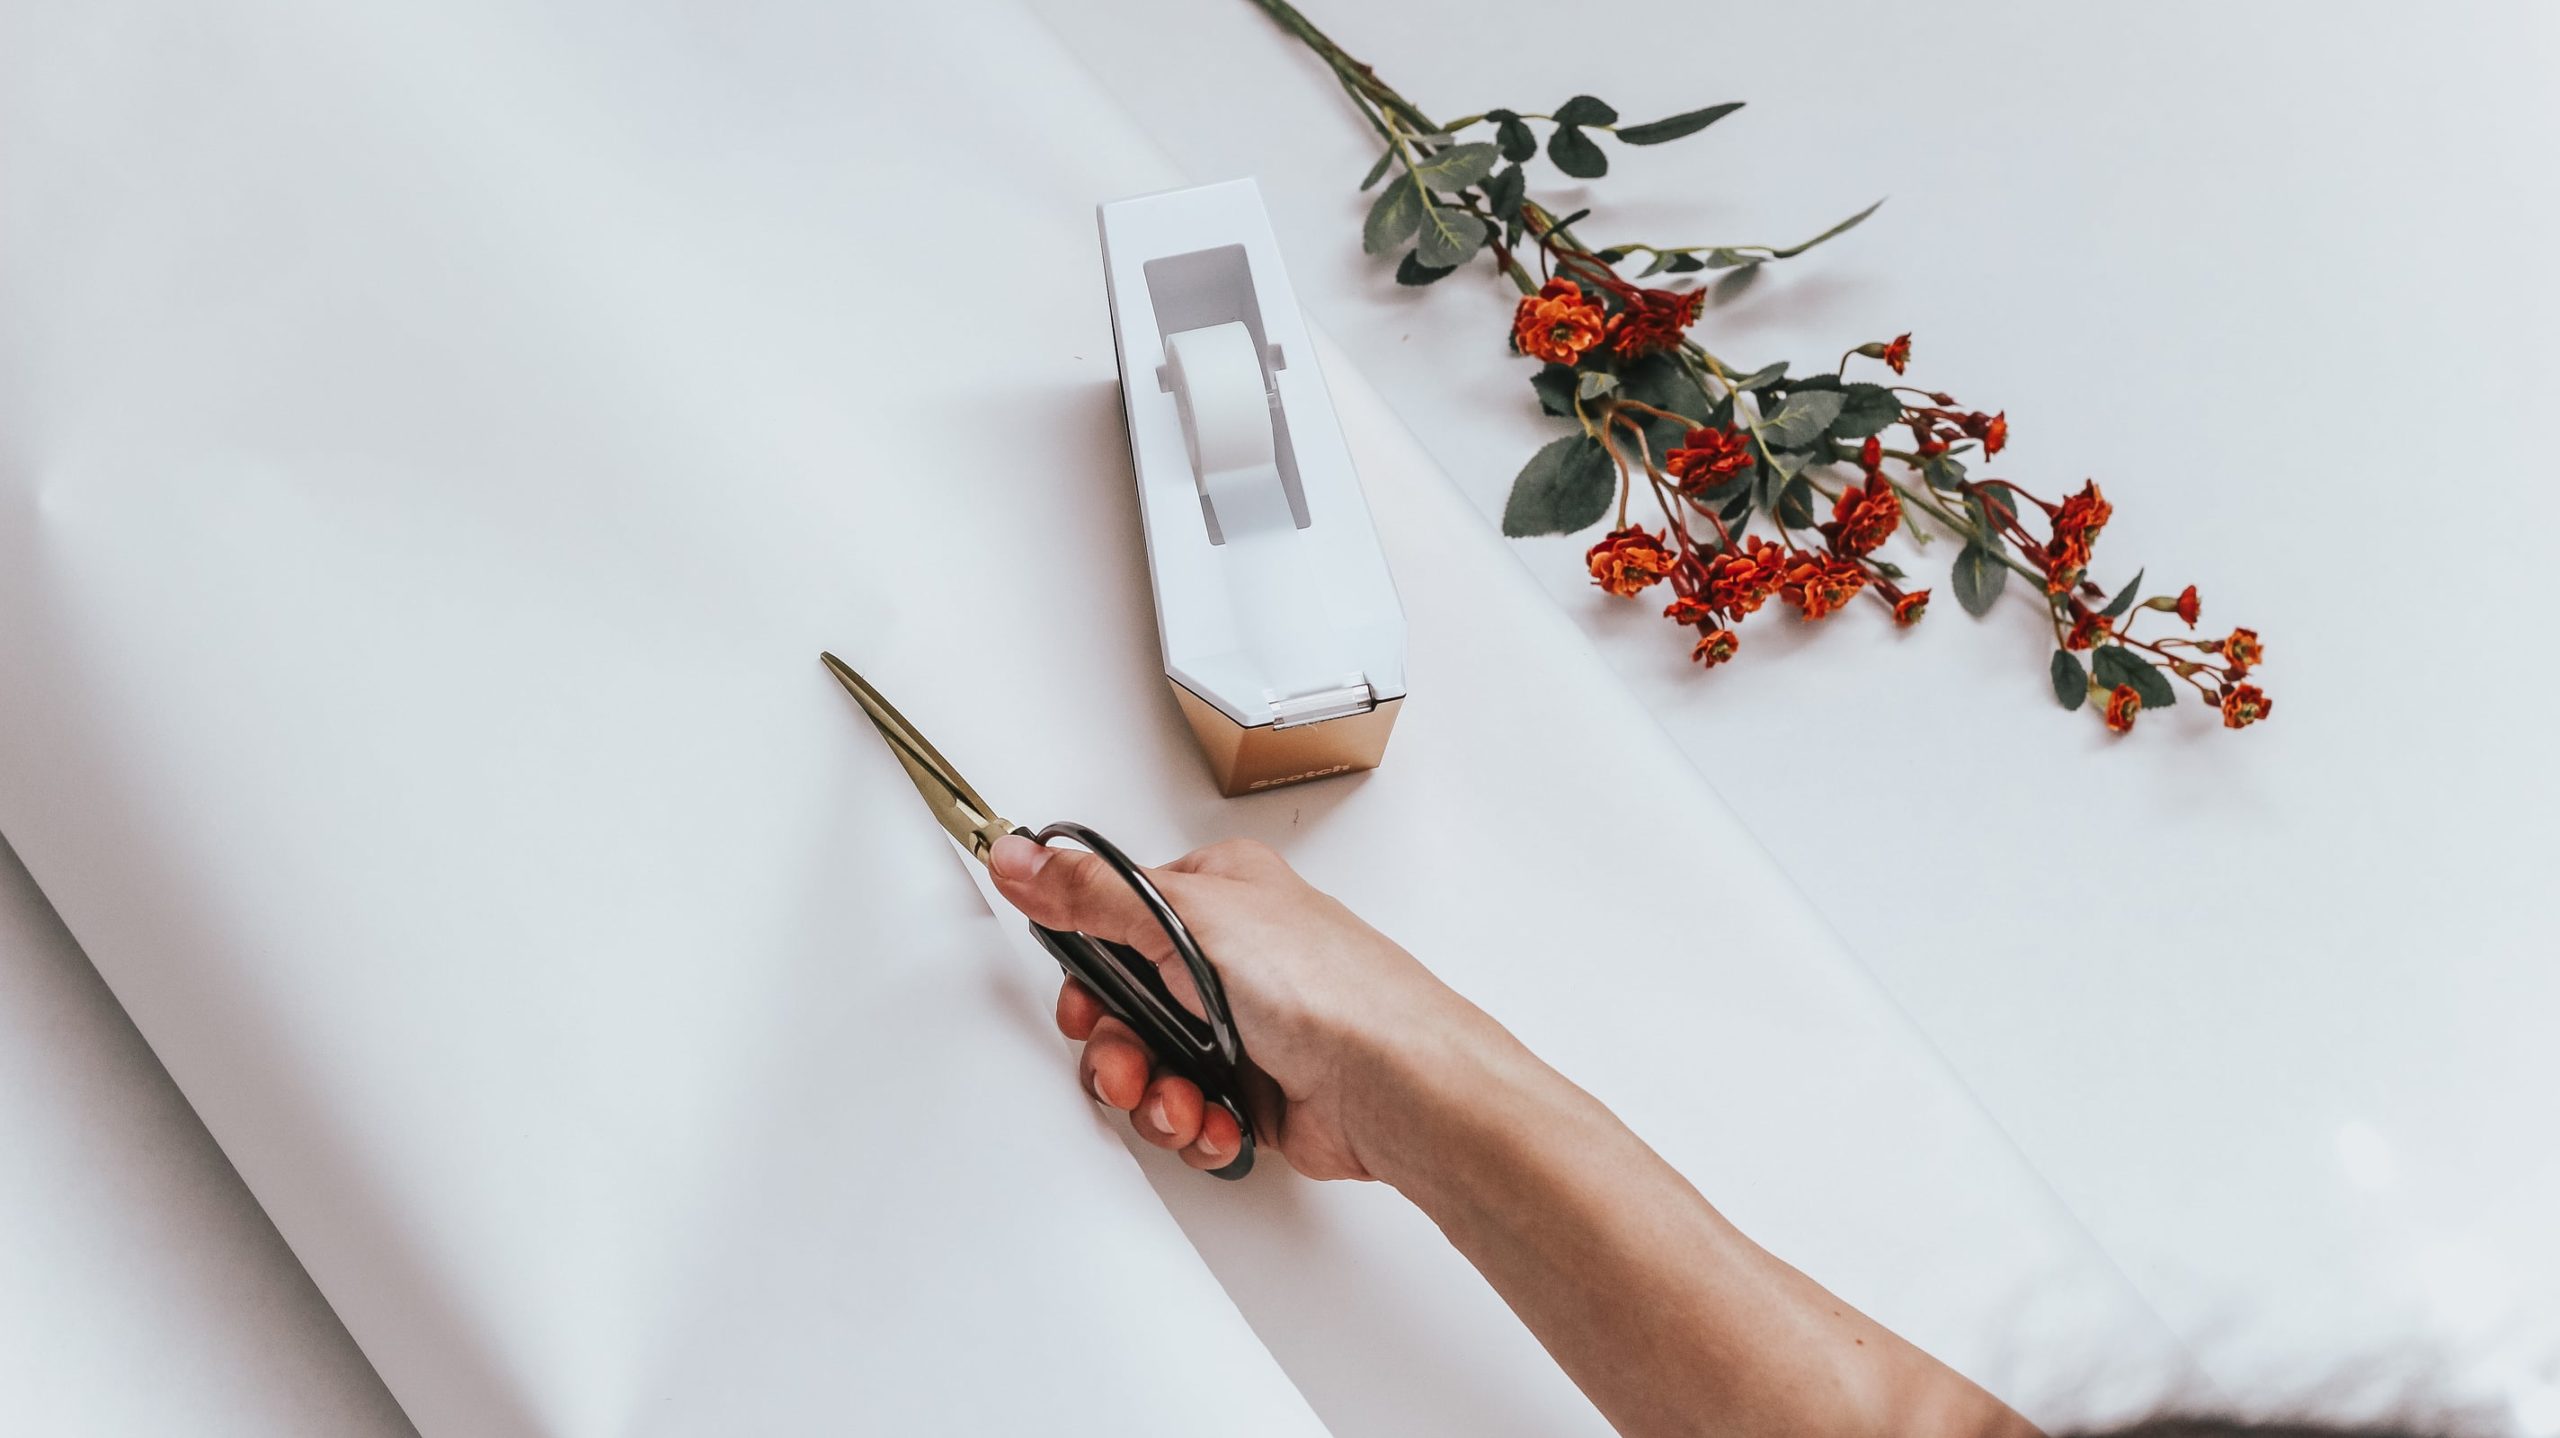
- After, I grabbed my muslin fabric and cut it to achieve a thickness of 4” and folded it in about ¾” on each side. This gave me a 2 ½” thick band that I chose to wrap around my gift box.
- At 1 ½” from the left, I laid my muslin band and secured it with double-sided tape at the back.
- With my hemp twine, I unraveled a good 12” so it can wrap fully around my gift box and enough to tie.
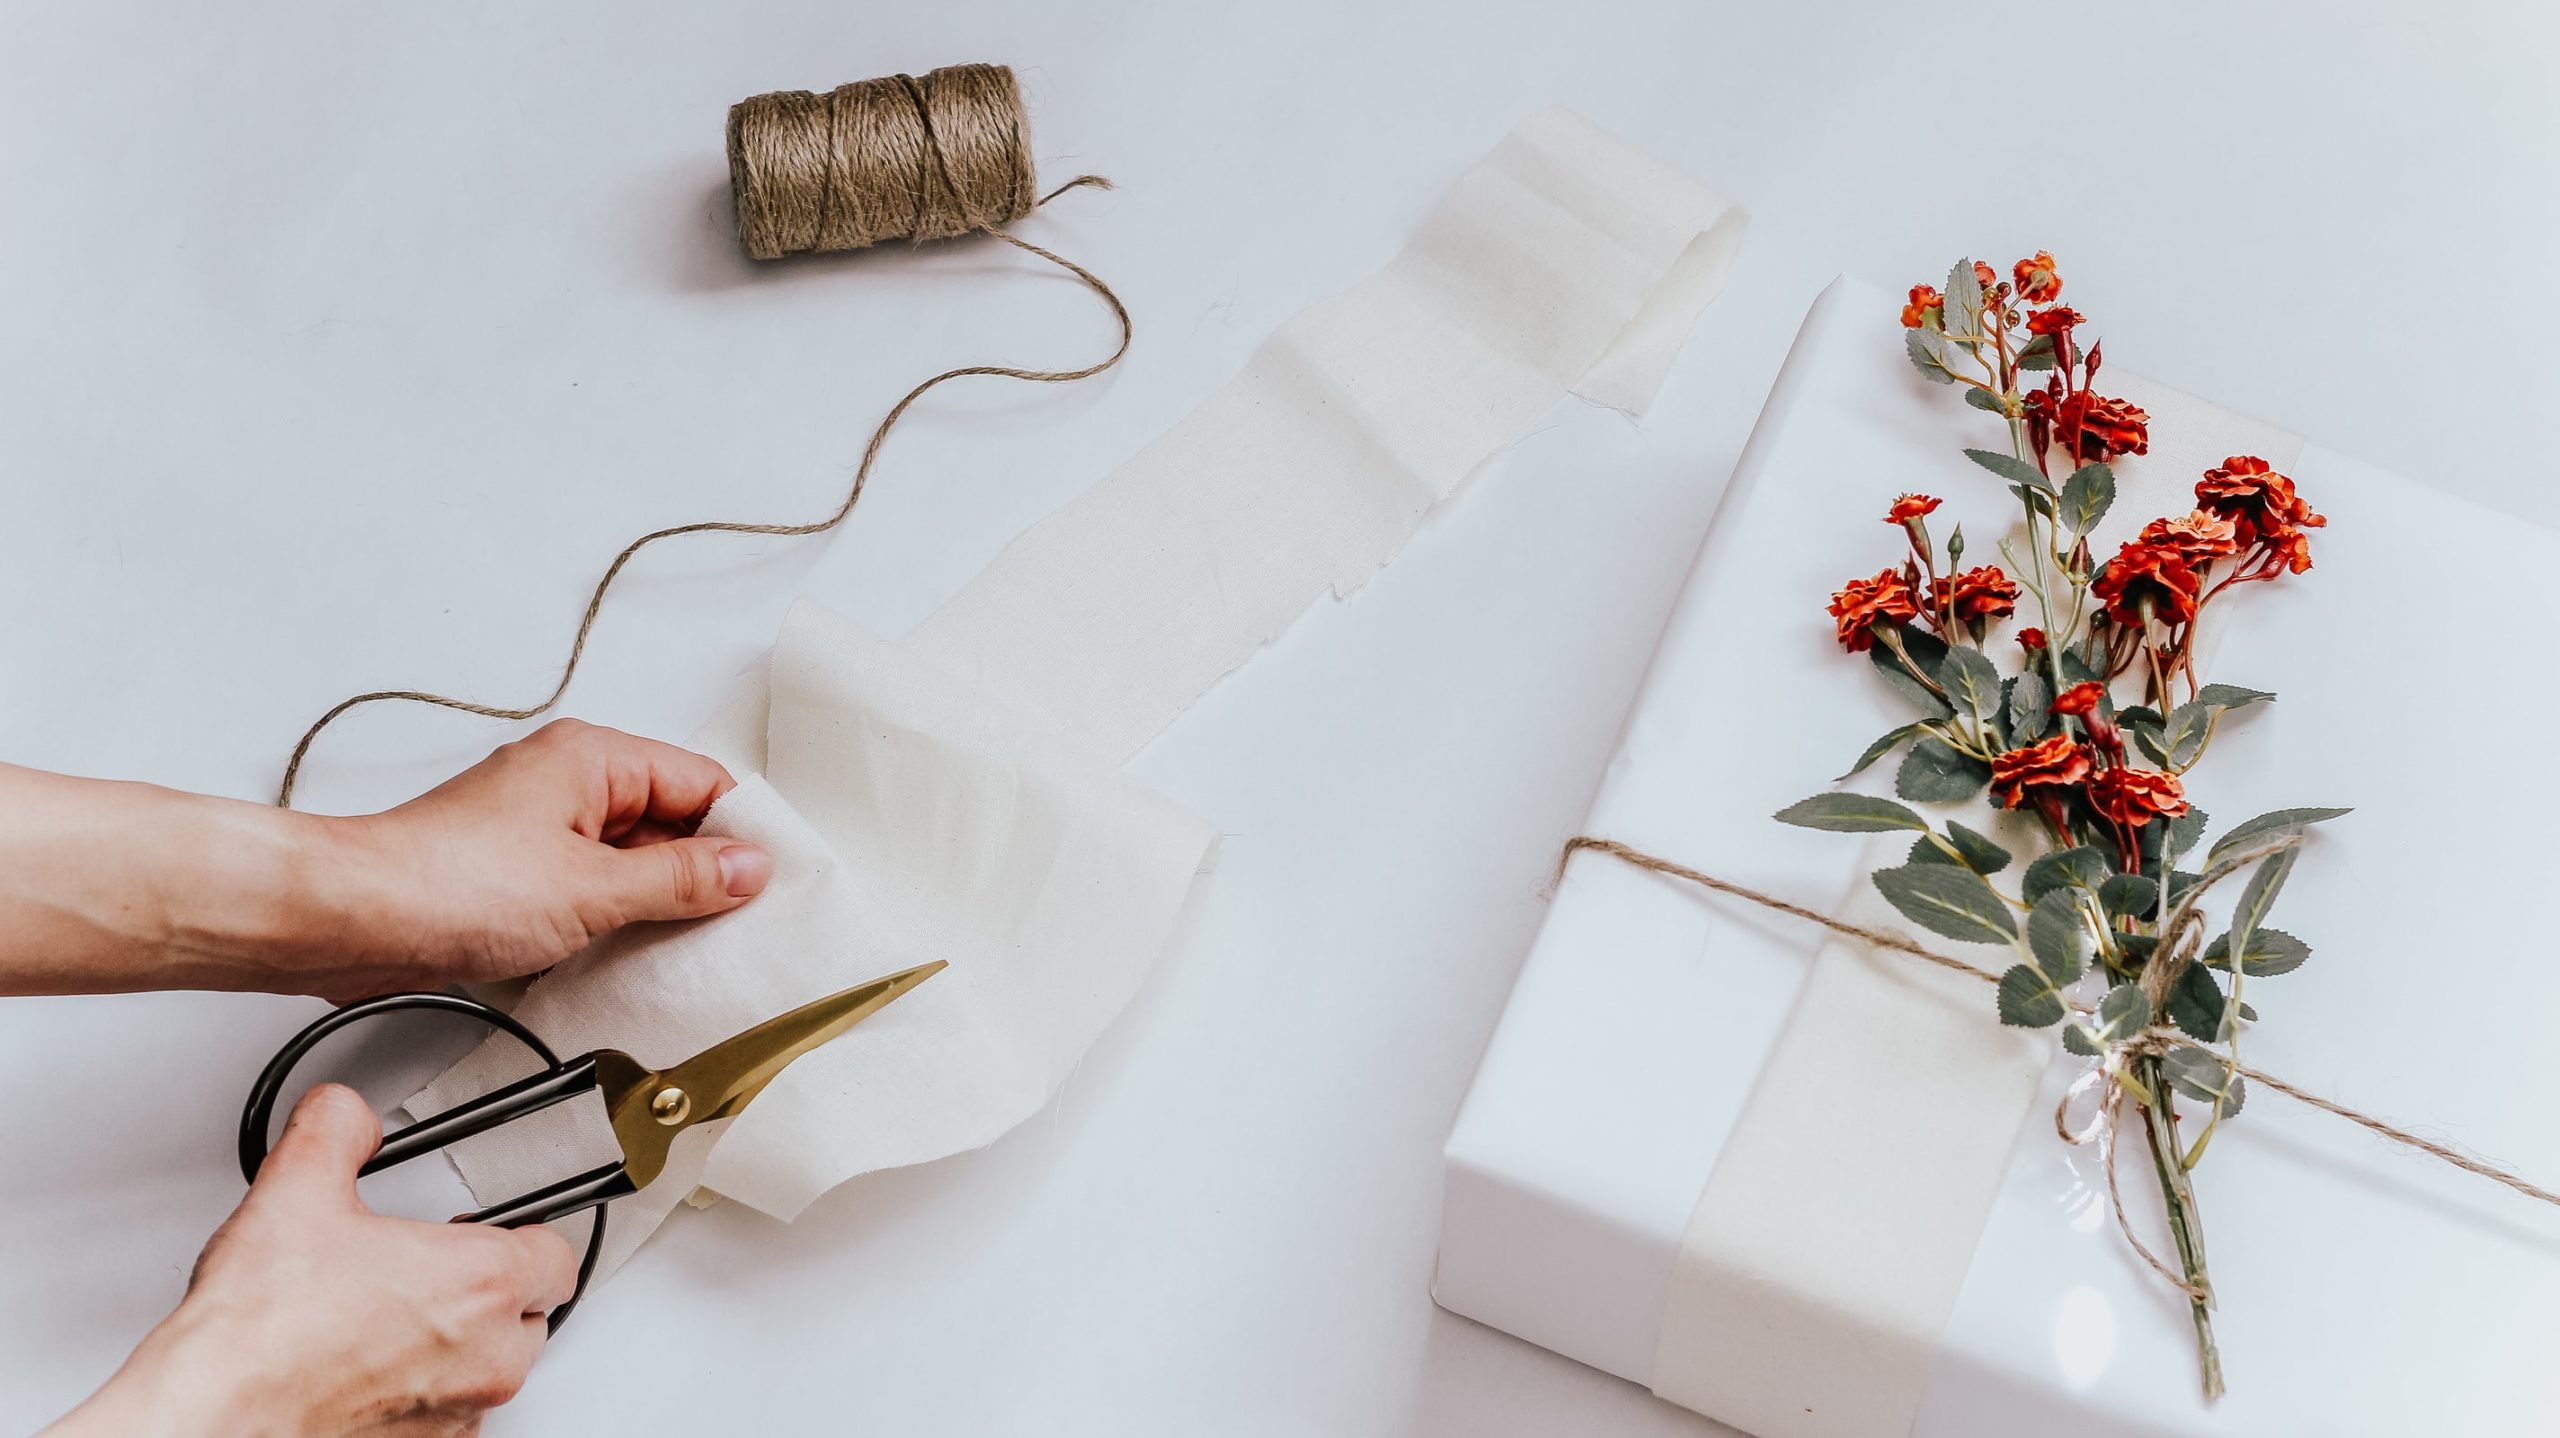
- Then at 2” from the bottom (lengthwise), I wrapped that hemp twine and tightly double knotted. Ensuring I overlay on top of my muslin band and let those ends hang.
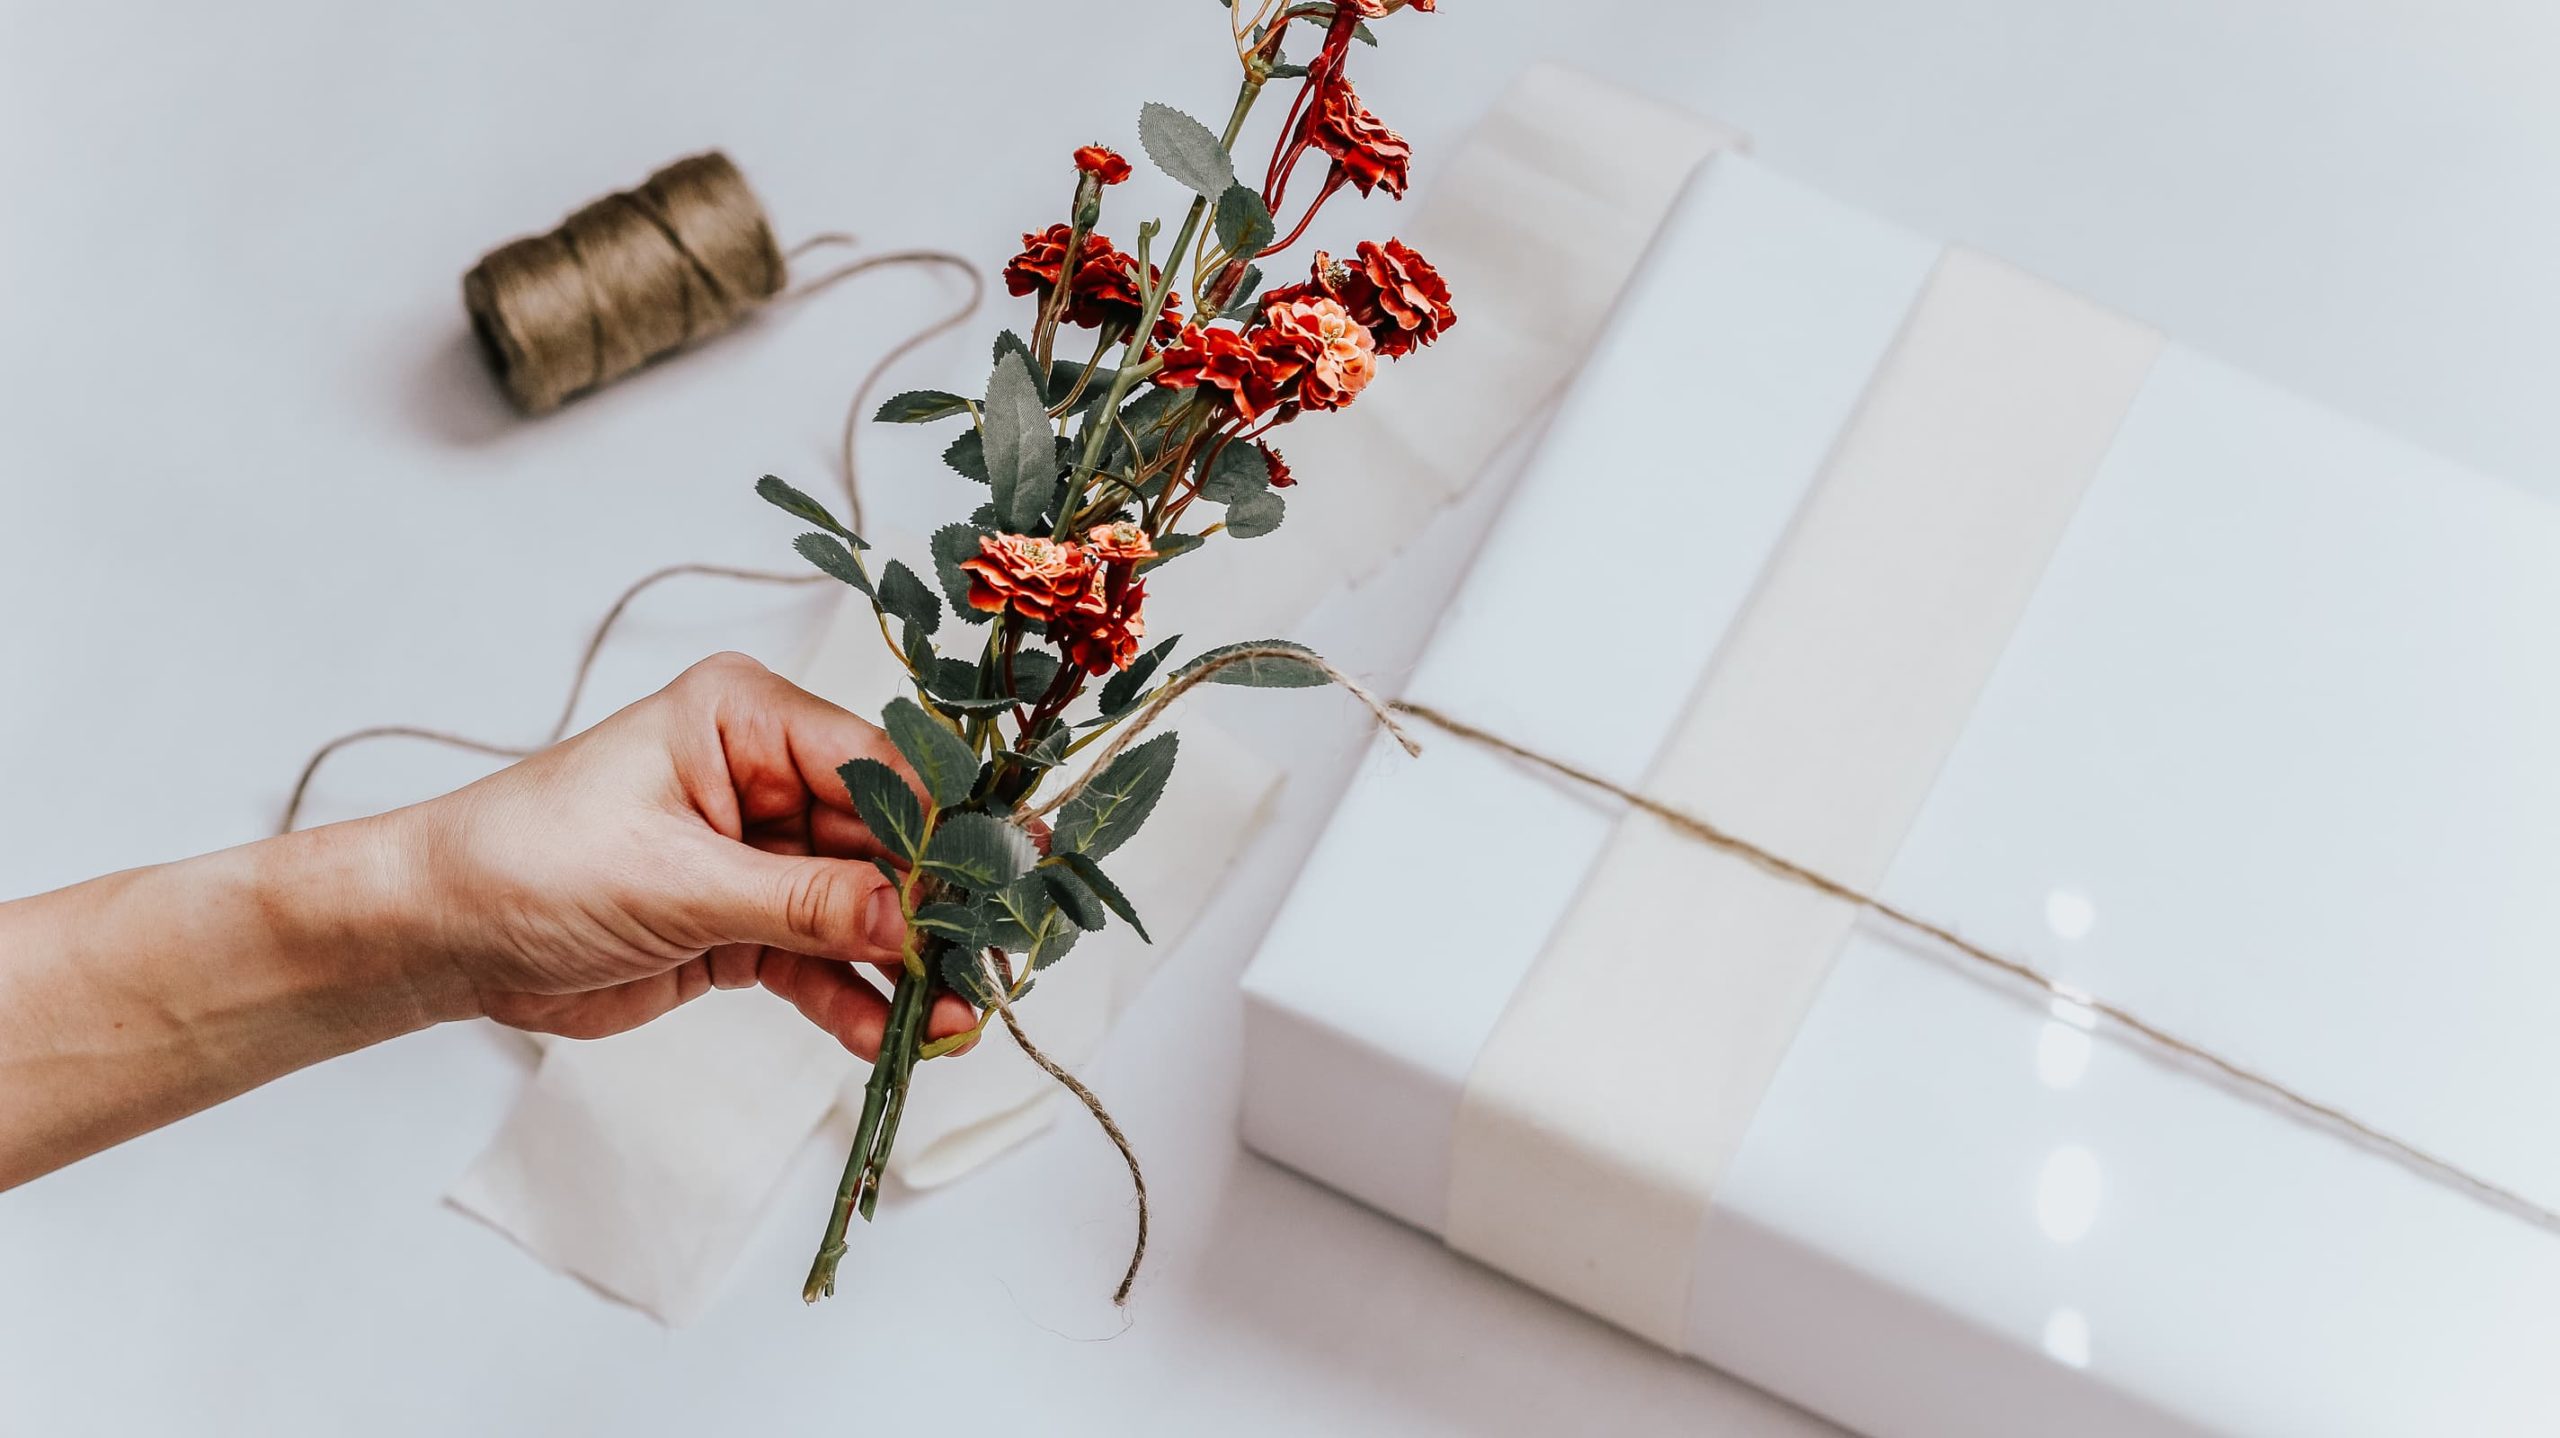
- I bundled together my artificial delicate flowers and secured them tightly with my hemp twine.
- Afterward, I cut another string of twine; double knotted my flowers tightly onto the twine that was wrapped around my gift box. I made sure my flowers laid over the muslin fabric.
When you’re wrapping your next gift think a little deeper about your daily routines. You’ll be surprised with some of the ideas that might come to mind and be bold to try something different. The plus side is that you may already have most of your materials at home.



Comments