For years, professional photographers used DSLR cameras to get the best shots. Guess what? The best camera for capturing awesome family photos is likely in your pocket: your **iPhone**! These days, iPhone cameras can be just as good, if not better. Most experts say there are hardly any differences between the newest iPhone camera models and a DSLR. It’s **perfect for families**; you can snap memories wherever you go because your iPhone is always with you. Check out these **10 iPhone tips** for great family photos — no extra apps needed.
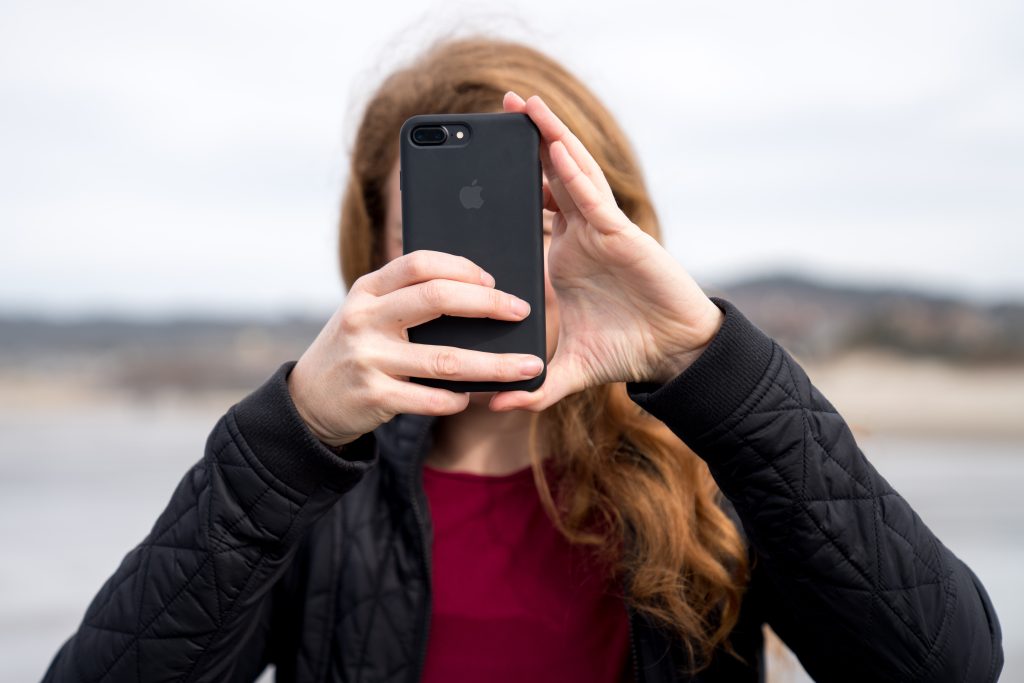
1. Keep the focus right where you want it
Many iPhone users don’t realize that a simple tap on the screen causes a yellow focus box to pop up. Move it around until it perfectly centers around the focal point of your picture. Sometimes, your phone may keep searching for different things to focus on without settling on anything. If that happens, press the screen where you’d like to focus. Then, hold your finger down until you see the yellow box enlarge, says family photographer Stephen Govel. “This means your focus is locked! You’ll see a notification pop up near the top when it’s activated.”
2. Adjust the light on your photos on the spot
You’ve probably heard that natural light is the best light, whether you’re outside during golden hour or indoors near a window. Your iPhone also has a handy tool that allows you to adjust the light in your photo just before you snap a frame. (This is one of the best iPhone tips we’ve found).
Here’s how it works: First, tap your phone to focus on your subject. “You’ll notice a little sun pops up on one side of the yellow focus box,” Govel says. “Using your finger, drag that up or down depending on whether you want your photo to appear lighter or darker.”

3. Try this iPhone tip: A new perspective
Most of us snap pictures with our iPhone at about chin level. However, holding the phone low to the ground and angling it up at your subject, from the side or even from above by climbing on a chair, can make an enormous difference. Suddenly a photo goes from basic to bold. With this, you can bring other elements into the photo that may not have otherwise snuck in. (Think: a pretty sky or painting in the background). There’s a whimsy to photos that are shot this way, especially if you’re outside with your kiddos, it’s windy, and their hair is loose.
4. Capture moments with burst mode
Next on our list of iPhone tips: Instead of snapping just one frame use burst mode. This lets your iPhone snap several frames in quick succession. This method is perfect if you want to photograph your kids doing something active or capture a great action shot of your daughter scoring the game-winning soccer goal. To use it, press and slide the shutter button to the left (or up if you’re in landscape mode). In addition, burst mode makes it easy to go through your photos and select the best motion shot before discarding the others.

5. Follow the rule of thirds
Ask any professional photographer, and they’ll tell you the golden rule of thirds. This states that pictures are divided into a grid of nine equal parts created by two vertical lines and two horizontal lines, resembling a game of Tic Tac Toe. Given how well pictures that follow this rule turn out, we had to include it on our iPhone tip list. For a well-composed photo, keep the subjects or focal elements of your photo at the intersections of those lines. It’s a general rule that more often than not yields a perfect balance.
For always-level horizons that follow the rule of thirds, turn on the iPhone’s Grid function (Settings>>Camera>>Composition>>Grid). This is a great function if you take lots of vacation photos or spend a lot of time outside and want to capture the fun.
6. Steady your shot with the volume button
Surprise! The volume buttons do more than just adjust sound. They actually perform the same functions as the white button on your photo screen. “This is one of the best iPhone tips if you have shaky hands, or if it’s nighttime,” Govel says. Because they’re larger and on the side of the iPhone, pushing these buttons to snap a photo can help steady your shot tremendously.

7. Adjust the blur on your family portraits
Sometimes to capture a look or even a moment in time, only a portrait will do. But don’t assume the blur in the background isn’t adjustable. You can control the amount of blur in the background of your portraits by tapping the ‘F’ in a circle at the top of the frame. For this iPhone tip, you can even adjust the blur after you’ve taken a photo, too; just click Edit on the image and slide the toggle back and forth.
8. Take candid photos without anyone knowing
Suppose you have teens who hate having their picture taken or children who are easily distracted by the camera; a pair of earbuds can turn your quest for the best family photos clandestine. First, make sure your earbuds are connected to your iPhone. Then use the volume up button on your earbuds to snap photos. Of course, you’ll still have to hold your camera up towards the subject. But it’s much easier to appear as if you’re reading or using FaceTime this way.
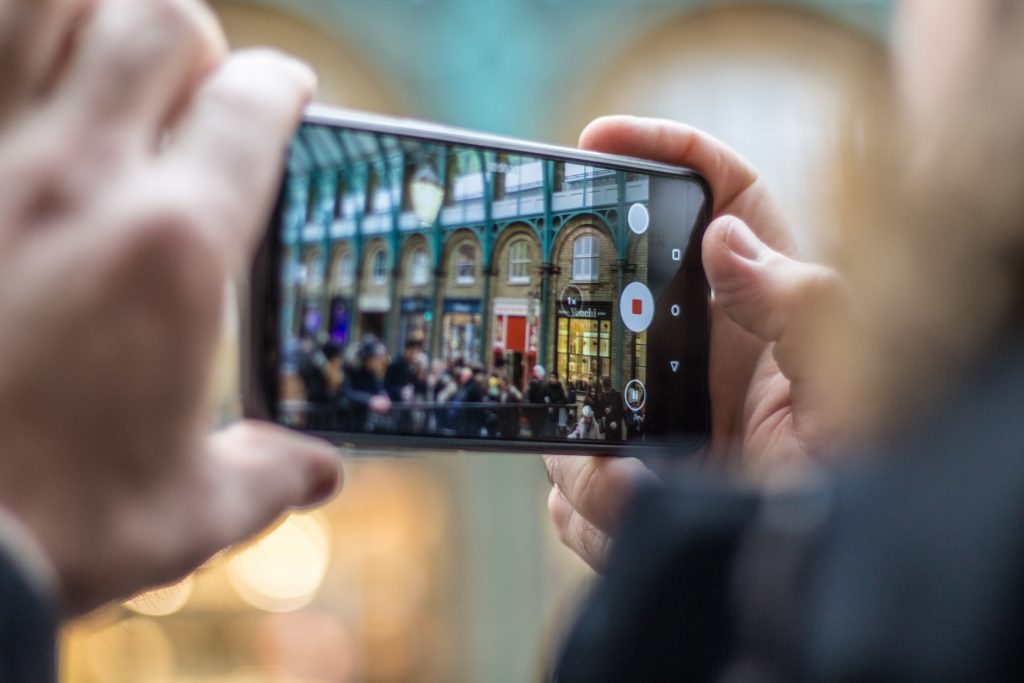
9. Snap photos and record videos at the same time
This one is the holy grail of iPhone tips. Many iPhone users don’t realize that you don’t have to choose between taking great photos you can display on your shelves and recording special moments with video. It’s possible to do both of those things at the same time. Start by recording your video, and when you feel the moment is right to capture a real photo, tap the circle at the bottom. “This is called ‘grabbing a still,’” says Govel. “When you’re finished filming, you’ll have the best of both worlds waiting for you in your camera roll.”
10. Make the most of your HDR
Every iPhone comes with a software feature called High Dynamic Range, or HDR, excellent for high-contrast situations. It works by taking several photos in quick succession at different exposures. Then, it blends them with highlights and shadows to add detail, color, and the right amount of brightness without distorting the image. This iPhone tip helps when you’re trying to snap a bright object against a dark background, such as a sun setting over a mountain.
Now that you’re equipped with 10 new iPhone tips, it’s time to do a photo shoot with your family. So set up a tripod, start the camera timer, and snap away! Follow these 10 tips, and once you’re finished, you’ll have stunning photos you’ll want to turn into timeless mementos, like glass prints.
Fracture offers multiple sizes and shapes so that you can create custom layouts — available in single glass prints, a Photo Wall arrangement, or Storyboard — to display your beautiful family photos. Plus, you’ll receive all of the materials you need to hang them on your walls, with options for tabletop display stands.
The possibilities are endless—we can’t wait to see your prints in your home!




Comments