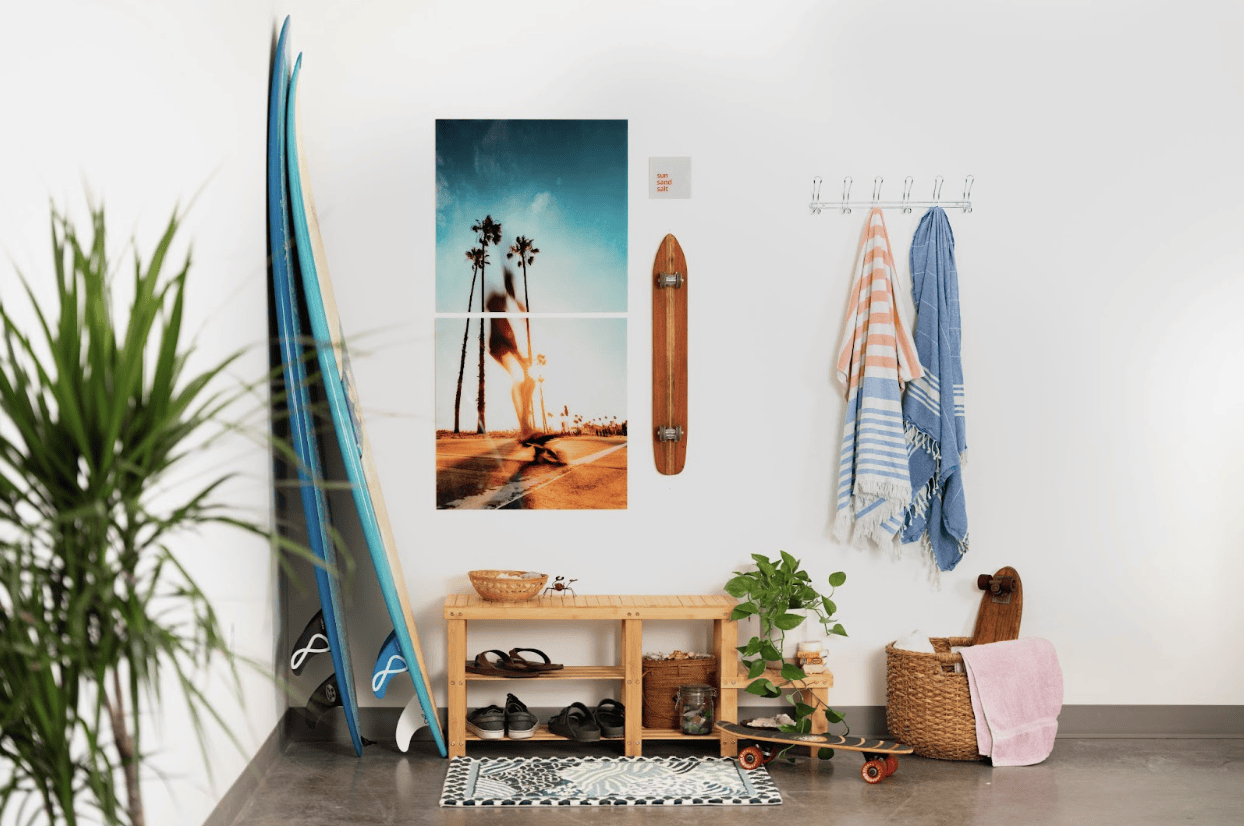

Multiple prints in a triptych style give a panoramic picture an artistic flair for your wall. It’s like opening a window to a breathtaking view. Now, let’s dive into the essentials along with some nifty tips for making a triptych using Fracture glass prints.
What is a triptych?
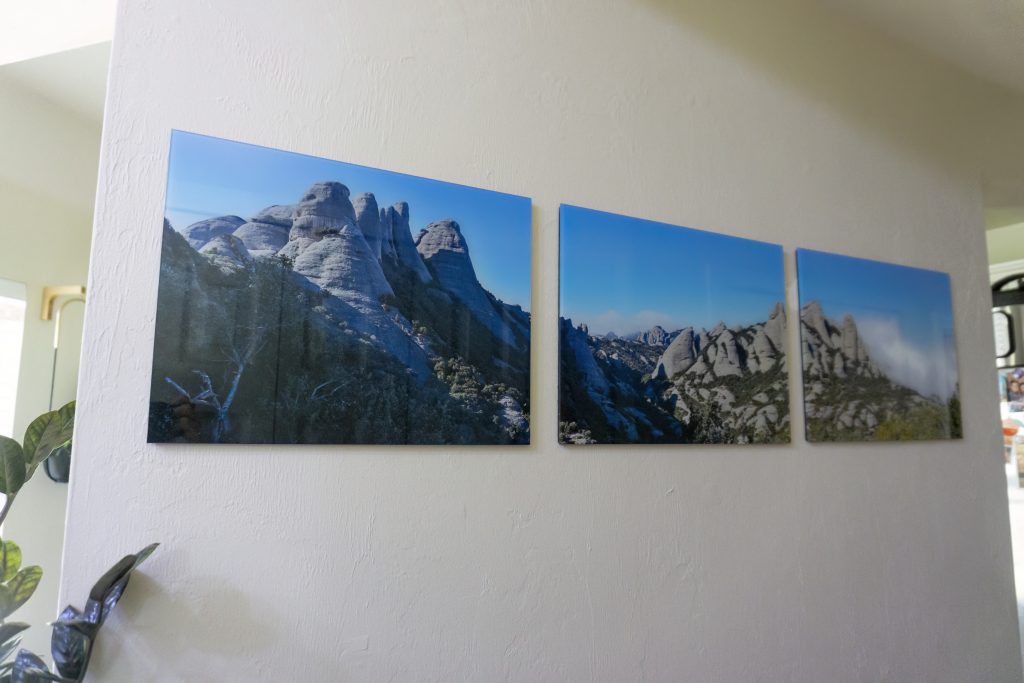
A triptych is a single image split across three individual, equally sized prints.
Triptychs can be mounted with intentional space between them on the wall, or flush (with no gap) to achieve a more seamless appearance.
Personally, we love the gap because it’s more fun to embrace the unique feature of a multi-print display. Plus, it visually breaks up the image. My triptych at home always gets the most interest from guests—and the most compliments!
Preparing your triptych photo
Understanding aspect ratio
First, it’s important to understand the aspect ratio of our glass prints. The aspect ratio of an image is the relationship between the width and height dimensions of that image written as a number that describes width : height.
For square prints, it’s pretty easy to remember that it’s a 1:1 aspect ratio—both sides are always equal in width and height.
For our rectangular glass prints, we print only in a 4:3 aspect ratio. This means the longer side of the rectangle is always longer by 4 parts to 3 parts on the small side. This will be true for all our rectangular print sizes. In other words, no matter which rectangular print size you choose, all our rectangular prints are the same shape.
If you’re printing a triptych with Fracture, keep this in mind because it will be important later to make sure you have the right shape when splitting your panoramic image for printing.
Splitting the image in Photoshop
Now, it’s time to actually crop and split the image that you want to print. The easiest and most efficient way to do this is to use a powerful third-party photo editing program, like Adobe Photoshop, to crop and save each segment as an individual image.
In the example below we’re using this beautiful panorama of the Dolomites from independent photographer v2osk.
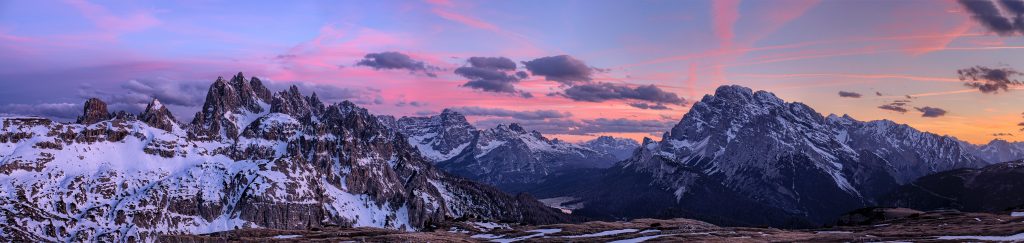
This is our full image, before any cropping. Because of how wide the image is, we’ll want to use Fracture rectangular prints rather than square ones.
1. Set up a crop
Open the panoramic image that you want to print in Photoshop, click the crop tool, and set the aspect ratio for the crop to 4:3 to match the shape of one rectangular glass print. (If you’re doing this for a vertical triptych, simply reverse those numbers and set the crop ratio to 3:4.).
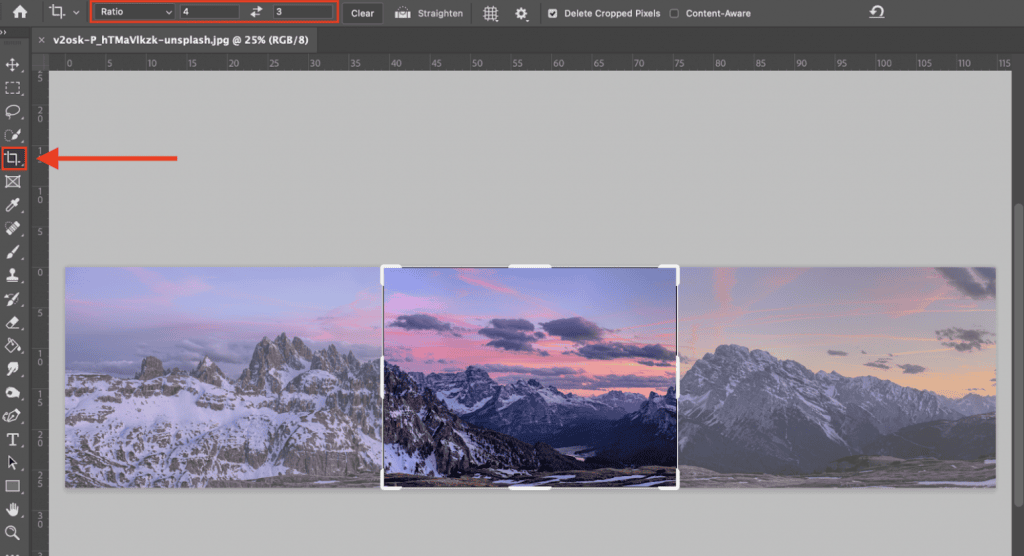
2. Adjust the crop based on the number of prints you want to use
Based on the size of the single-print crop selection, this will split pretty well across three separate prints!
Multiply the width of the aspect ratio by the number of prints you want to use in the display (in this case it’s three), and update the width in your crop selection to match this number. The height will remain the same.
In this example: 4 x 3 prints = 12, so we’ll update the crop ratio to 12:3.
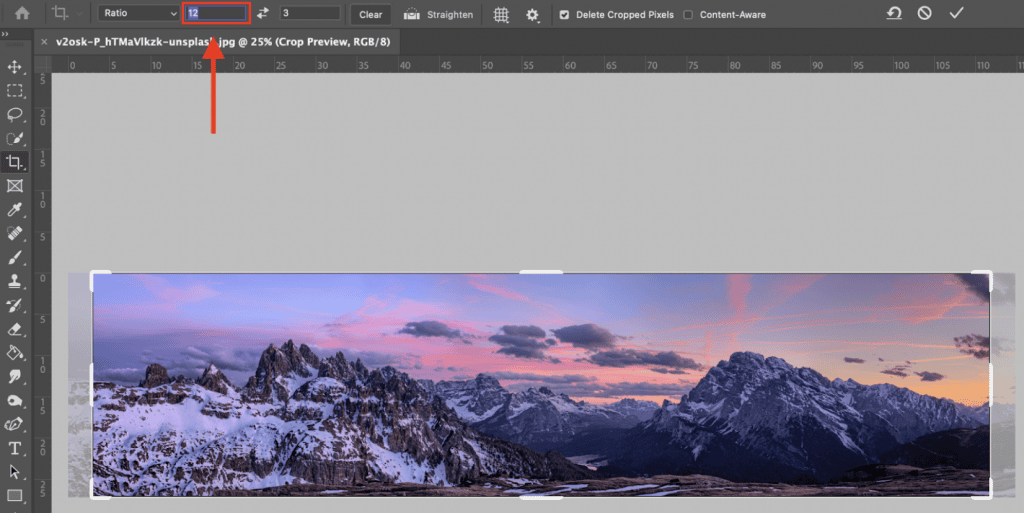
Now, we can see the overall width of the panorama and what parts will get cut off on the left and right edges. If desired, now’s the time to click and drag the crop selection either right or left, if you want to include more of one side than the other.
Then, hit enter and apply the crop.
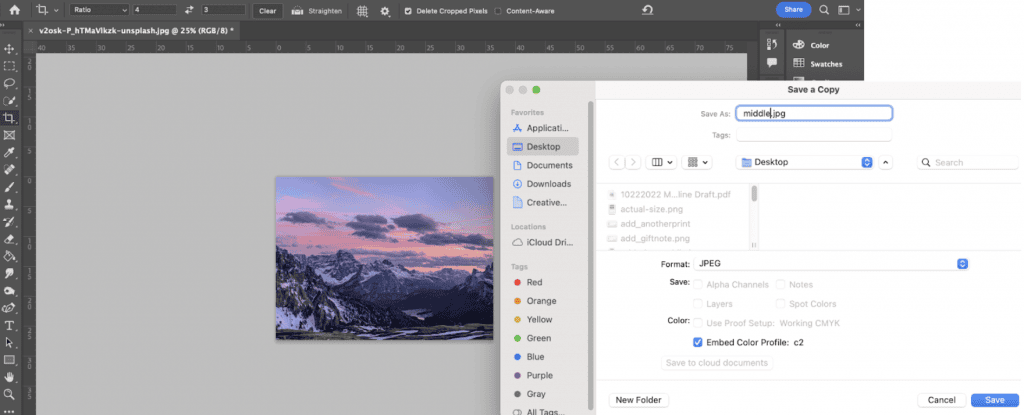
3. Save each segment as an individual image.
Now that the image is perfectly sized to fit on three rectangular glass prints as a triptych, click the crop tool again and change your crop ratio back to 4:3.
Hit enter to apply the crop to the middle, and click File > Save a Copy to save just the middle part of the image as a JPG or PNG.
Then click Edit > Undo (CMD + Z) to undo the crop you just made and restore the portions of the panorama you just cropped out. Repeat the cropping for the left and then right side, to save each part as a separate image file.
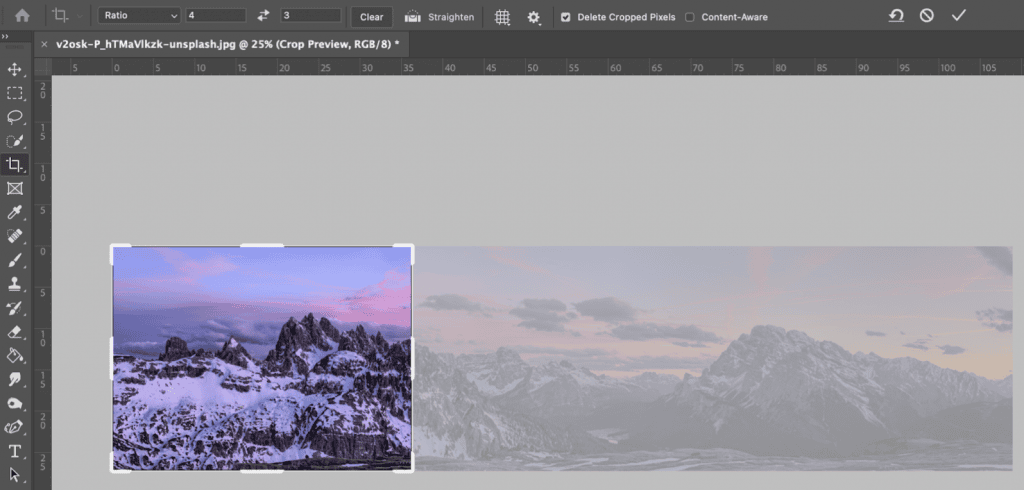
Pro tip: Make sure you have View > Snap on when moving the crop selection to the left and right. This will automatically snap your crop precisely to the edge of the print so that you don’t accidentally move your selection too far.
Voila! The panorama is split and saved as three separate images on my desktop, and they’re ready to upload to our site. We’re on our way to having our very own triptych!

Some important notes about a triptych
- Triptychs look best on larger print sizes to maximize the display space. We recommend choosing between the Classic, Large, or Extra Large print sizes.
- It’s important to use a very high quality image when printing a triptych, since the resolution of each separate part of the image must meet our minimum requirements to print clearly. (Check out our guide on File Specifications to see the minimum required pixel dimensions for each print size.)
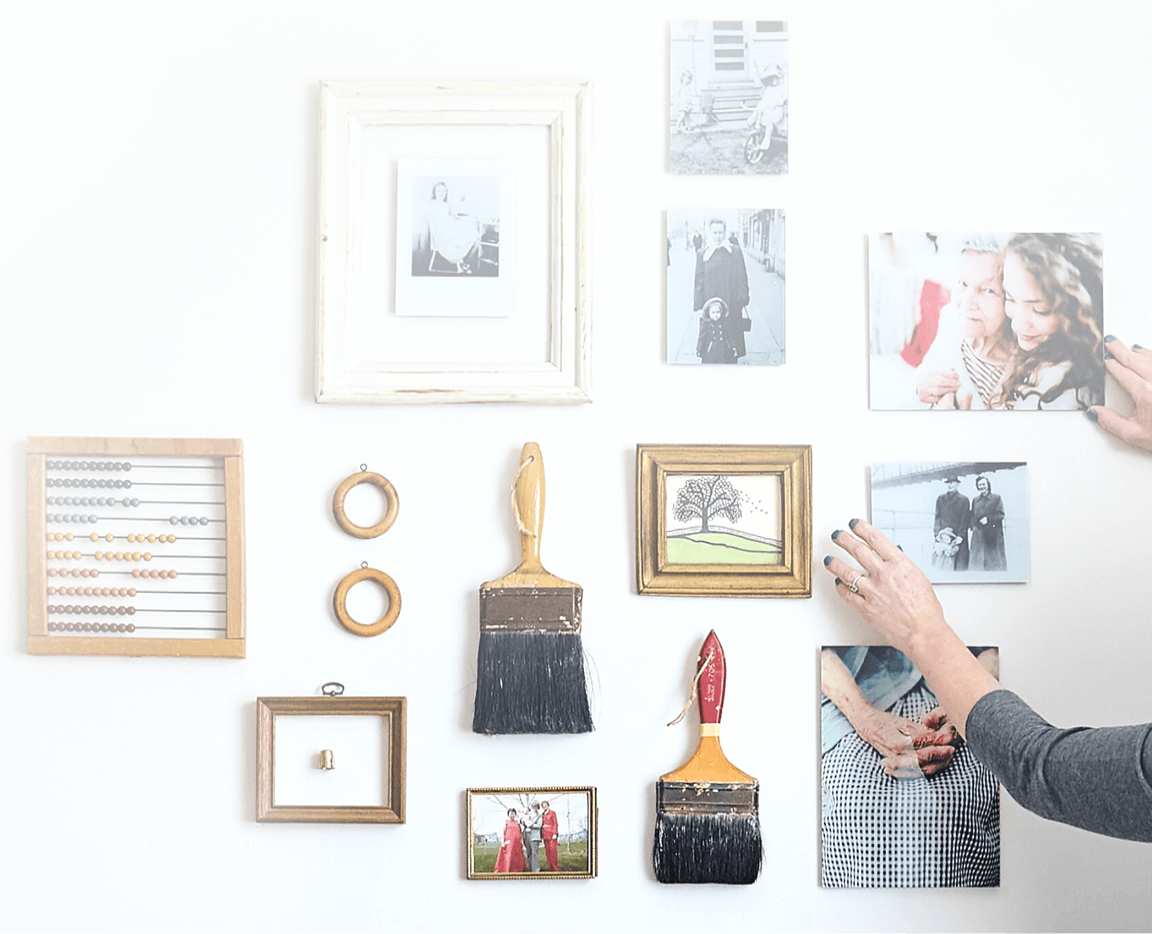
- Prints can be mounted with command strips or with the included hanging screw. Check out these tips for hanging to make sure they’re mounted evenly!
If you’re ordering a triptych and you’re not sure how it will turn out, send an email to our Customer Support Team after your order is placed. We can triple check and make sure everything looks good!


Comments