
You likely have tons of photos of cherished moments over the years, whether they’re hidden in your camera roll, on an old USB drive, or saved on SD cards. But sooner or later, many of us decide to print some of our favorite photos. (This often levels up our home decor and makes the space cozier.)
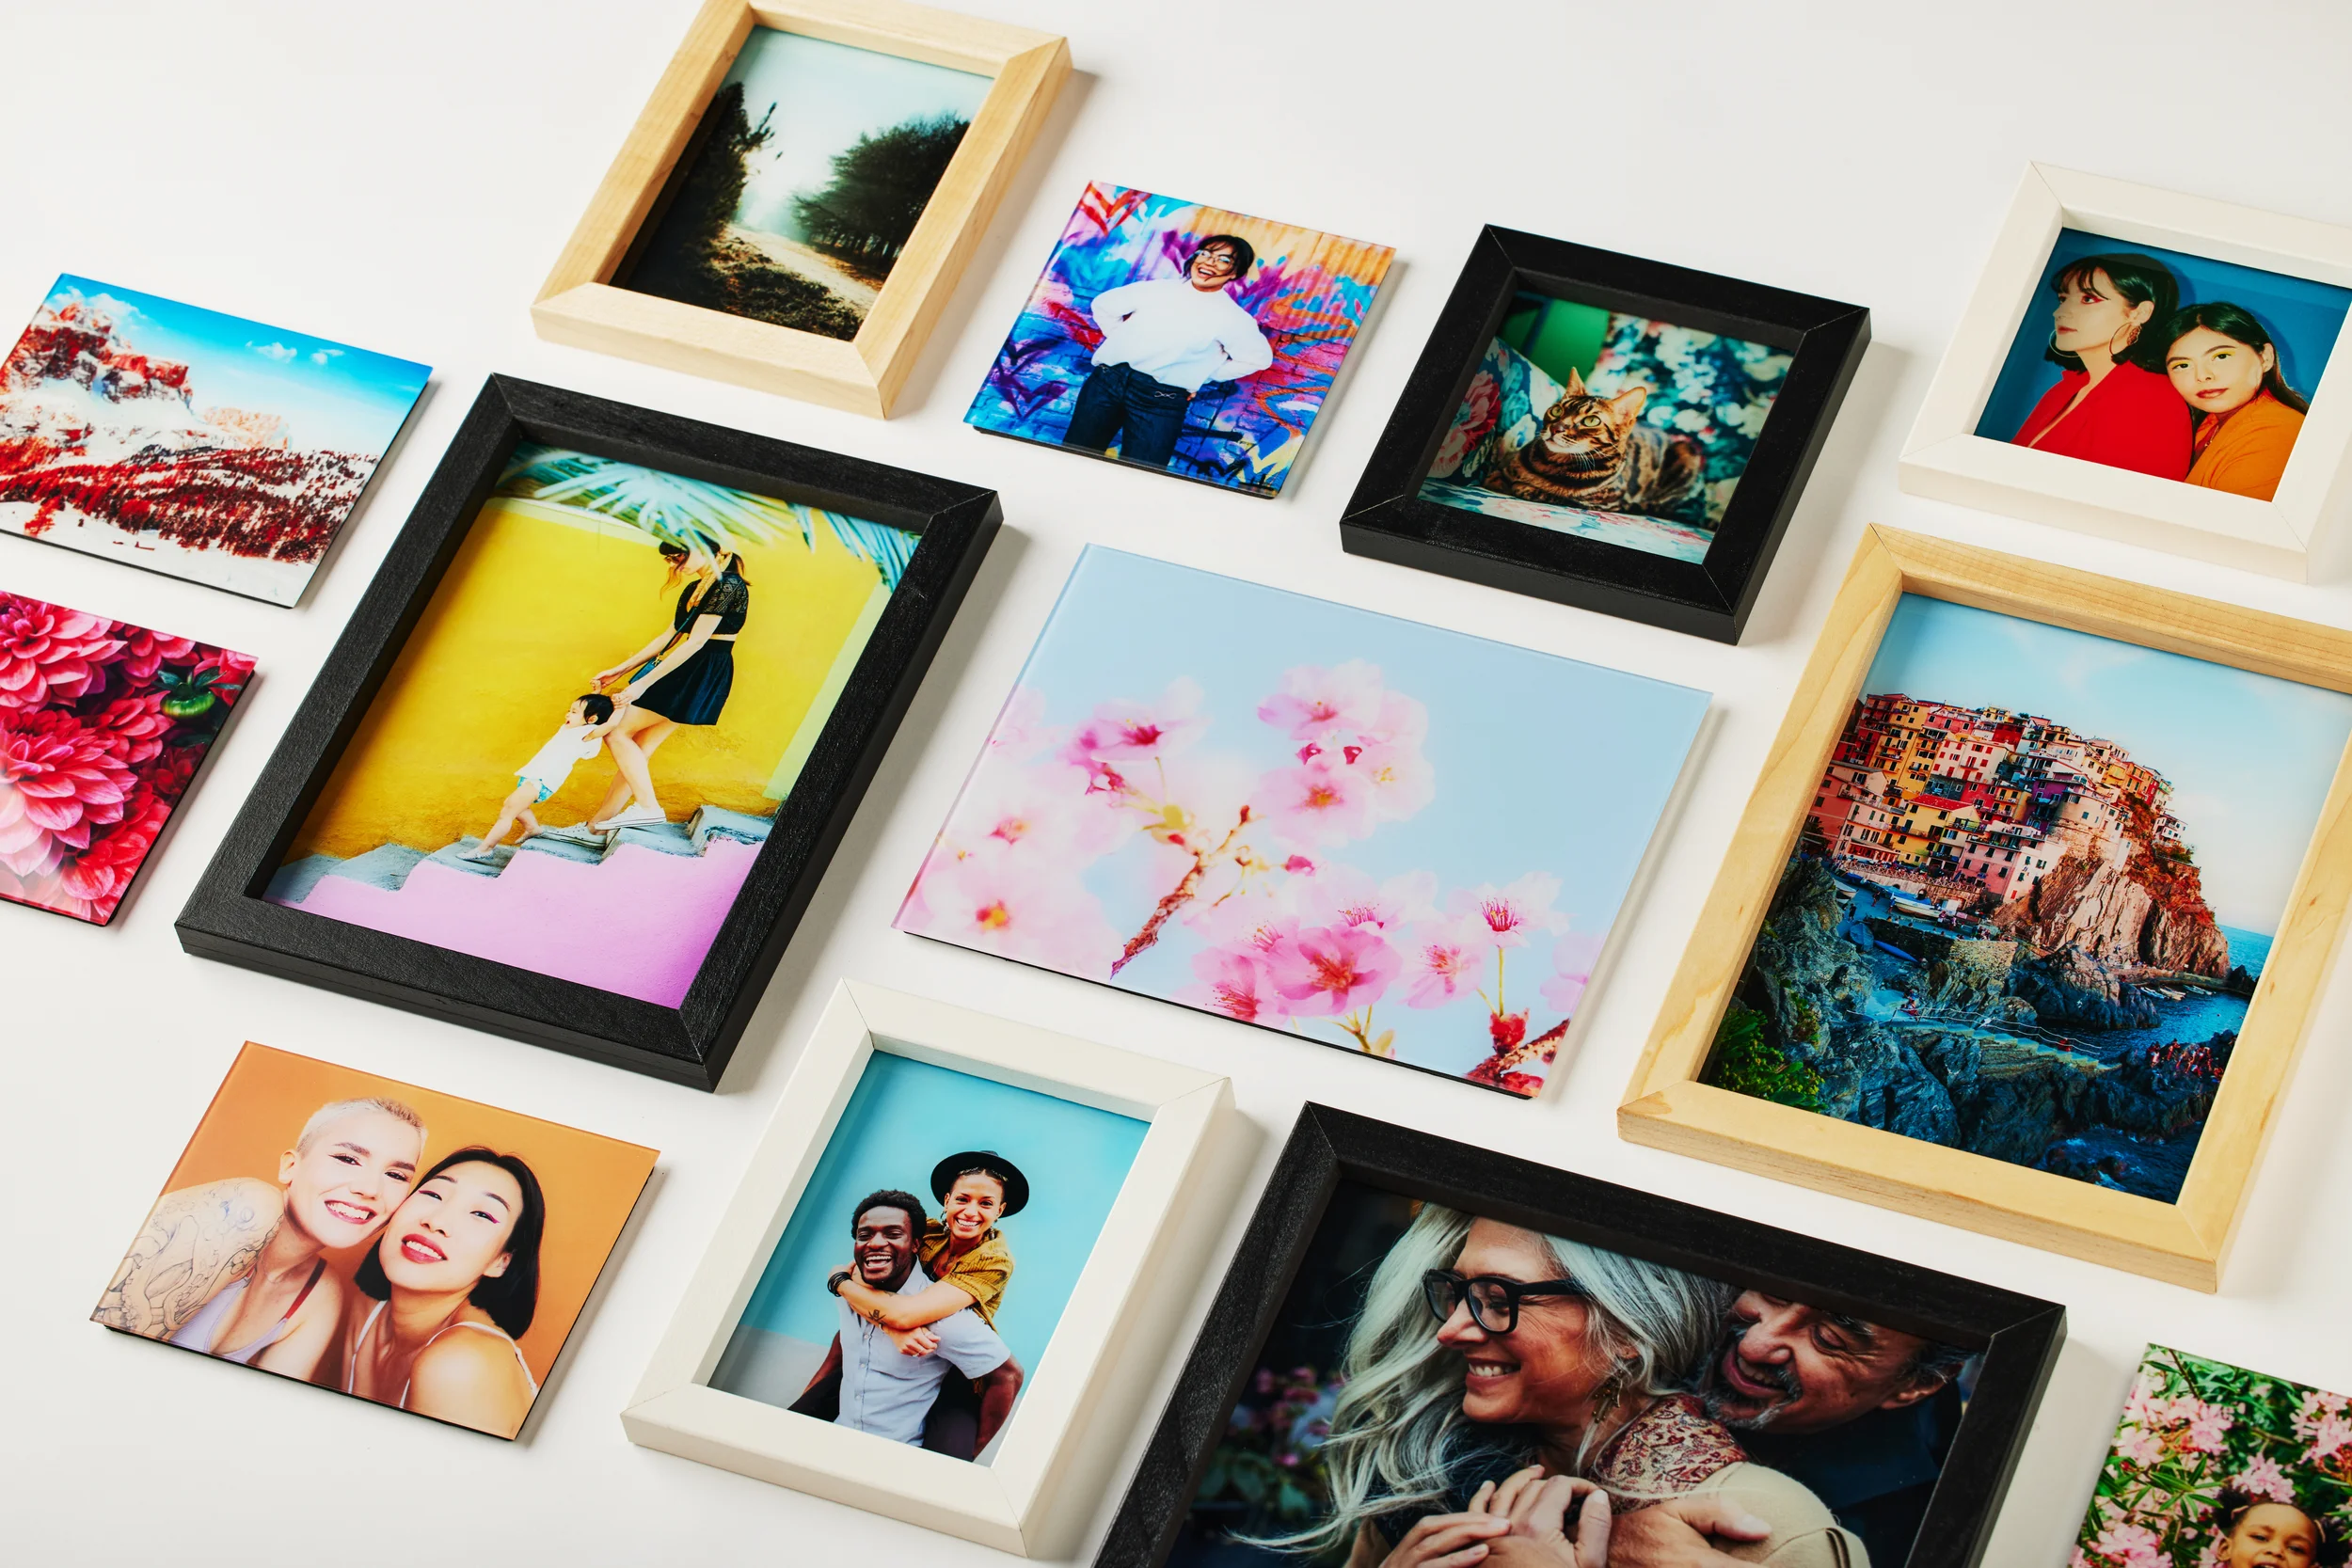
If you’ve known Fracture for a while, then you know we love using photos to personalize our homes. We believe that beautiful, glass-printed photos in various sizes—and being able to create custom layouts with them—will truly elevate a space to make a house a home.
The hang-up often comes when deciding which photos to use or group together as well as where and how to position them. Thankfully, we have a hassle-free solution: Photo Walls.
- It’s the perfect option if you have so many great photos that you can’t choose just one to print.
- Photo Walls really bring a room together by introducing a stunning statement wall. This often becomes a focal piece in the home that’s also a great conversation starter!
- Our 8 unique layouts were created to be aesthetically eye-catching, so you don’t have to think twice about design or mounting logistics.
- You can align your chosen photos to the theme of the room. (For example, you can hang a Photo Wall of your dog’s or cat’s most photo-worthy moments in a space they love hanging out in.)
It’s time to get all those photos off of digital spaces and onto your walls. And while you’re at it, update the canvas prints in your old photo albums by scanning them for printing on glass. Here’s how to create a Photo Wall from your existing photos.
Identify and upload your favorite wall-worthy photos
Digital photos
For photos that are stored in digital spaces (i.e. your laptop, computer, or a USB drive), we have some uploading best practices to aid you in creating your Photo Wall.
For optimal glass prints, upload the original image, from the original device it was first taken on. Also, be sure that wherever you’re uploading from, the photo is in its original size. (For this reason, avoid uploading pictures someone texted to you whenever possible. Texting distorts the image size, and thereby the quality).
To prevent distortion, also avoid using:
- Taking pictures of photos with your phone
- Screenshots of Facebook/Instagram photos
Instead, have the photographer (or person who took the photo) send it by email from the device it was taken with.
When it comes to size, try not to use files below 480 x 640 pixels or 500 x 500 pixels. Locating the original photo may help you find a higher-quality version. However, it is difficult to increase the size while preserving the photo’s quality if your starting resolution is too low.
Canvas prints
Hard copy or paper photo prints don’t tend to age very well. Thankfully, technology makes scanning photos easy. You can scan and digitize your photos so those memories can endure forever by:
- Using a photo-scanning app on your smartphone
- Using a photo scanner
- Using a service that will digitize your photos for you (such as Legacybox, a service that takes your analog media like photos, slides, VHS tapes and more, digitizes it all, and sends it back).
Once your photos are scanned to your digital devices, you can upload them by following the instructions for digital photos outlined above. These photos could be perfect for businesses that can benefit from wall art.

Uploading your photos in Photo Walls editor
Ready to design your personalized Photo Wall? Follow these simple steps to get started:
1. Visit the Photo Walls Main Page: Head over to our Photo Walls section to begin your creation.
2. Select Your Layout: Choose the layout that resonates with you and fits the number of photos you want to showcase. Our Fracture Photo Wall layouts accommodate 3 to 6 prints, depending on the design.
3. Unique Layout Names: Did you know? Our Photo Wall names are inspired by Fracture pets, adding a touch of charm to your custom creation!
Create a stunning, personalized statement wall with ease. Start your Photo Wall journey today!
For whichever layout you choose, first decide where in your home you want to display your Photo Wall. Next, measure the total amount of space available for that particular wall. Keep in mind that our suggestion for the optimal distance between glass prints is 1.5 inches. We also include the estimated total dimensions of each Photo Wall under their product descriptions to ensure accurate measuring.
Decide on a theme for your Photo Wall
The beauty of Photo Walls is that you can make your photos as eclectic or coordinated as you want. And when you have tons of existing photos to choose from, the creative possibilities are endless. Here are a few ideas to give you some inspo:
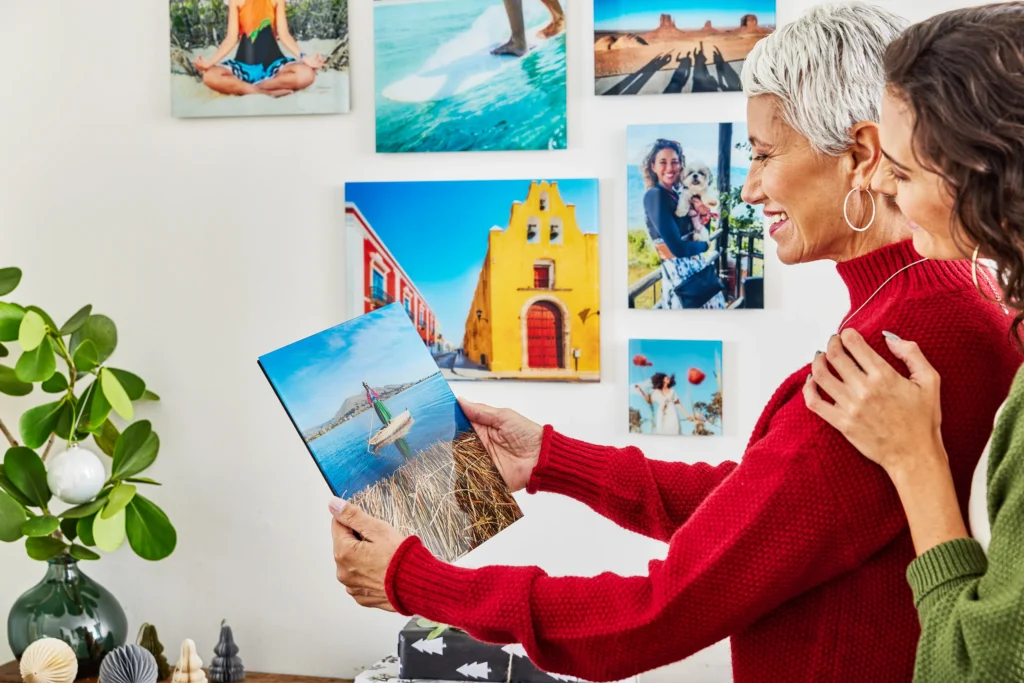
Our best times
We all have amazing family memories memorialized in photos. Whether it’s a family reunion, a Caribbean family vacation, or Christmas mornings, those moments deserve to be admired on your walls. Create an “our best times” Photo Wall that depicts these fond memories. The family room is an excellent place for this; it’ll give everyone a warm, fuzzy feeling in the room your family spends the most time in together.
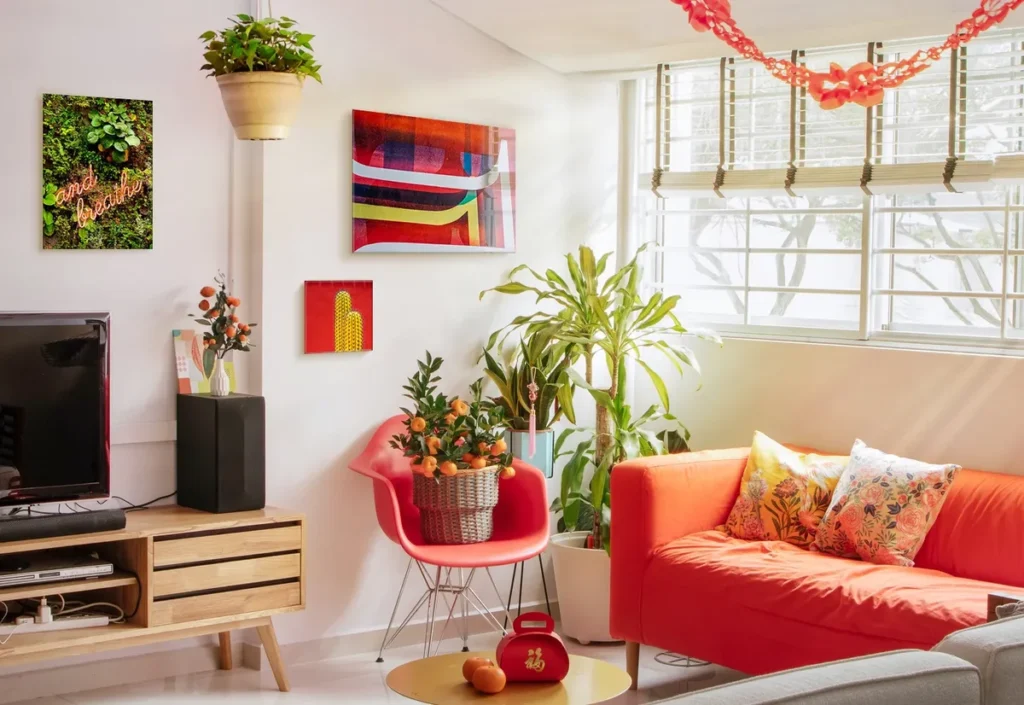
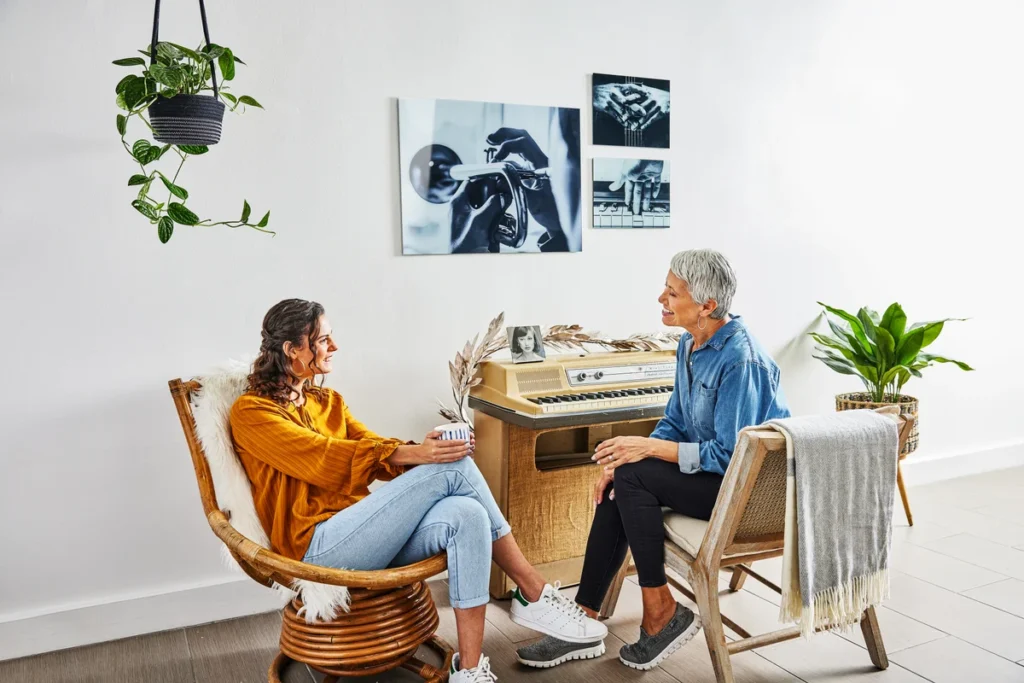
Art appreciation
Do you get inspired by seeing other people’s art around you? Create a Photo Wall of pieces by your favorite digital artist on Etsy. (Note: Make sure you have the rights to print the art after purchase.) Are you an artist yourself? Scan your own art into a digital file for upload.
You can place this Photo Wall in a colorful room that has eccentric decor. A Photo Wall like this ties in well with a room where you like to get artsy, such as a piano room or a quiet nook where you enjoy painting or writing. This is sure to get the creative juices flowing!
Organize your life
If you want a productivity and motivation boost, here’s a helpful tip for you. Did you know you can print calendars, to-do lists, and other organizational resources on glass? If you have physical copies of these organizers that you like to use, you can include these in your Photo Wall. (As long as the file sizes are compatible, this is a great way to keep your life tracking items all in one place.)
An organization Photo Wall can include a blank shopping list you can write on using a standard Expo dry-erase marker. Or a weekly schedule you can fill in each week to keep track of plans. The kitchen area or a home office is a good place to put this type of Photo Wall.
The best part of Photo Walls? We take the stress off your hands by making photo gallery walls easy. All you have to do is choose a layout, upload your existing photos, and we’ll deliver your Photo Wall, ready to hang. To aid you, Each Photo Wall comes with a paper template that shows you exactly where to place each screw, so you can ensure your prints will be perfectly spaced. Everything you need to mount your Fracture prints is included in the packaging (all you need is a screwdriver).
We can’t wait to see yours! Create a Photo Wall today.


Comments