
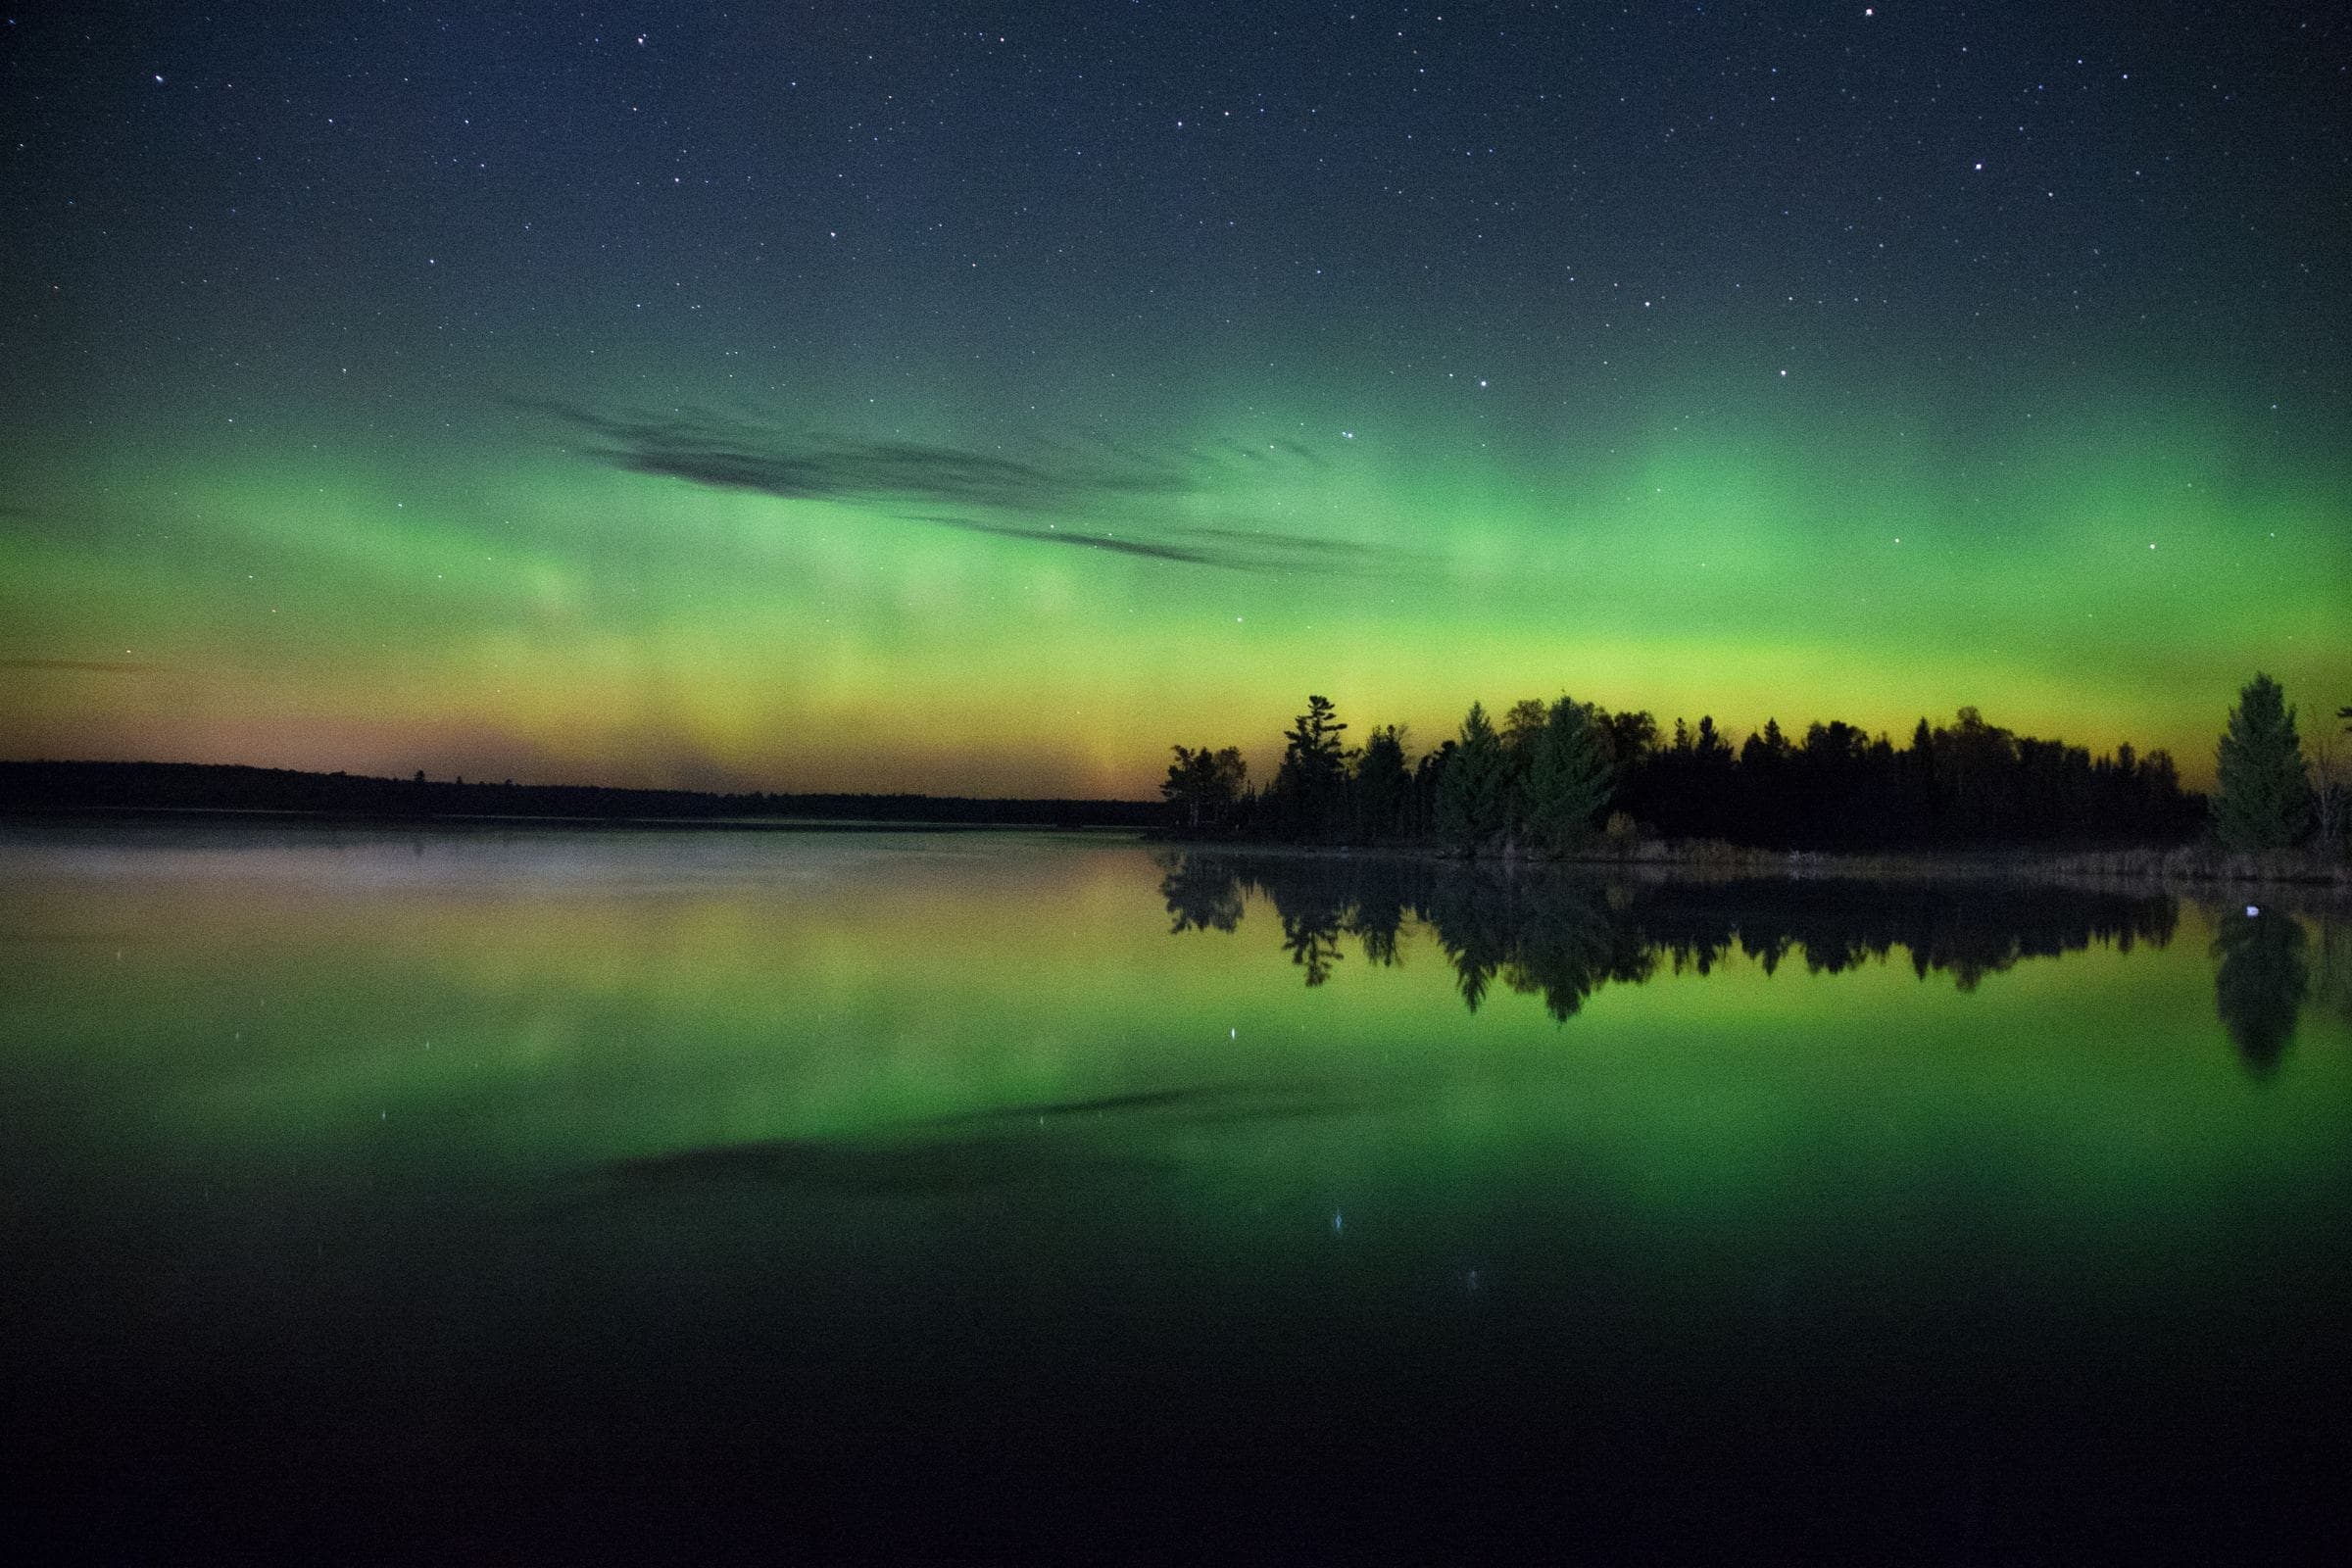
Spring is almost here! Soon, many will **step out** from their winter hideaways, begin **preparing the soil**, and enjoy the great outdoors as flowers **start to bloom**. Best of all, the warming weather **makes outdoor photography much more delightful**.
Outdoor photography presents its own unique set of challenges and opportunities. The beauty of Mother Nature is that she is untamed and random. But for a photo shoot, we do our best to predict the unpredictable.
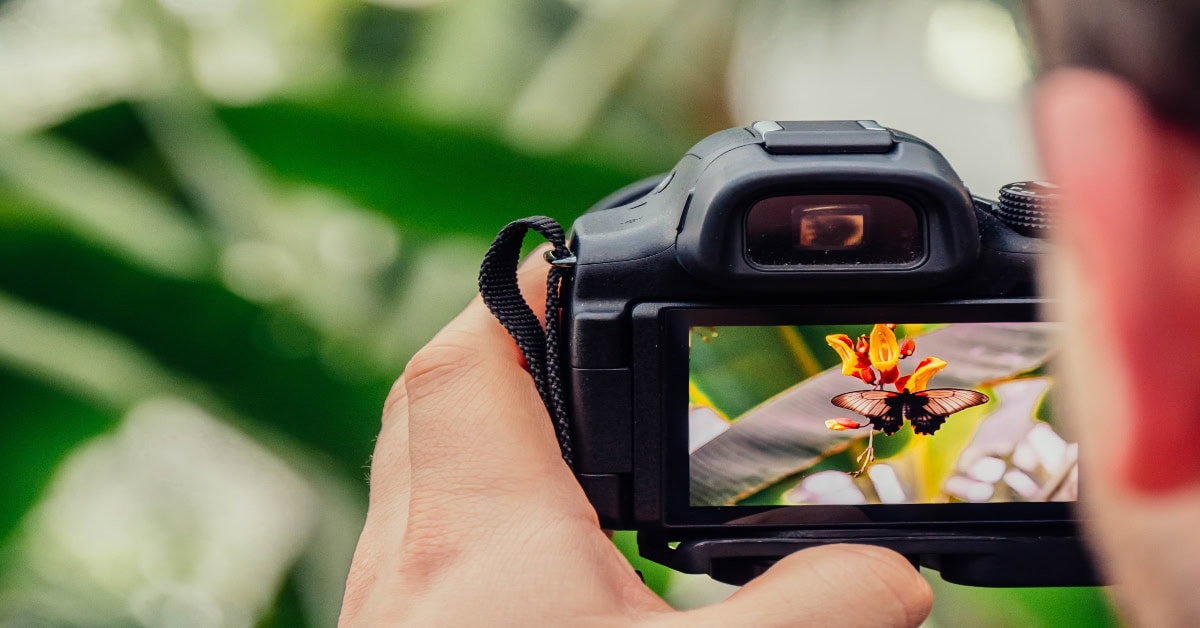
To capture display-worthy photos outdoors, follow these beginner tips for DSLR and iPhone cameras.
Pack the right equipment for the occasion
We’ve said it before and we’ll say it again: Equipment is key. Your packing list for an outdoor shoot should include anything that will help you (and your camera) withstand uneven ground, sunlight, inclement weather, and the finite details of wild things. Whether you are taking photos with your beloved DSLR or with your iPhone camera, your equipment needs will vary a little bit.
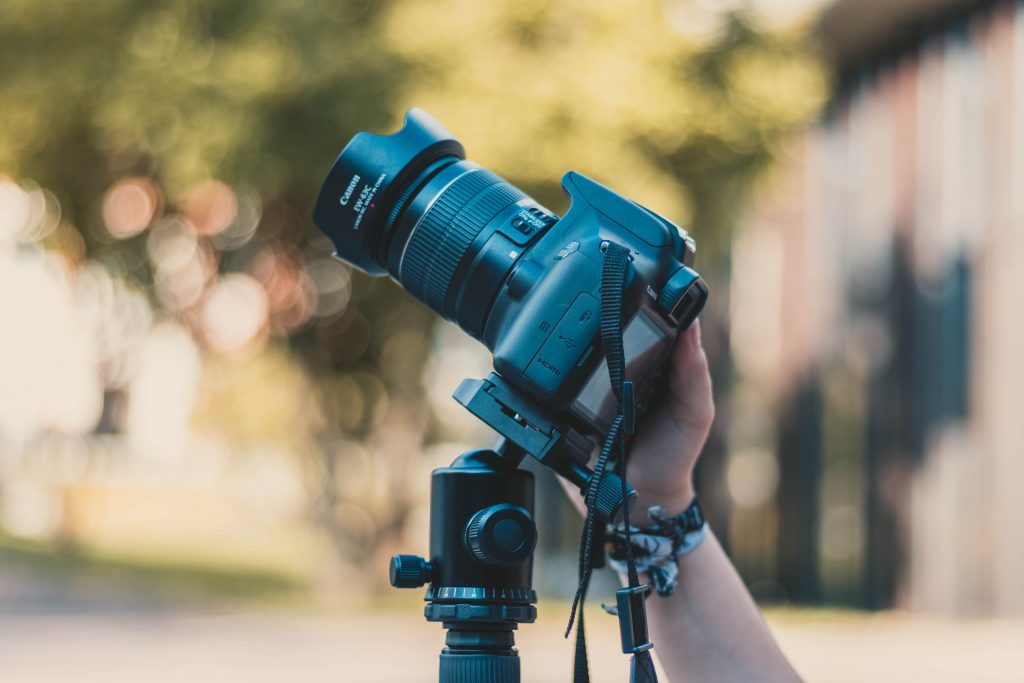
Equipment for a DSLR
Call in the help of a tripod, which will easily become your best friend during an outdoor shoot. It will stabilize your camera if you are standing shakily on uneven ground, allow you to take timed photos of yourself (solo or with loved ones), and will reduce blurriness in low-light shots. You’ll want something sturdy with a built-in level. Avoid metal if you plan to shoot outdoors in the winter.

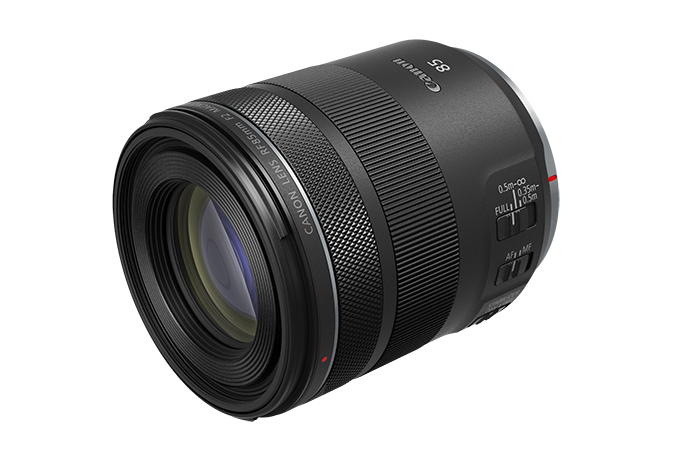
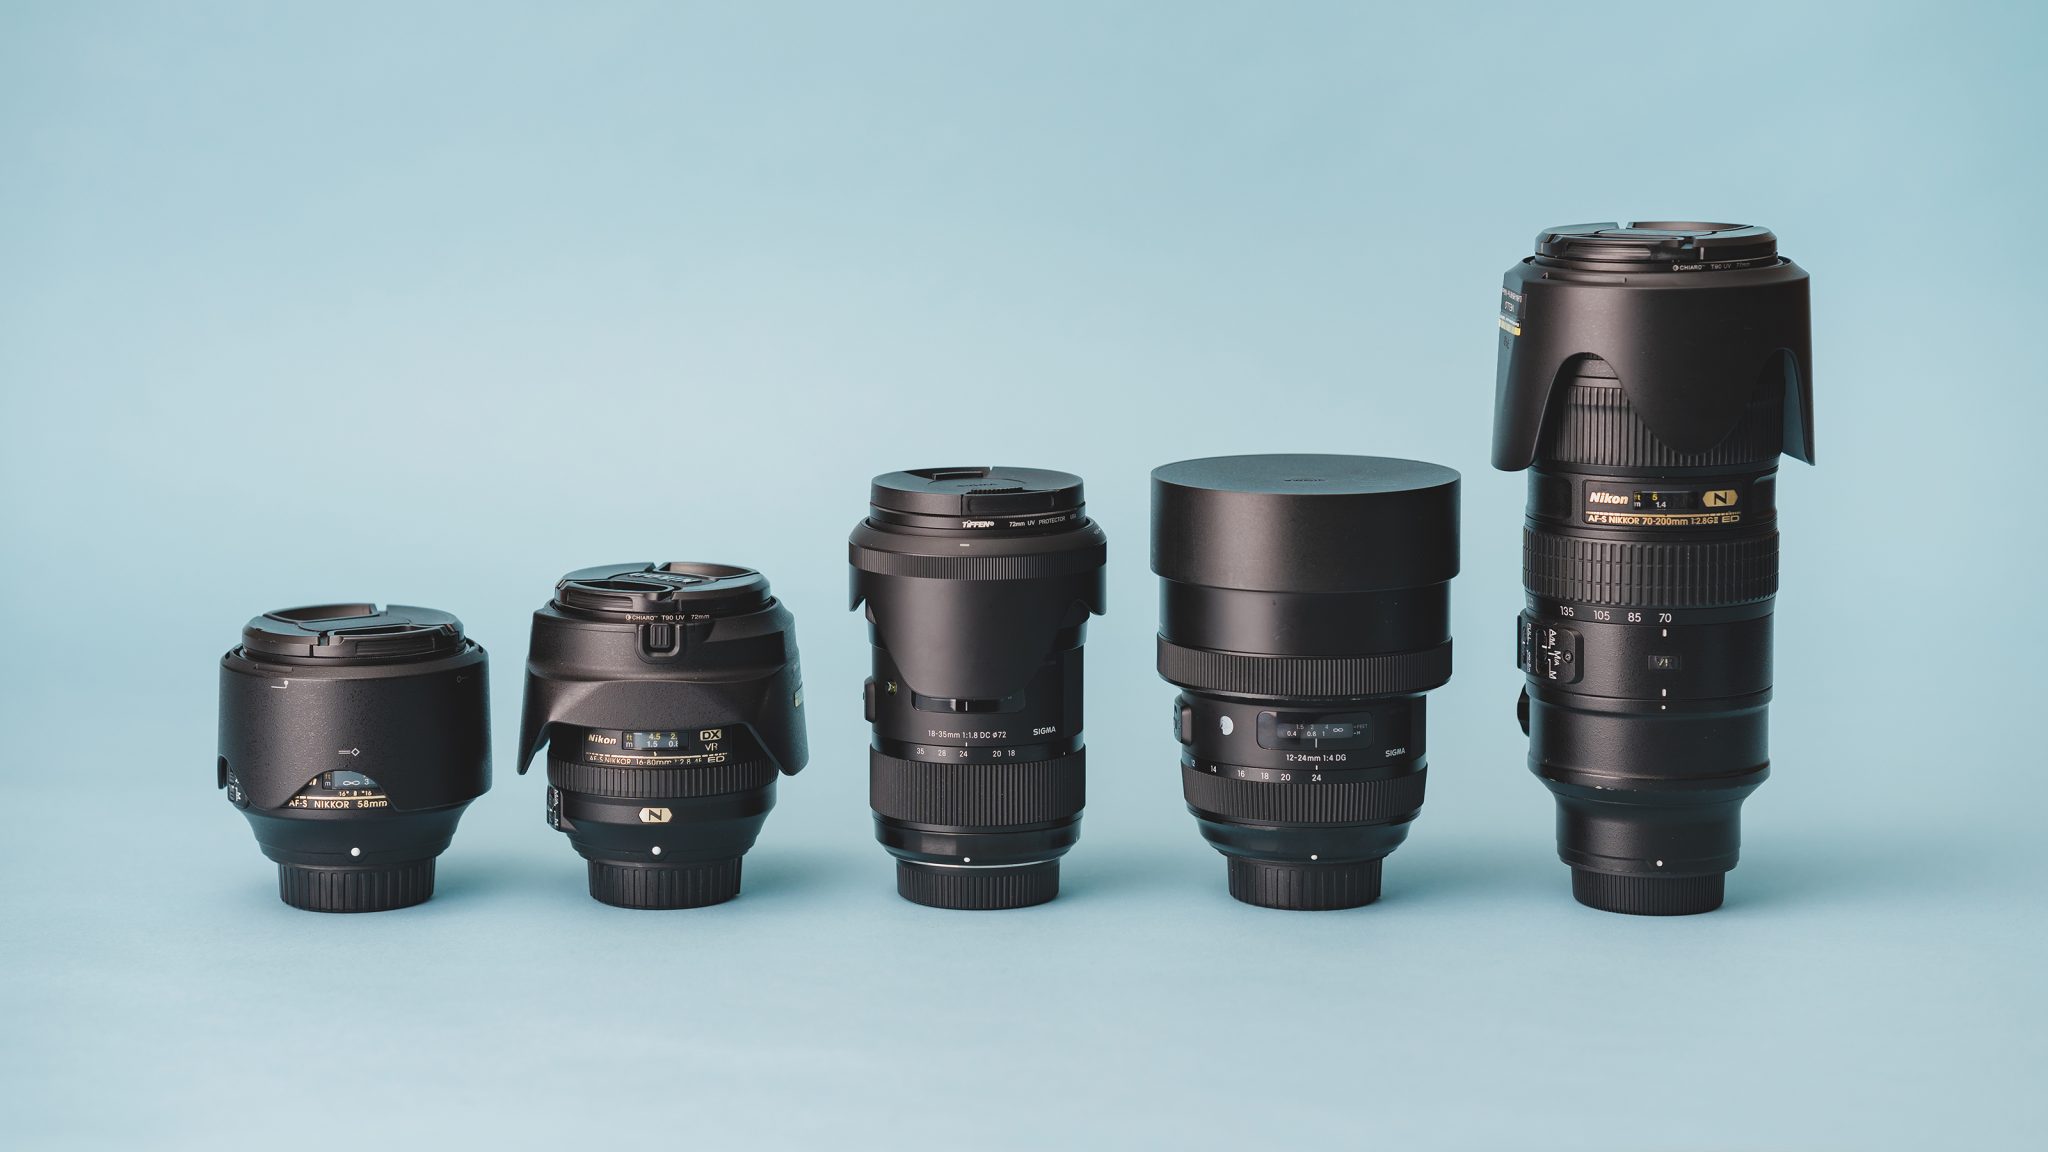
There’s always an excuse to buy a new lens. Here’s another one: The good ol’ “nifty fifty,” a 50 mm lens with a low f-stop around f1.8, is well-known for taking great portraits. It also makes for great landscape photography, especially for beginners. It’s clear, sharp, and will challenge you to think differently about what a landscape shot looks like. Picture this: a single leaf in focus with a dramatically blurred backdrop of an entire focus that otherwise blends right in. It’s also a more affordable lens with a low f-stop, and can create great depth in photos, even in low light.
A macro lens is another handy tool to add to your camera bag. It is the best way to get up-close-and-personal with the Great Outdoors. The pros will use a macro lens to get those unreal, “How can you even see that?” shots straight from a nature documentary. With these, you can get much closer to your subject without sacrificing the sharp focus you want. For macro lenses, a higher focal length (the number in millimeters in the camera descriptions) indicates how far away you’ll need to be from your subject. For most scenarios, lower is better.
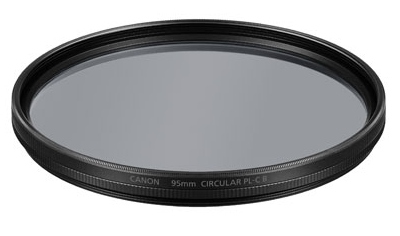
In the department of working with and around natural light, there are two relatively inexpensive tools you might want to pick up. The first is a polarizing filter. This will drastically reduce the glare you get from the sun reflecting off water, snow, smooth surfaces, or even your own camera.
The second thing you might like to play around with is a light reflector. They work the same way as the heat deflector you put in your car windshield in the summer. In photography, they can turn you into a light-bender. In other words, you can manipulate your subjects’ lighting by giving the light another surface to bounce off of. (The color white reflects light. The color black absorbs it.) This will help you soften harsh lighting and shadows.
Equipment for an iPhone
Your iPhone is the most powerful computer to ever fit in the palm of your hand. But it has its limitations; your camera is not as customizable. The good news is that there are ways to get around it.
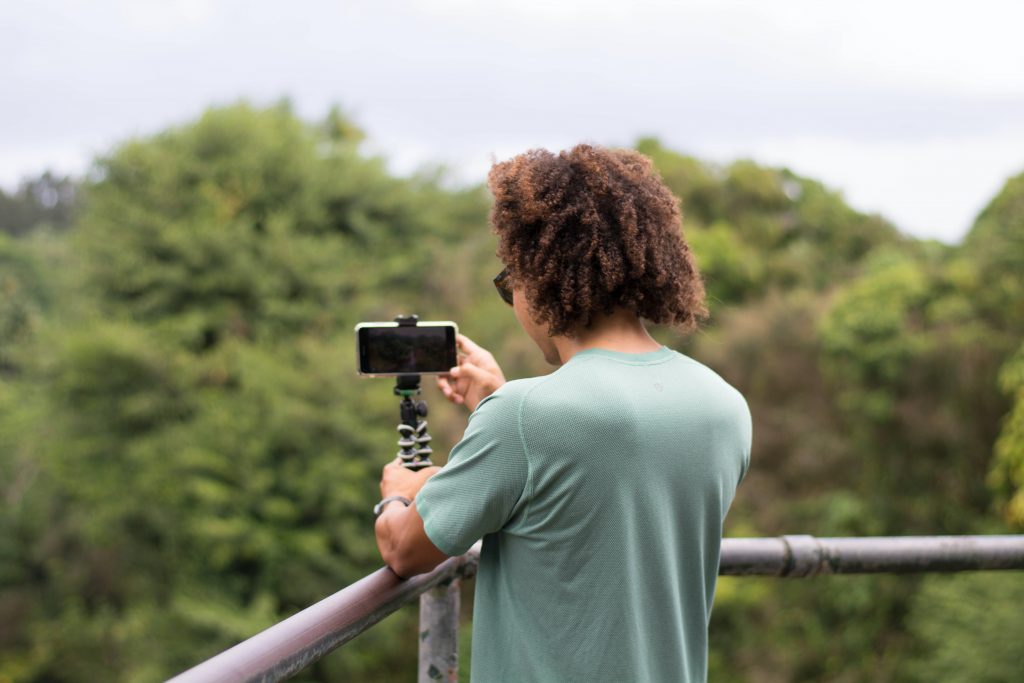
For starters, you’ll definitely want a tripod as well. iPhone cameras don’t have finite shutter speed and aperture settings like a DSLR, so it’s critical to be able to stabilize your camera to ensure the sharpest shots. Even though your iPhone is significantly more lightweight than a DSLR, you’ll still want something sturdy. It is no easy feat to replace a broken mobile phone these days, and you don’t want to risk something flimsy that will blow over with a gust of wind.
Believe it or not, you can buy lenses for your iPhone, too. They typically go over the built-in lens on your phone, so no assembly is required. They can be pretty affordable, but make sure you purchase something that won’t damage your phone lens. Many come in packs, where you can have interchangeable wide angle, macro, and fisheye lenses that fit in a little baggie in your pocket. Use these to add some flare to your photos.
Your settings are the recipe
Outdoor photography will require you to be quite agile with your settings. When a cloud passes over the sun, you’ll have completely different lighting. If you’re on a nature walk shooting flora and all of a sudden a deer passes by, you’ll need to quickly adjust to best capture a moving subject. Think of the settings like the ingredients of your photo—it’s the recipe, the flavor, and the spice.
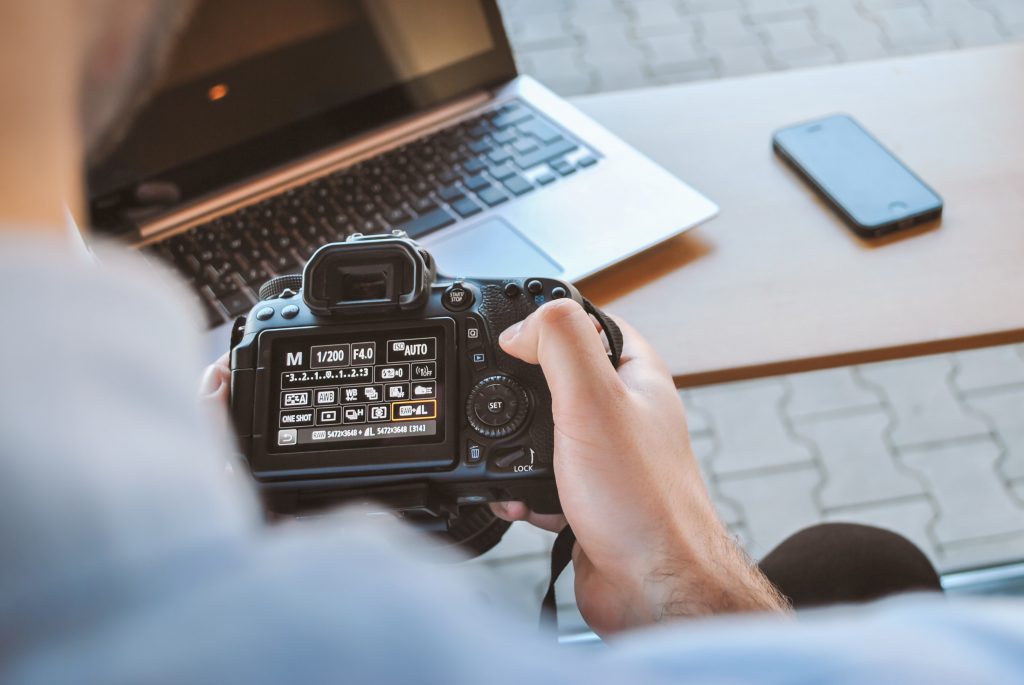
Settings for a DSLR
The Basics
Let’s define the basics so everyone is up to speed. To boil it down for beginners: Aperture is for lighting and blur, shutter speed is for motion and lighting, and ISO is for lighting and detail (read: graininess). These are your big three, and they are very important for the ever-changing environment of outdoor photography. Always run some test shots with different settings before you get into shooting (the best way to learn your way around your DSLR). Search for a YouTube tutorial of your specific camera to get started.
White Balance
White balance is a setting many beginners underestimate. This is an incredibly useful setting outdoors as your lighting changes throughout the day and as you move around. It sets the hue for your photos, and your setting should match your main light source. There are usually options for incandescent and fluorescent bulbs, direct sunlight, flash, cloudy sky, and shade. Makes sense, right?
Shooting in RAW
Here’s one you’ll thank us for later: Shoot in RAW instead of JPEG. You can think of RAW photos as the uncompressed “ingredients” in the photo. When you upload your photos to your computer, you won’t lose any of the “ingredients” that you would have if it was compressed into a smaller JPEG file. This also makes for the highest resolution possible for printing. Whether you’re shooting fairytale woods or a churning ocean, shooting in RAW will allow you to preserve all the precious little details that make outdoor photography special.
Auto vs. Manual Focus
With a scene as luscious as the wilderness, there can be a lot to focus on – for you and your camera. The choice between auto and manual focus is crucial here. Auto focus works well if your subject is going to be in the same place—physically and in the viewfinder—for the shoot. It’s easy enough to move the focal point, but this can limit you and lead to mishaps. There’s nothing worse than finding out your photos aren’t focused quite right when you upload them to the computer, even though they looked okay in the viewfinder. Manual focus can be your friend, but you have to get acquainted. When you look at your photos on the viewfinder, zoom in to be sure they’re focused correctly. When in doubt, get closer.
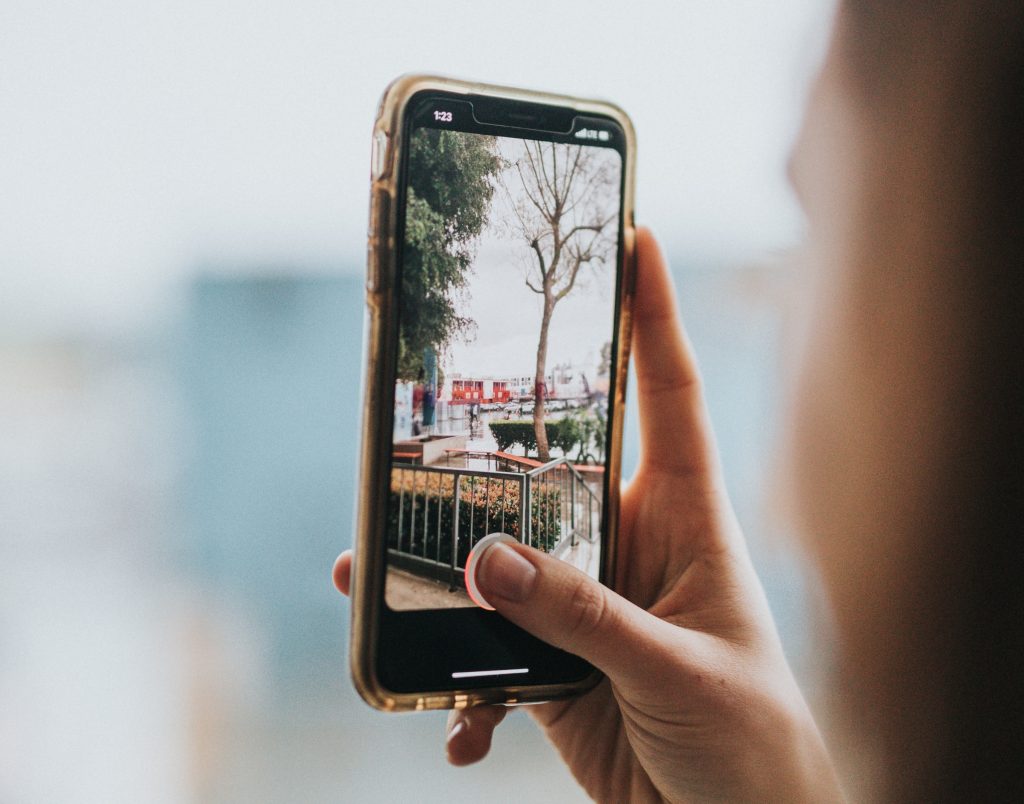
Settings for an iPhone
There are a surprising amount of customizations to use in the latest iPhone camera. You need to take advantage of this to maximize your potential for professional-quality mobile phone photos.
The first and most important tip is to not use a filter. The iPhone camera, like many other smartphone cameras, has filter options on the app that allow you to change the hue, saturation, etc. of your photos. If you’re going to add a filter at all, save it for after. For outdoor photography, you’re better off using an editing app like Lightroom.
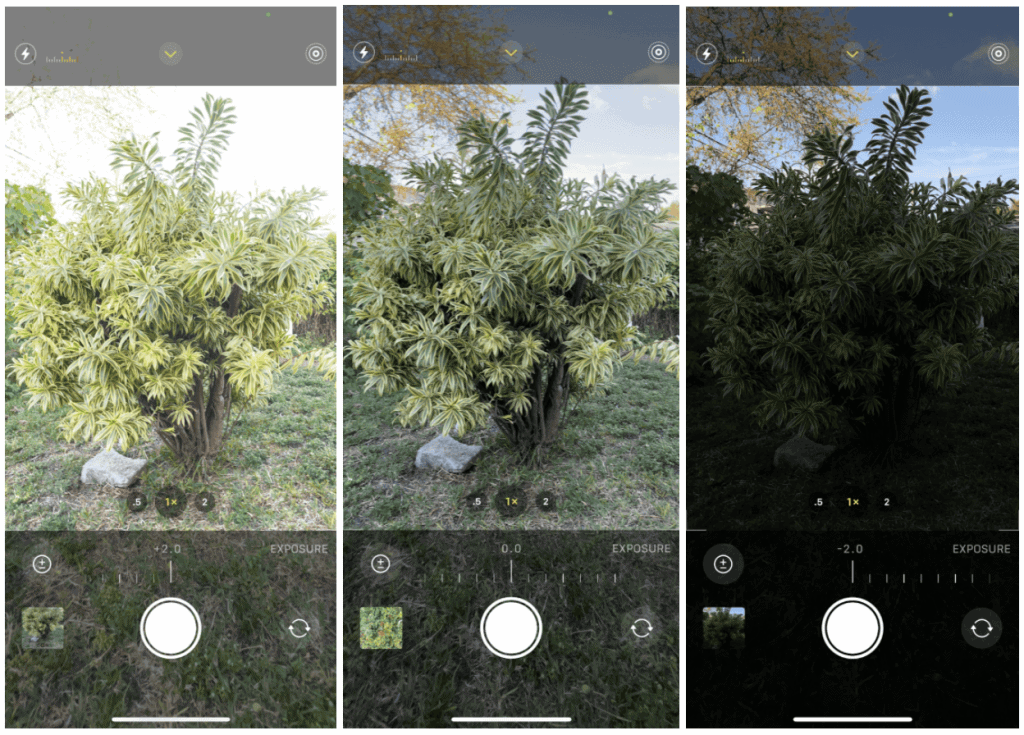
You can also change the exposure on your iPhone, which gives an effect somewhat like a DSLR camera. In the camera app, if you swipe up the settings option you will see a +/- button. Adjust it to minimize harsh shadows or daylight and maximize the color quality and integrity of your image.
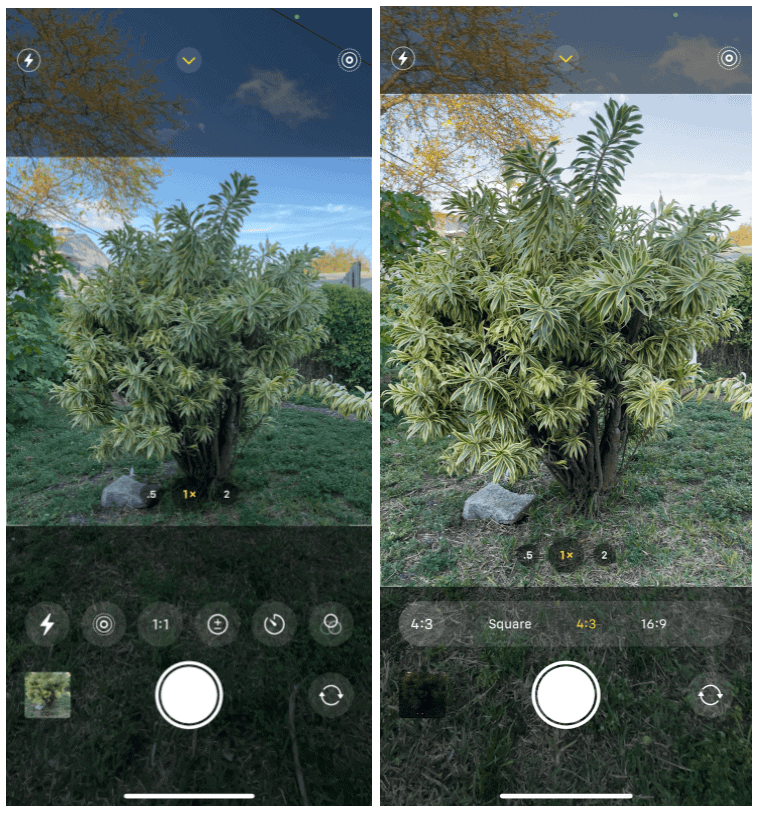
You can also utilize ratio settings in your iPhone camera app to optimize your photo for printing or posting. For a Fracture glass print, you’ll want either 1:1 or 4:3 (best taken horizontally). This setting shows you the full-frame photo with your selected ratio inside the box.
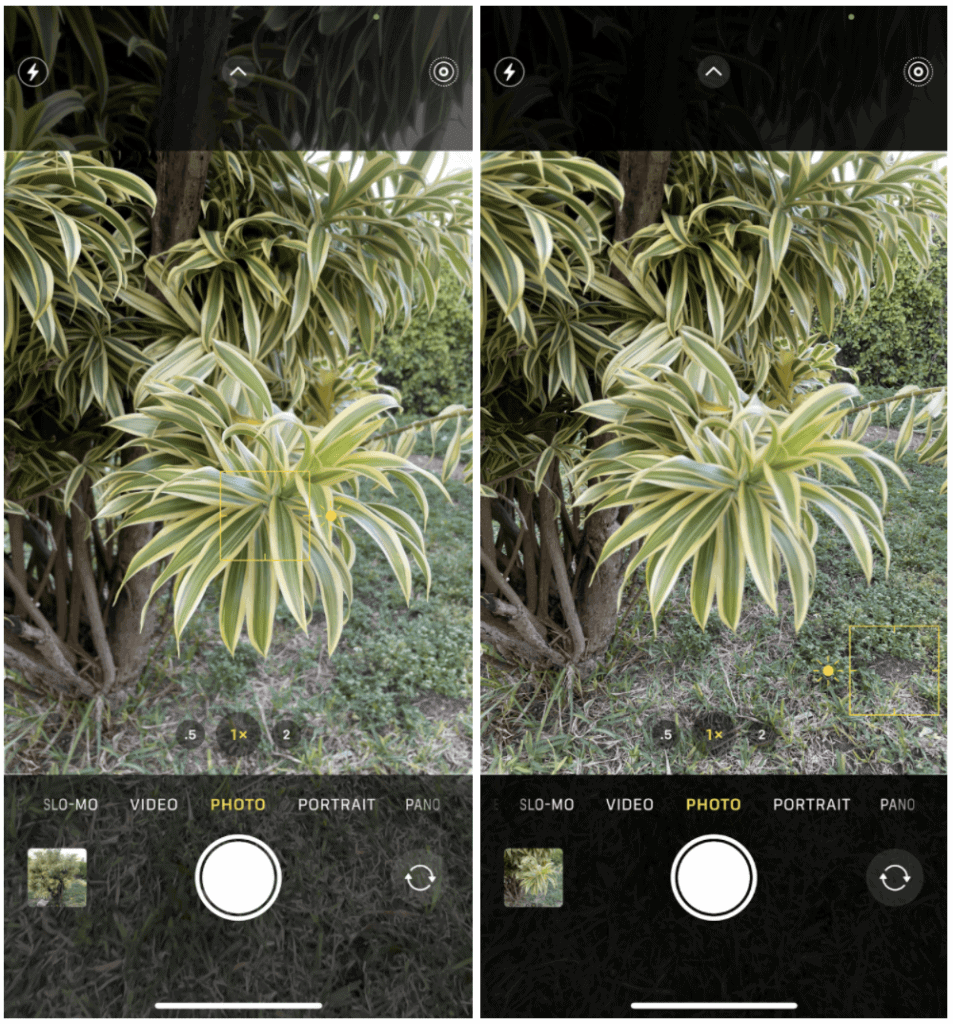
Don’t forget to utilize the advanced and very useful tap-to-focus feature of the iPhone camera. You simply tap in the area you want to focus on. It will bring your selected subject into focus and slightly blur the rest into the background. Add a little depth to your photos and call attention to your intended point of reference. It will also auto-adjust your exposure to whatever your focal point needs.
Bonus Tip: Infuse magic into your photos by shooting during “magic hour” or “golden hour.” This occurs about one hour before sunset and after sunrise. This is every photographer’s dream lighting. On the opposite end, avoid the midday sun. It can be really harsh and create unwanted shadows. You can diffuse light by using the lighting tools we went over in this article, or by physically stepping into a shadow while you shoot. Happy exploring!
Whatever you do, avoid the zoom featureI . While it may be convenient to snap a quick, fleeting shot, you’re better off getting closer to your subject.
The only thing left to figure out is where to go first. Venture on with these beginner tips for outdoor photography so that you can learn how to work with even the most severe of elements, get creative and comfortable, and most importantly—experience beautiful Mother Nature. With these tools in your tool belt, you will surely snap stunning photos that you’ll want to show off.
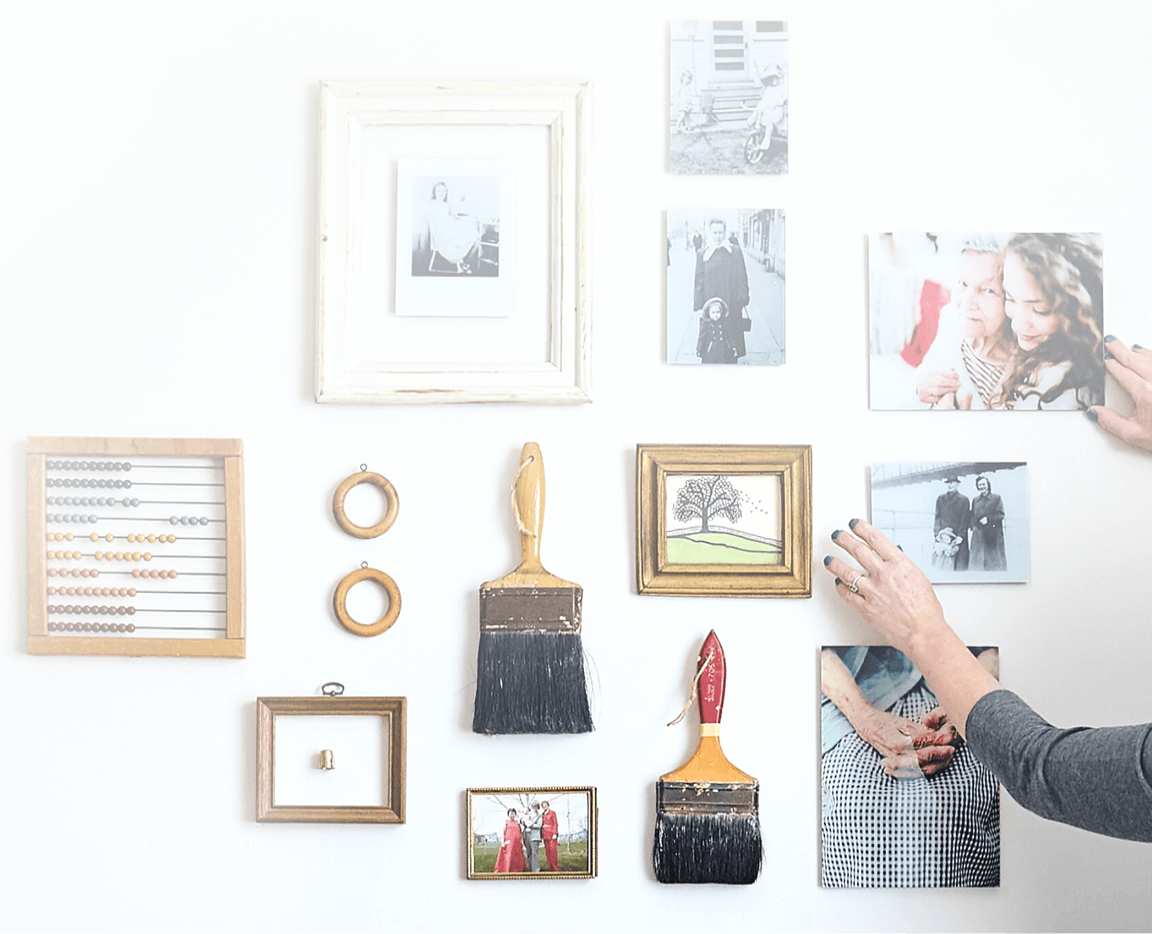
Create a Photo Wall with Fracture glass prints—in classic glossy or stylish matte—to display a vignette of your favorite outdoor excursion. And most importantly, don’t stop practicing! After all, an artist’s work is never done.
Comments