

Winter has many faces across the world, yet it often brings **coziness, relaxation, treats,** and precious moments with family and friends. Meals **full of warmth** are prepared, personal care rituals are enjoyed, and time is **savored** with loved ones.
When you’re capturing these moments this winter, pay special attention to how different they are from any other season. In other words, what does an authentic winter moment look like on camera? Consider these winter photography tips as you adjust for the weather, the new environment, and the spirit of the season.
1. Take inventory of how winter feels to you
For some, winter is a magical jubilee. But for others, it’s a time of rest and reclusiveness. Taking a moment to reflect on what winter feels like can help guide your winter photography as you capture it.
What are your winter rituals? Think about how your practices make you feel, and convey this in your visual representations. For example, is it soft and sultry or vibrant and joyful?
What is the aesthetic of the season? Imagine the color scheme in your head. It could be whites, light blues, neutrals, dark greens and browns, burgundy, and navy blue. Also, think about what the lighting looks like; how does a winter sunrise shine through your window differently than a summer sunrise? Capture these unique nuances throughout the season.
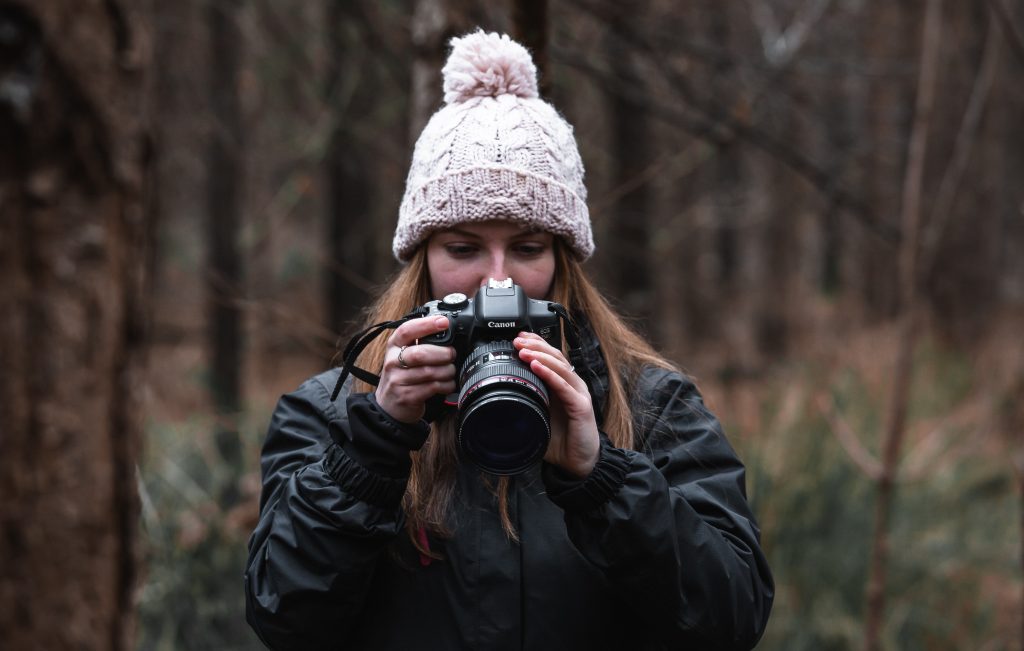
2. Bundle up and get outdoors
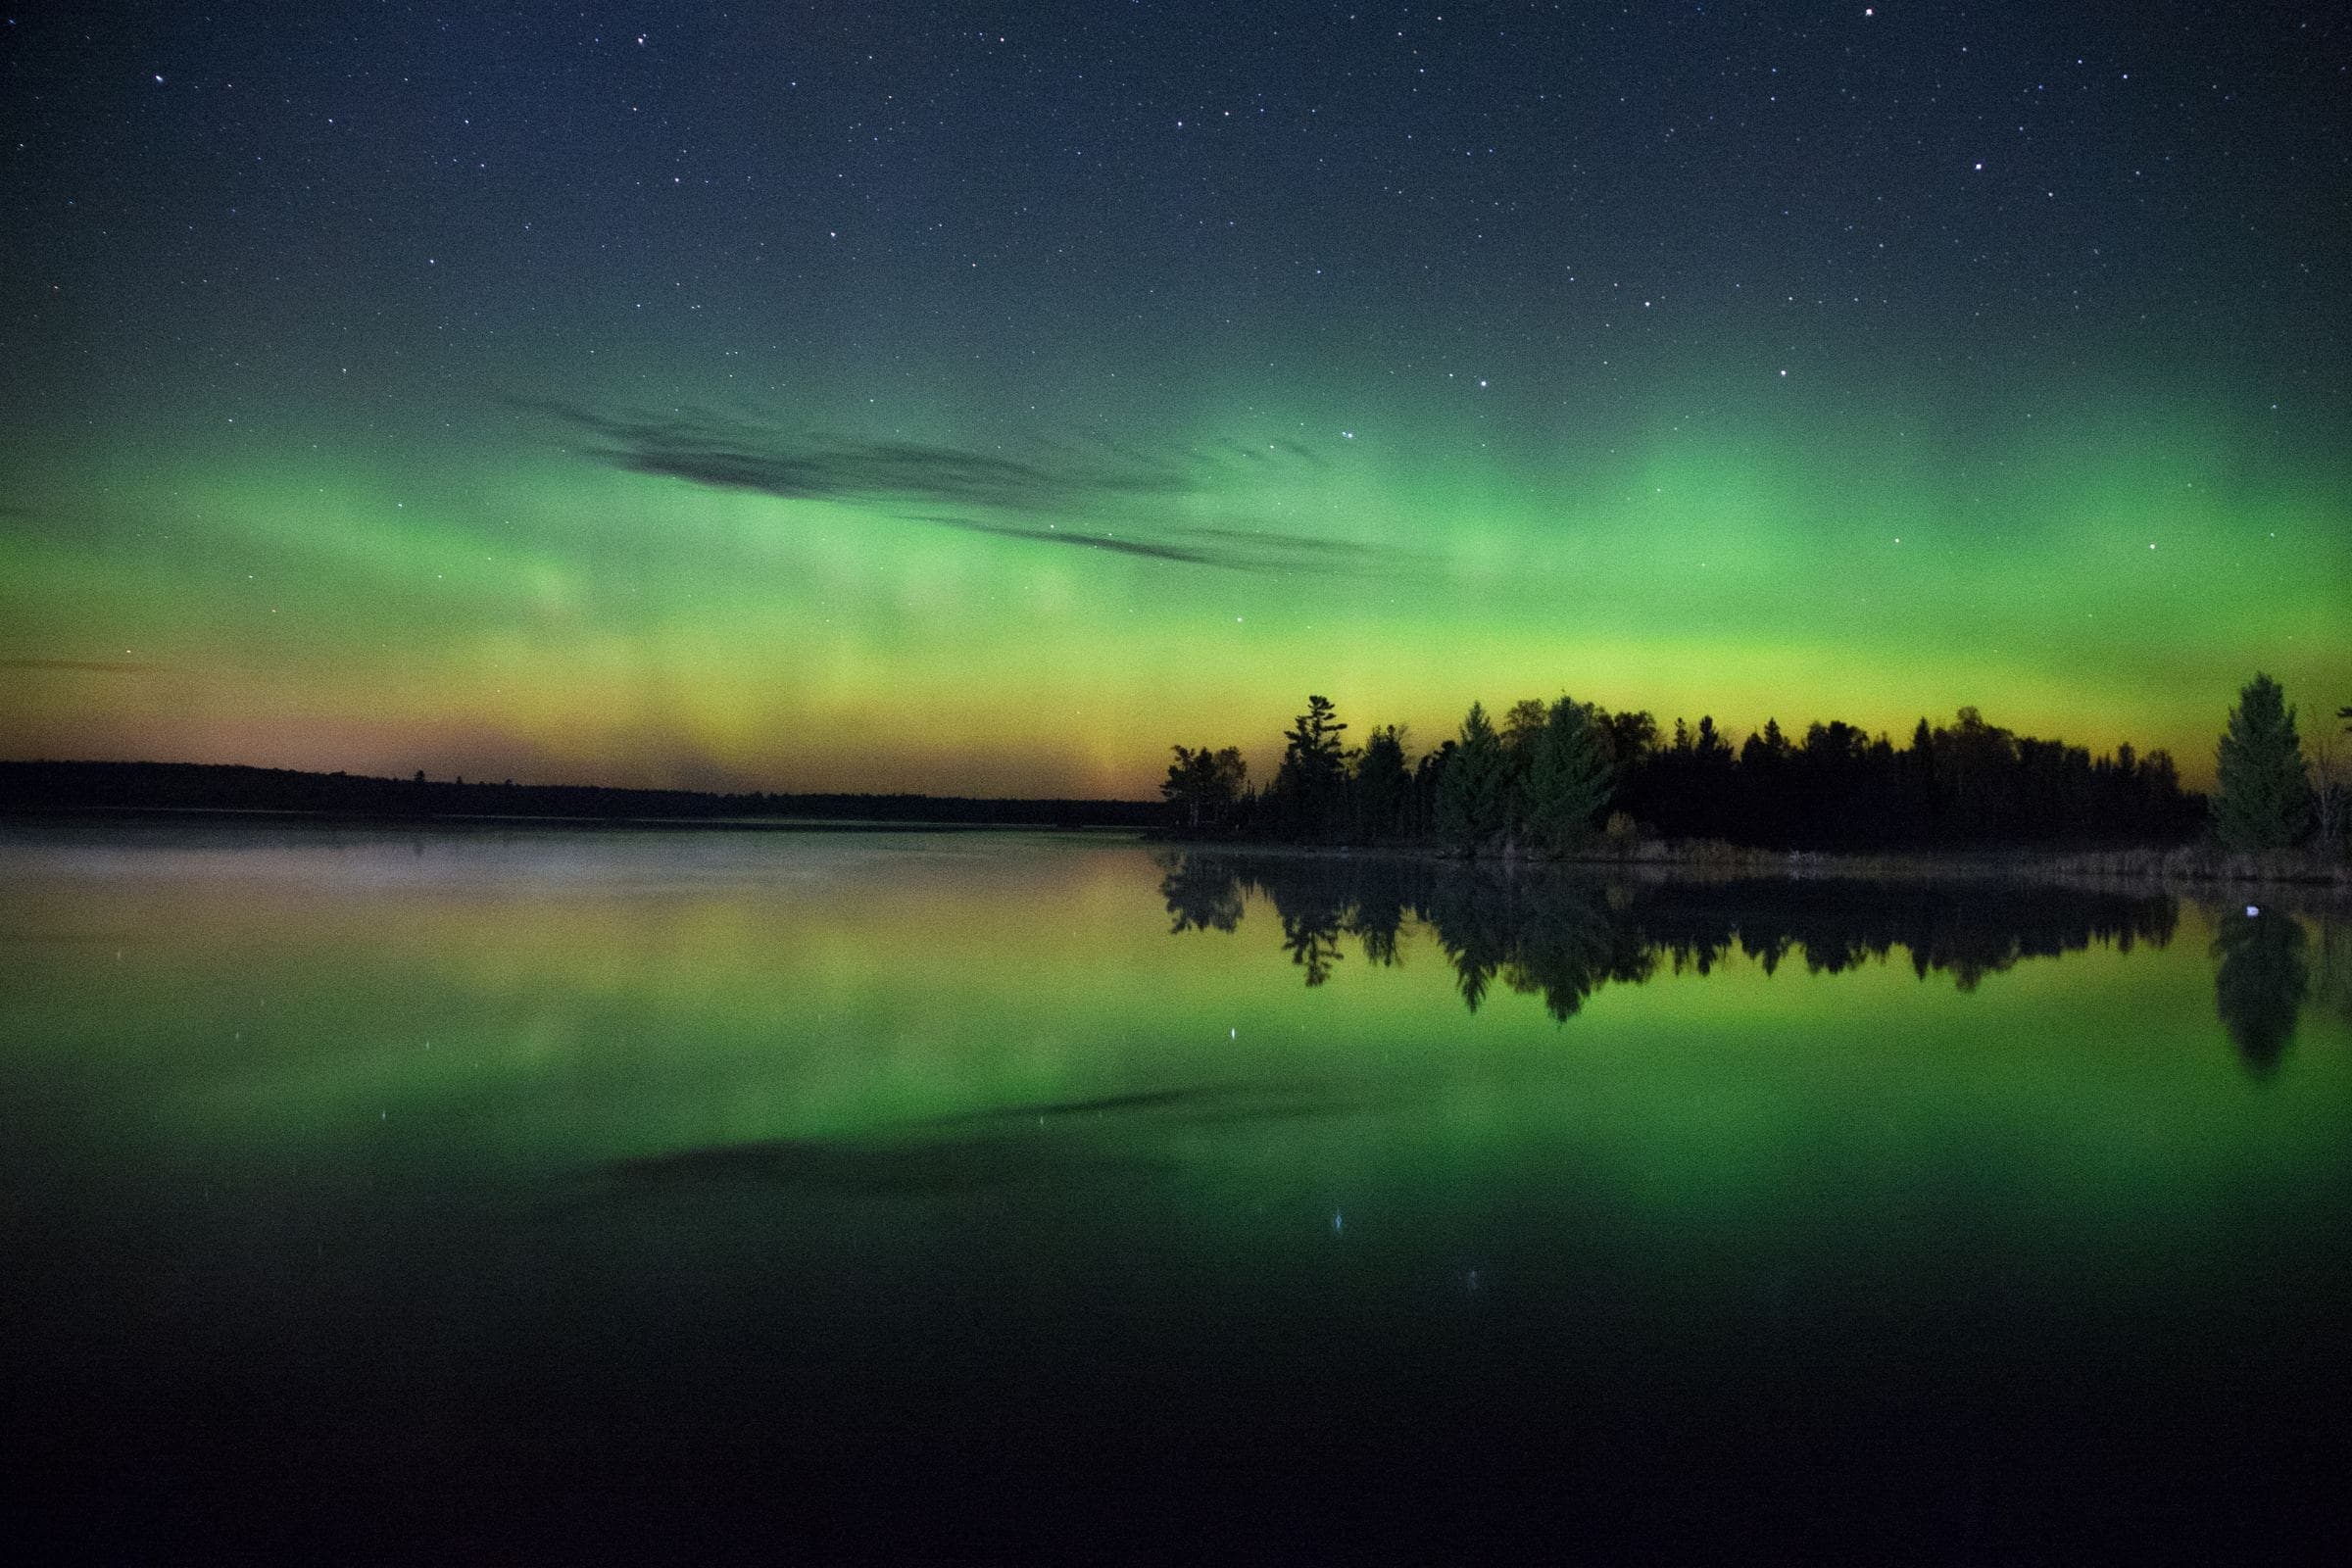
The change of seasons is a beautiful, symbolic experience. Winter can represent the end of an era, symbolic death and rebirth, tranquility, or comfort. So bundle up and go outside to experience it yourself.
Capture the change of the seasons and the development of winter. For instance, see the trees become barren, the natural light become softer, changes in fashion, and life’s rituals evolve. As winter passes, the trees bud, the rain washes away the snow and debris, and backyard creatures reemerge. After all, taking photos of your environment regularly can help you really see the incredible changes Mother Nature undergoes at the head and foot of each season.
Embrace the transition into and out of winter by putting yourself in new environments you wouldn’t normally find yourself in during cold weather. Go to your favorite summertime park on a snowy day. Similarly, watch cars pass through your sleepy downtown restaurant district on an early slushy morning.
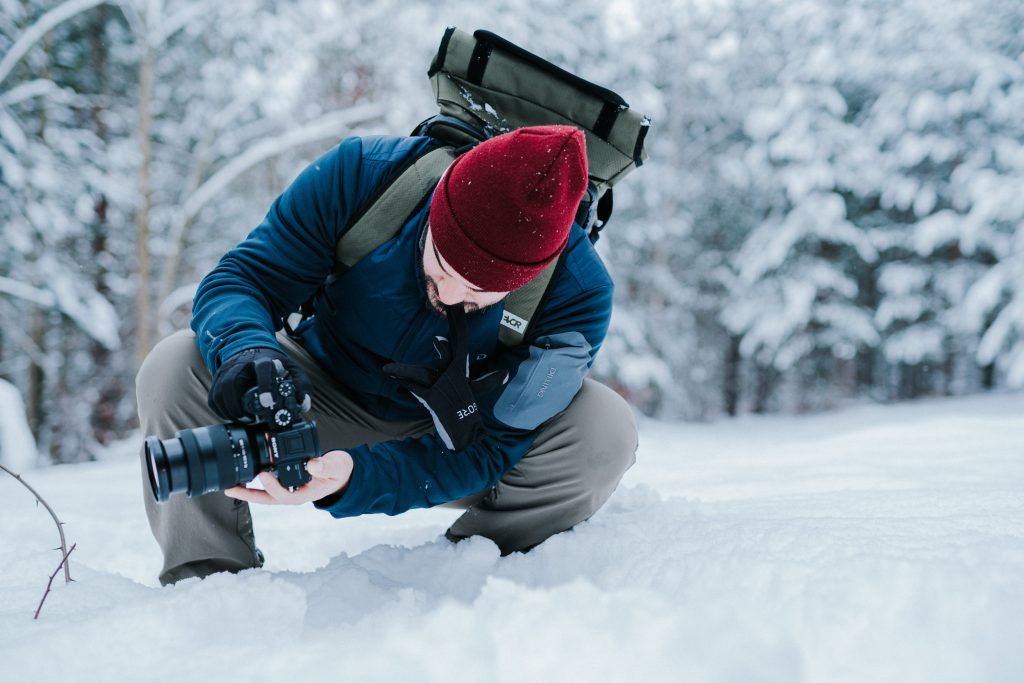
Moreover, prepare yourself for the cold by dressing appropriately and packing hand warmers if you need them. You can even pick up some touchscreen or camera gloves that help you tap buttons and adjust settings on your DSLR or smartphone camera more easily.
(Winter photography pro tip: Remember that camera batteries drain fast in the cold— bring extras and keep them warm in your inner jacket pocket!)

3. Experiment with winter’s natural light
In winter, the sun’s rays hit the earth at a shallow angle. As such, the hours and type of natural light will change. Account for this in your winter photography.
You can also experiment with light you can create. With this in mind, if it’s too cold to shoot outside for long, how can you play with light indoors? Here are a few ways to play with natural and artificial light that you can manipulate in your own home:
- Use opaque curtains to cast a shadow or obscure the sun peeking in through your kitchen window.
- Capture the warm glow of a fireplace for cozy winter photos.
- Blur out the twinkle of holiday string lights with a low aperture.
- Use the colorful lights of a Christmas tree to add vibrance to your photos. With low overhead light and colored string lights, you can add red, blue, or green hues to a photo. In fact, the lights themselves don’t even have to be in the frame.
- Use the subtle, flickering light of candles to take a low-light photo. Experiment with different apertures and shutter speeds.
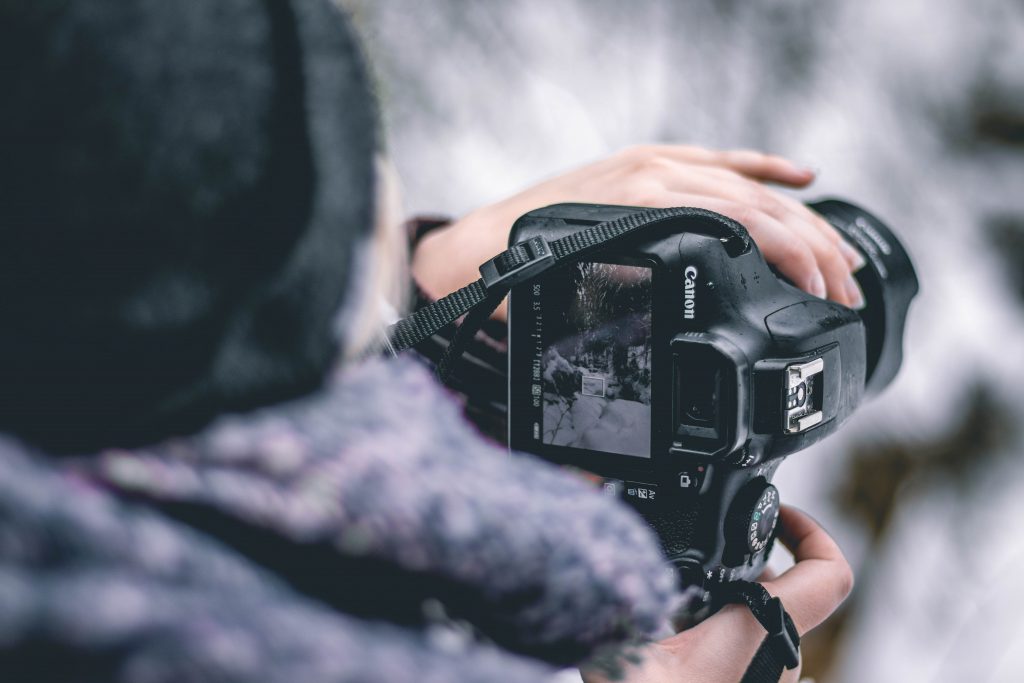
4. Learn new camera settings for higher quality winter photos
If you experience snow in the winter, be sure to adjust your camera settings accordingly to avoid over- or under-exposed photos and loss of fine details. In general, you can treat snowy photography like you would treat bright light.
Here are a few tips to call upon as you’re experimenting with snowy compositions:
- Focus on contrast. Your winter photos could come out overexposed with all the white snow, and autofocus relies on contrast to focus itself. Thus, choose a darker focal point like the bark of a tree, your human subject, or even a red cardinal. Press your shutter halfway to focus on the point in your viewer, or tap on your smartphone screen to choose your focus.
- Shoot in aperture priority. If you use any automatic settings, aperture priority mode is your go-to for snowy shoots. Specifically, your camera will choose the ISO and the shutter speed automatically, allowing you to choose your depth of field (the blurred background) based on how much light is allowed into your lens.
- Adjust your exposure compensation. This way, you’ll capture the true white of snow without blowing out your photo or causing the snow to look gray. In your settings, change your exposure compensation to +1 or +2. Then, take a few test shots to see what works.
- Shoot your winter photos with high quality to allow for editing. If you’re using a DSLR, shoot in RAW. When you upload your photos to the computer for editing, printing, and sharing, RAW photos carry more “information,” allowing you to color-correct and do more fine-tuned edits. If you’re using a smartphone, thumb through your settings to choose the highest resolution possible.

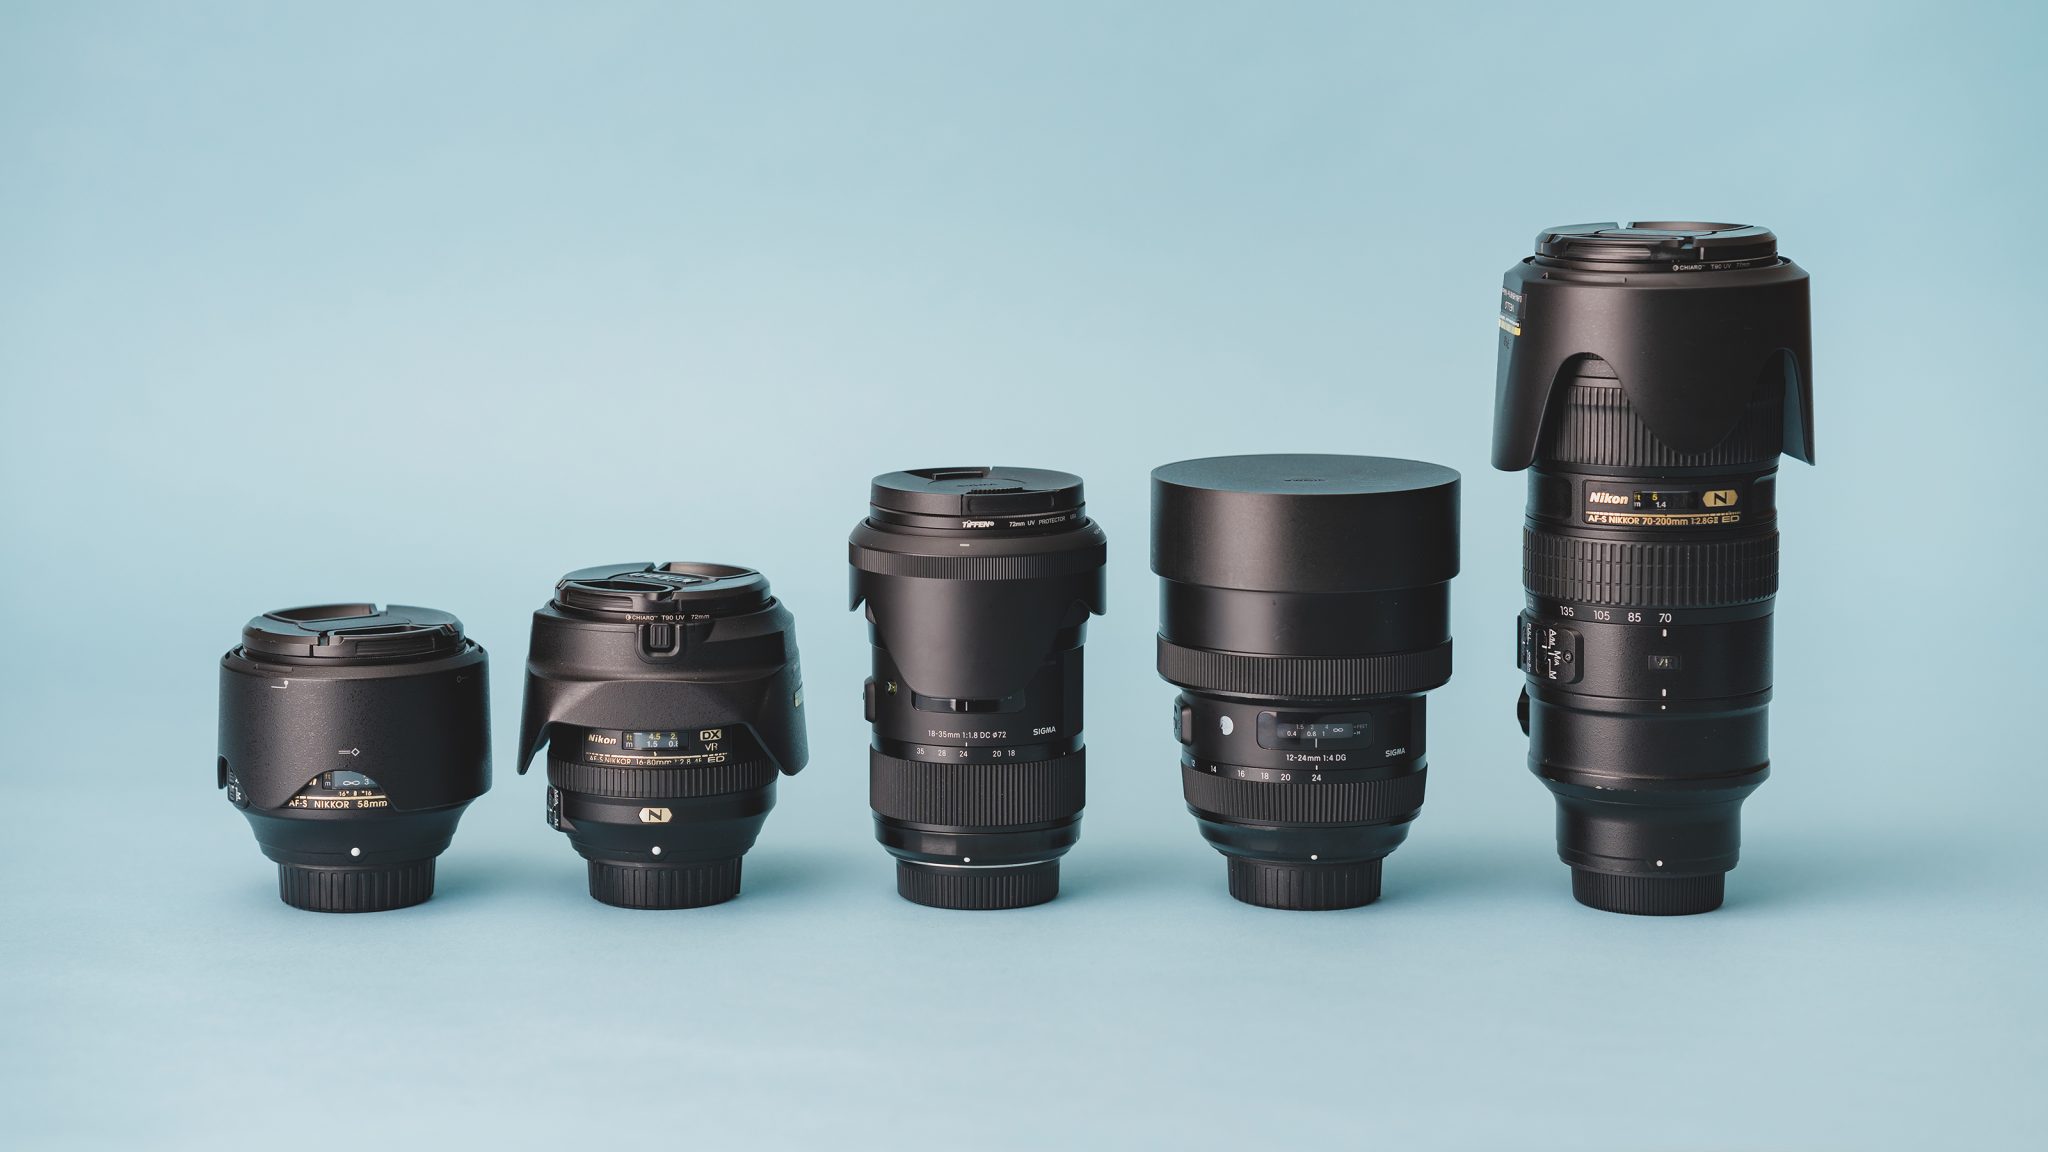
5. Pick up some new lenses or tools to elevate your winter photography
Adapt to the change of seasons by adding some new photography tools to your wishlist. Even if you’re keeping warm indoors, there are some fun big-kid toys you can play with that are sure to upgrade your winter photography.
If you’re shooting the outdoors from inside, a great zoom lens can open up your “long-distance” shooting options. Capture the resilient creatures that visit your backyard in the winter: birds, squirrels, hares, bears, or even your furry companion when you let them outside.
Pick up a tripod and experiment with prolonged exposure of winter animals, time-lapses of snowfall, and even take cozy family photos. A great DSLSR tripod should be sturdy, easily adjustable, and have the correct mounting attachment for your camera. On the other hand, a great tripod for a smartphone can be more lightweight. However, if you plan to use it outdoors or on uneven surfaces, you should get something more durable.
(Winter photography pro tip: For rugged outdoor photography, it’s best to stay away from metal tripods because they will quickly freeze your hands in cold weather.)
6. Play with the elements
If you experience snow and ice around this time of year, you can use them to level up your photography. Capture the classics like snowmen and snow angels, but add your own twist. How can you add color, motion, or emotion to your winter photos?
You could also use ice in creative ways. If you get lucky with crystal-clear ice, you could capture light or even figure reflections in the ice. You can also take advantage of the reflective nature of snow and ice by adding artificial color lights to add a vibrant luminescence to your photos.
Additionally, there are many fun “science experiments” you can try solo or with the kids that can make for some really incredible photos. This is a great way to venture outdoors with a purpose and flex your creativity at the same time. Here’s a favorite:
Make frozen bubbles
- This is great for a very cold day—but not windy—that is well below freezing temperatures.
- Mix ¾ cup of warm water (to freeze), 2 ½ tablespoons of dish soap (for bubbles), 2 ½ tablespoons of corn syrup (to thicken), and 2 tablespoons of sugar (to crystalize).
- Store it in the freezer for about 30 minutes to lower the temperature.
- Pour your mixture into a water bottle, add a straw to it, and seal around the straw using modeling clay or something similar. It should be air-tight.
- Bring your mixture outside into very cold temperatures (be sure to bundle up!) and squeeze your water bottle to create bubbles.
- Be ready to photograph quickly. Get your settings ready before you start making bubbles—a high shutter speed and low aperture are recommended. Play with different styles: a photo of a popping bubble, tight and wide shots, or different backdrops.

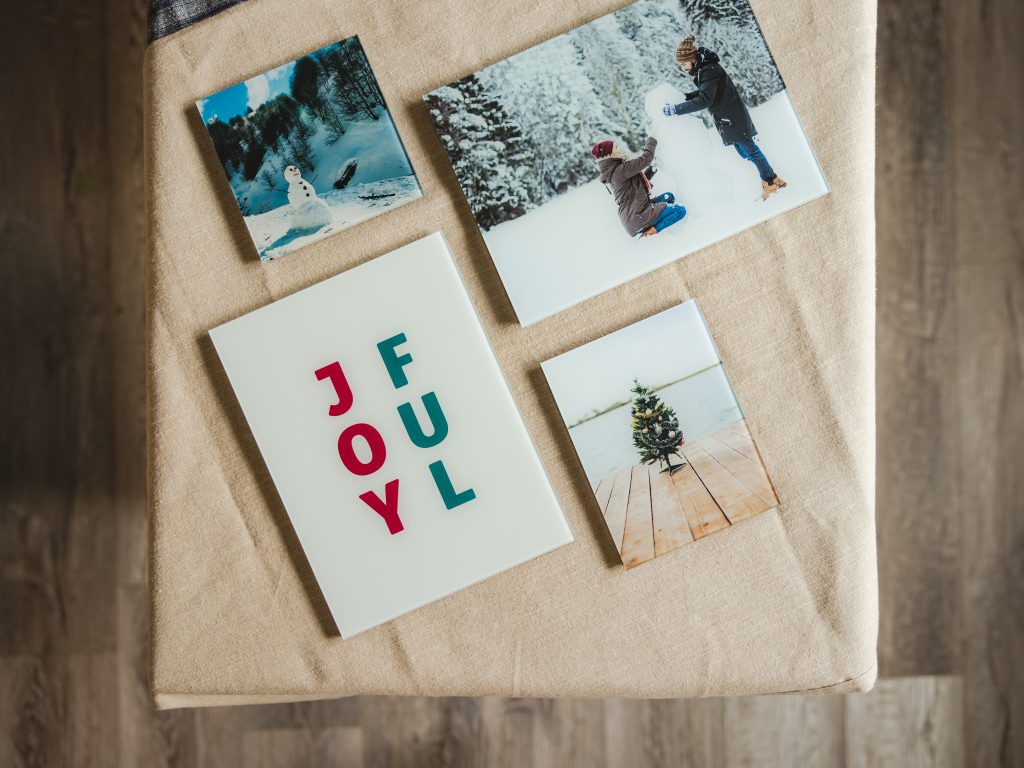
This winter, flex your creativity as your photography changes with the season. With the unique moments you’ll capture, you can turn your cherished memories into beautiful glass prints.
Fracture offers multiple sizes and shapes so that you can create custom layouts — available in single glass prints, a Photo Wall arrangement, or Storyboard — to display your beautiful seasonal photography. Plus, you’ll receive all of the materials you need to hang them on your walls, with options for tabletop display stands.
The possibilities are endless—we can’t wait to see your prints in your home!


Comments